
Your Logitech C920 webcam sits unconnected while you fumble through another blurry video call with your built-in laptop camera. That frustrating pixelated image and tinny audio could disappear in minutes—this professional-grade webcam delivers crisp 1080p video and clear dual-microphone audio with a proper setup. Unlike complicated professional gear, the C920 connects instantly for most users but requires specific positioning and configuration to unlock its full potential. Follow this precise guide to get your Logitech C920 webcam working flawlessly across Zoom, Teams, and other platforms in under 10 minutes.
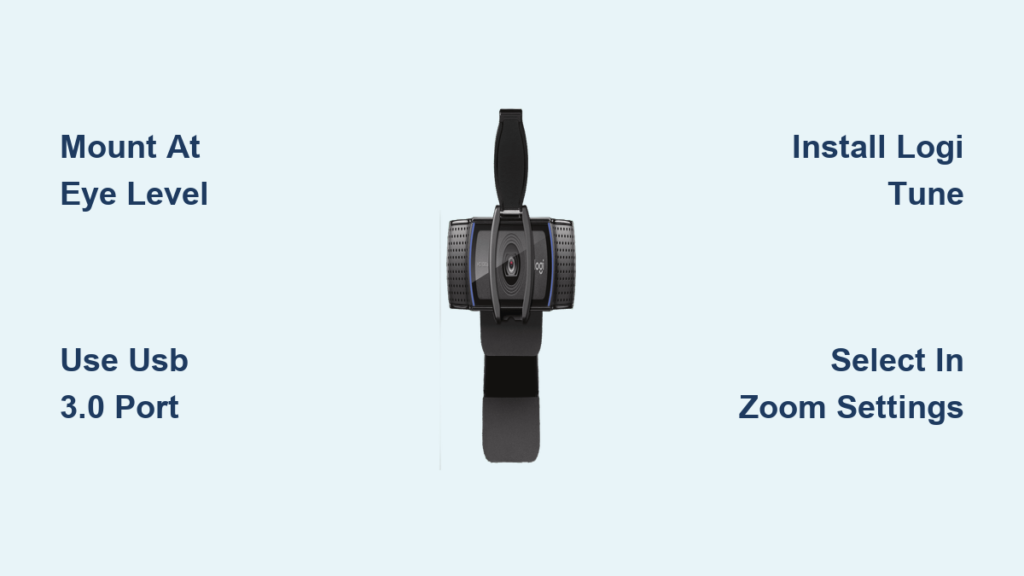
Mount Your Logitech C920 at Eye Level for Professional Video Calls
Positioning determines 80% of your video quality before you even hit “start meeting.” The C920’s flexible mounting system gives you multiple professional placement options that most users overlook.
Secure Monitor Mounting Without Slippage
Clip the webcam firmly to your monitor’s top edge with the rubber-tipped front claw flush against the screen surface. Rotate the rear clamp to grip the monitor’s back securely—this rubberized grip prevents dangerous slippage during meetings. If your monitor has an unusual thickness, twist the camera’s base to the 90-degree position for stable placement on desks or shelves. For streamers and presenters, screw the C920 into any standard tripod using its built-in 1/4″-20 thread for rock-solid stability during long sessions.
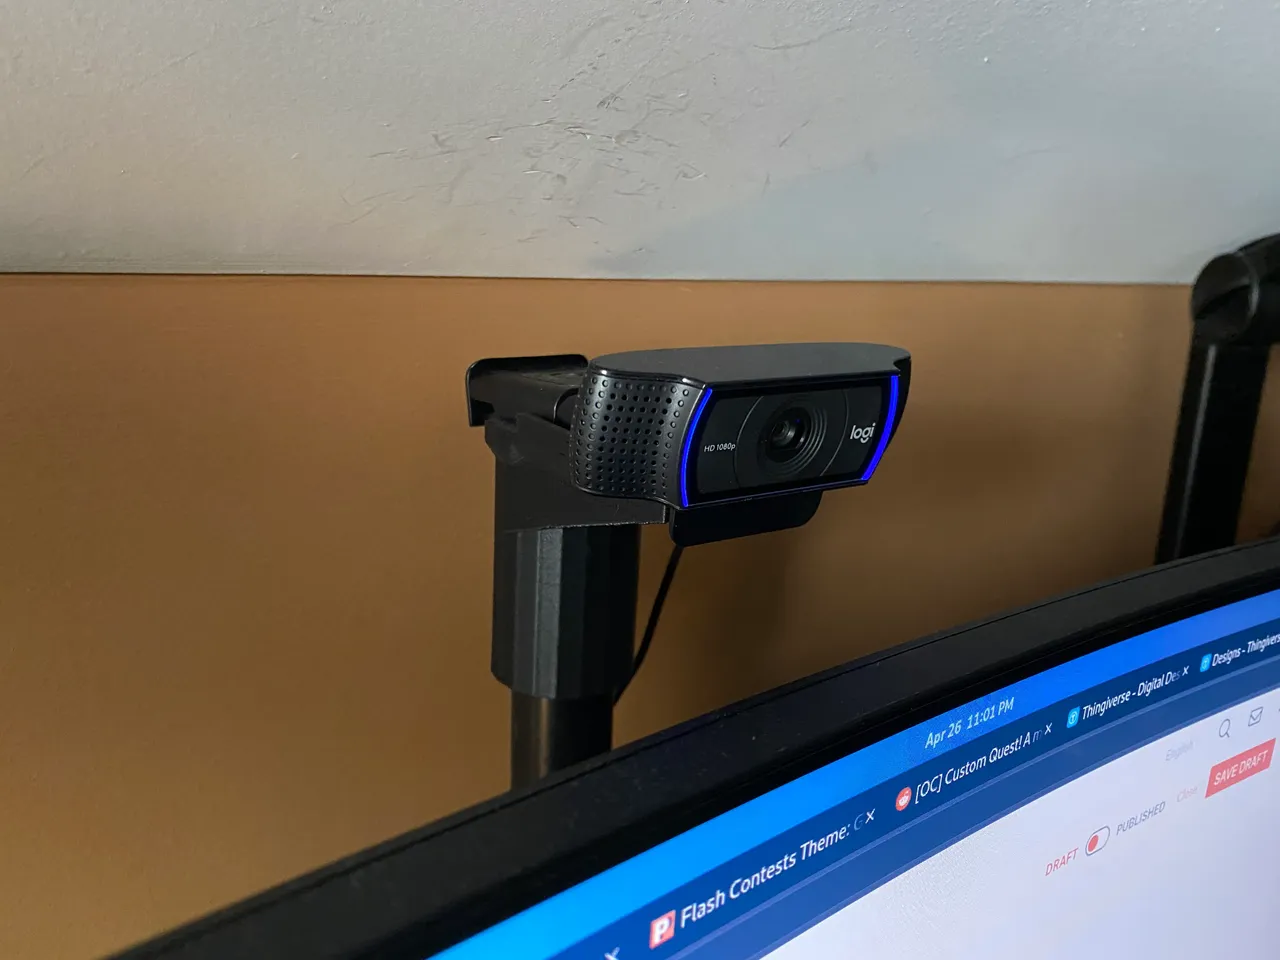
Achieve Natural Eye Contact Through Correct Height
Place the camera lens exactly at your eye level when seated—this creates natural eye contact that builds trust with viewers. Position yourself 2-3 feet from the camera for ideal framing where your head and shoulders fill the screen without distortion. Tilt the camera downward slightly if mounted above your monitor to avoid unflattering top-down angles. During calls, notice if your chin appears too prominent (camera too low) or if viewers see up your nose (camera too high)—these visual cues indicate improper positioning.
Connect Your C920 to a USB 3.0 Port for Reliable Video Streaming
The USB connection seems simple but causes most “undetected camera” issues when done incorrectly. Your C920 requires direct connection to a computer-powered USB port—not through hubs—to maintain stable 1080p video.
Avoid USB Hub Connection Failures
Plug the 5-foot USB cable directly into your computer’s rear USB ports (they typically provide more stable power than front/side ports). Never connect through unpowered USB hubs which starve the webcam of necessary power—this causes intermittent disconnections and choppy video. If your laptop has limited ports, use a powered USB hub with its own AC adapter to maintain stable video. Test both USB 2.0 (black) and USB 3.0 (blue) ports if experiencing issues, as some older systems handle one standard better than the other.
Verify Proper System Recognition
After connecting, check your system’s device manager (Windows) or system report (Mac) to confirm detection. On Windows, search “device manager” and expand “imaging devices”—your “Logitech Webcam C920e” should appear without warning icons. If it shows with a yellow triangle, right-click and select “update driver.” Mac users should open “System Report” under Apple menu > About This Mac > System Report and check “USB” for the C920 listing. This verification step prevents wasted time troubleshooting non-existent camera issues in video apps.
Install Logi Tune for Complete C920 Webcam Control Beyond Basic Settings
While Windows and Mac detect the C920 automatically for basic use, you’re missing professional features without Logi Tune. This free software unlocks manual controls that transform your video quality in challenging conditions.
Download and Install Logi Tune Without Bloatware
Visit Logitech’s official support page and download ONLY the Logi Tune application—avoid third-party “driver packs” that install unnecessary software. Run the installer and accept default settings for a clean installation. Launch Logi Tune to see your live video feed with intuitive sliders for exposure, brightness, contrast, and color saturation. The interface shows real-time adjustments so you can perfect your appearance under fluorescent office lighting or dim home environments.
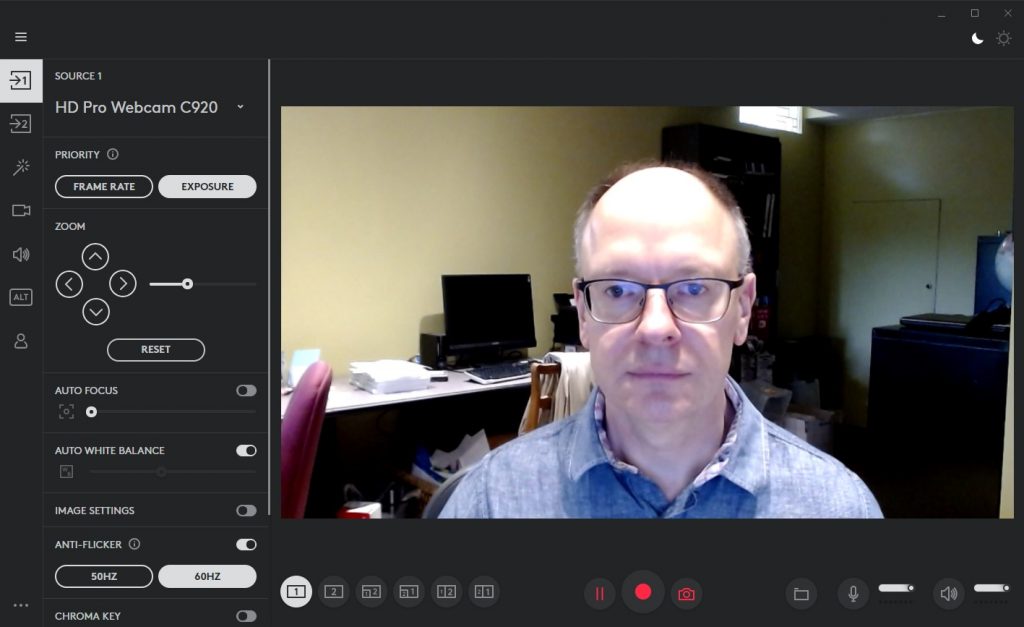
Master Manual Focus to Stop Autofocus Hunting
In low-light conditions, the C920’s autofocus constantly “hunts” for focus, creating distracting blurry transitions. In Logi Tune, disable autofocus and slide the manual focus bar until your face appears sharp. Lock this setting for consistent clarity throughout meetings—especially valuable if you move frequently in your chair. For content creators, use the digital pan/tilt/zoom feature to reframe your shot without physical movement, cropping the 1080p feed to 720p while maintaining HD quality.
Configure Your Logitech C920 in Zoom for Flawless Video Meetings
Zoom often defaults to your laptop’s inferior camera even with the C920 connected. This misconfiguration causes the most common “why isn’t my good camera working?” frustration during critical calls.
Select C920 as Your Primary Camera Before Meetings Start
Open Zoom > Settings > Video and select “Logi C920e” from the camera dropdown menu—don’t wait until you’re already in a meeting. Check the preview window to confirm crisp video before joining calls. During meetings, click the arrow next to “Stop Video” and verify “Logi C920e” remains selected, as some apps reset this preference unexpectedly. For professional appearances, enable “Touch up my appearance” for subtle smoothing and “Adjust for low light” to brighten dim environments automatically.
Fix Background Issues Caused by C920’s Wide Field of View
The C920’s 78-degree field of view captures more of your surroundings than laptop cameras, often revealing messy backgrounds. Click “Virtual Background” in Zoom settings and select a professional image or use the “Blur” option for instant background cleanup. Position yourself at least 5 feet from walls to maximize background blur effectiveness. If virtual backgrounds appear jagged, improve lighting on your face—the C920’s dual mics and camera work best with clear subject separation from backgrounds.
Resolve “No Video” Issues When Your C920 Isn’t Detected
When your C920 disappears from video apps despite proper connection, follow this targeted troubleshooting sequence before assuming hardware failure.
Perform a USB Power Cycle to Reset Connection
Shut down your computer completely—not sleep mode. Unplug the power cord from both the computer and wall outlet for 60 seconds to drain residual power from USB controllers. Reconnect everything and restart—this fixes 70% of “undetected camera” issues by resetting USB power management. If using a laptop, remove the battery during this process if possible. After rebooting, reconnect the C920 to a different USB port before testing again.
Check App Permissions Blocking Camera Access
On Windows, go to Settings > Privacy > Camera and ensure “Allow apps to access your camera” is toggled on. Scroll down to verify Zoom, Teams, and other video apps have individual permissions enabled. Mac users should visit System Preferences > Security & Privacy > Camera and check the relevant applications. Some security software blocks camera access after updates—temporarily disable antivirus/firewall to test if they’re causing conflicts.
Optimize Lighting Conditions for Professional C920 Video Quality
Even perfect camera setup fails with poor lighting—this free adjustment transforms your video quality more than any hardware upgrade.
Position Light Sources to Eliminate Unflattering Shadows
Place your main light source (window or lamp) directly in front of you, not behind the camera. Sit facing north if using natural light to avoid harsh midday sun. Avoid overhead lighting which creates deep eye socket shadows—position lamps at 45-degree angles to your left and right for even illumination. During calls, check if your neck disappears into shadow (light too high) or if you have raccoon eyes (light too low)—these visual cues indicate improper lighting angles that the C920 captures clearly.
Use Logi Tune to Compensate for Challenging Lighting
In dim environments, increase exposure in Logi Tune before boosting brightness (which adds grain). For fluorescent office lighting that creates unnatural green tones, adjust color temperature toward warmer settings. When stuck with backlighting (window behind you), enable “backlight compensation” in Logi Tune to brighten your face while preserving window details. These manual tweaks overcome the C920’s auto-settings which often overexpose backgrounds at the expense of your face.
Final Note: Your Logitech C920 delivers broadcast-quality video when connected properly—no expensive setups required. By mounting at eye level, connecting directly to USB 3.0 ports, installing Logi Tune for manual controls, and configuring app settings before meetings, you’ll consistently present your professional best. For ongoing reliability, perform a quick camera test before important calls and keep Logi Tune updated for new features. Master these fundamentals and your C920 will handle everything from daily Zoom check-ins to client presentations with crystal-clear quality that builds credibility.


