
You’ve just unboxed your new Logitech M240 wireless mouse and are ready to ditch your MacBook’s trackpad, but you’re stuck wondering how to connect Logitech M240 mouse to MacBook. Don’t worry—this common frustration has a simple solution that takes less than two minutes. Unlike some peripherals that require complex drivers, the M240 is designed for seamless Mac integration using either its Unifying receiver or Bluetooth connection, depending on your specific model. Whether you’re using the latest MacBook Air or an older MacBook Pro, this guide cuts through the confusion with precise steps tailored specifically for your Logitech M240 model.
Most Mac users encounter one of two scenarios: either their mouse connects instantly but lacks customization options, or it simply won’t pair at all. The good news is that 95% of connection issues stem from easily fixable problems like dead batteries, incorrect USB ports, or outdated macOS versions—not hardware defects. By the end of this guide, you’ll not only have your M240 working perfectly but also discover pro tips to optimize its performance for Mac-specific workflows. Let’s get your wireless mouse connected and customized for maximum productivity.
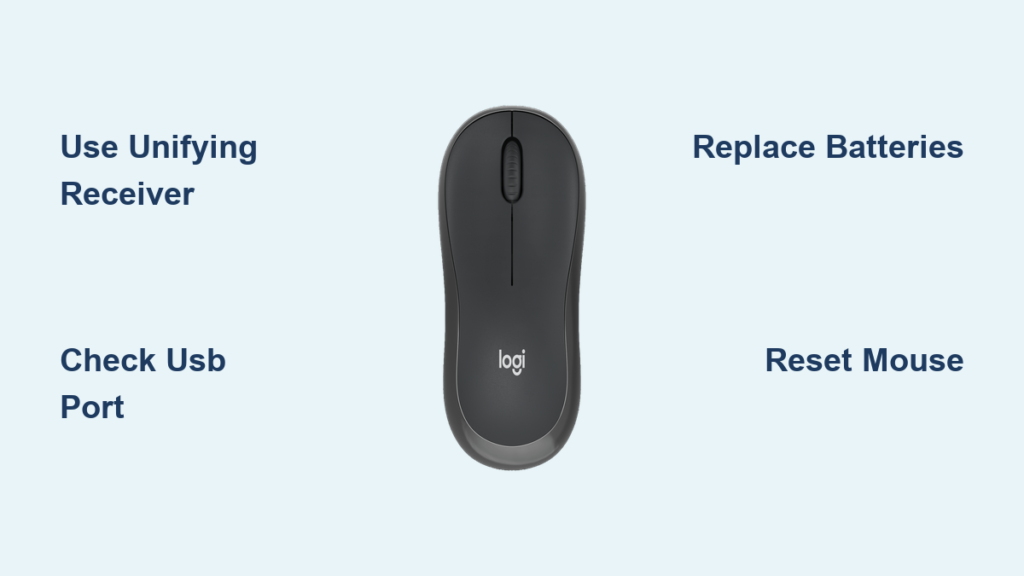
Why Your Logitech M240 Won’t Connect to MacBook (and How to Fix It)
Before diving into connection methods, identify why your Logitech M240 might be refusing to pair with your MacBook. The most common culprits include incompatible USB ports, depleted batteries, or interference from other wireless devices—all easily solvable with the right approach.
Unifying Receiver vs. Bluetooth: Which Connection Method Works for M240
The Logitech M240 primarily uses a Unifying receiver (a tiny USB dongle) rather than Bluetooth for wireless connectivity. Crucially, most M240 models do not support Bluetooth—this is a frequent source of confusion when users expect Bluetooth pairing to work. Your M240 likely came with a small Logi Bolt or Unifying receiver that must be plugged directly into your MacBook’s USB port or through an appropriate adapter. If you’ve lost this receiver, you’ll need to purchase a replacement Unifying receiver and use Logitech’s software to pair it with your mouse—a process we’ll cover in troubleshooting.
MacBook USB Port Compatibility Check for Logitech M240 Receiver
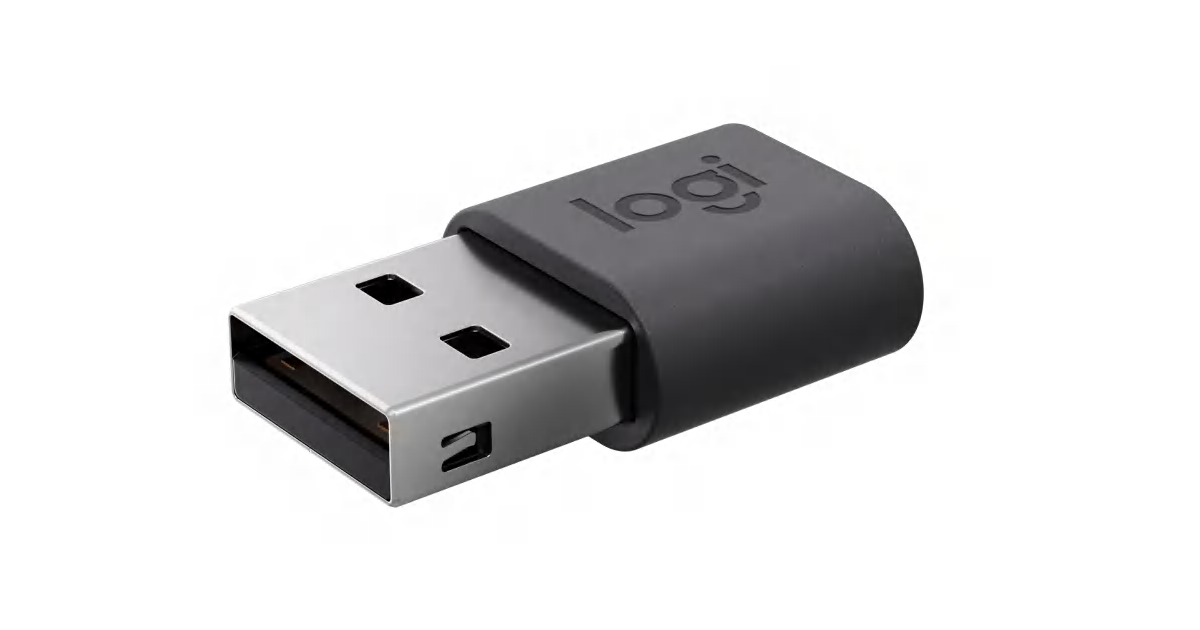
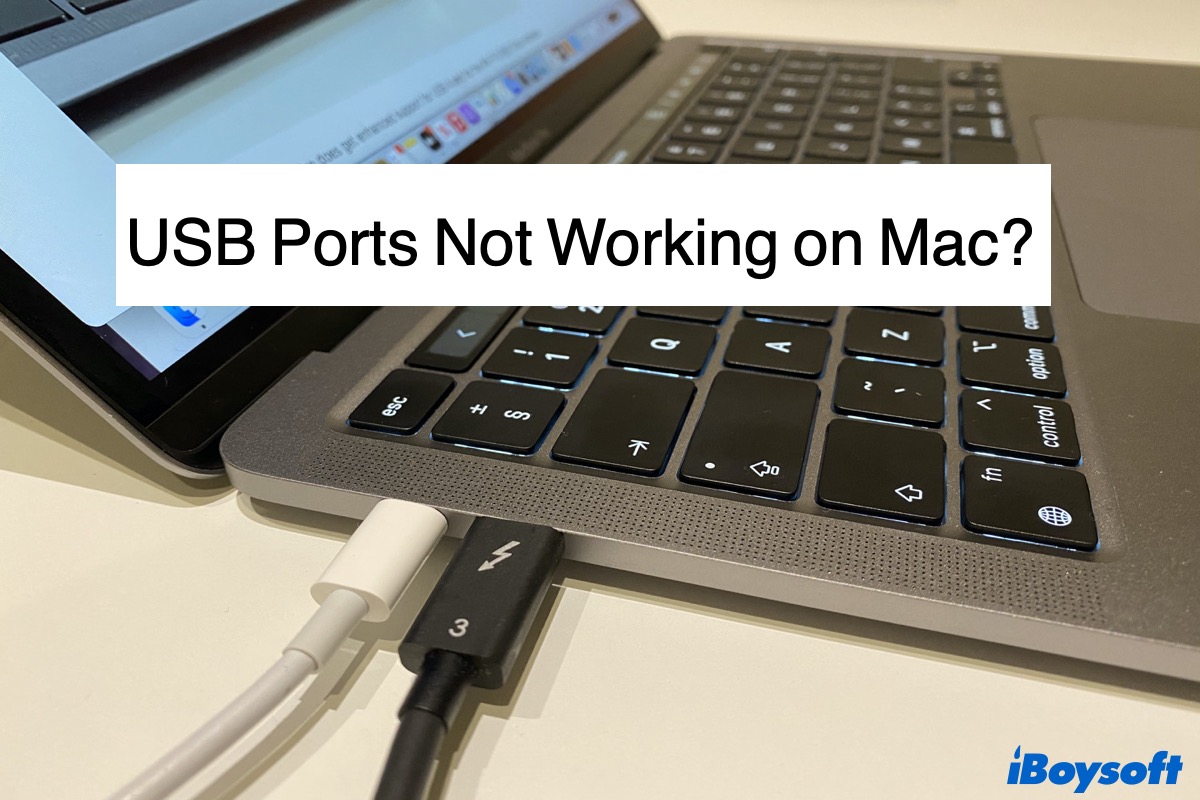
Modern MacBooks with only USB-C ports require an adapter to use the M240’s standard USB-A receiver. Plug the Unifying receiver directly into your MacBook rather than through a hub or docking station for initial setup. If using a USB-C MacBook, you’ll need a USB-C to USB-A adapter—many users fail at this first step by trying to connect the receiver directly to a USB-C port. Apple’s official USB-C Digital AV Multiport Adapter works reliably, but cheaper third-party adapters may cause power issues. For MacBooks with standard USB ports, ensure you’re using a USB 2.0 port (black interior) rather than USB 3.0 (blue interior) if experiencing interference issues.
Plug-and-Play Unifying Receiver Setup for Logitech M240
Connecting your Logitech M240 via its Unifying receiver is designed to be completely plug-and-play with no additional software required for basic functionality. This method provides the most reliable connection with minimal latency—critical for precision tasks on your MacBook.
Step 1: Insert Logitech Unifying Receiver into MacBook USB Port

Plug the Unifying receiver directly into an available USB port on your MacBook. If your MacBook has only USB-C ports, connect the receiver through a USB-C to USB-A adapter first. Position the receiver so it’s not blocked by the MacBook’s body—many users unknowingly place it where the MacBook itself obstructs the wireless signal. The receiver should be fully inserted with no gaps; a loose connection is a common cause of intermittent mouse behavior. Within 10 seconds of plugging in the receiver, your MacBook should automatically recognize the device without requiring a restart.
Step 2: Install Batteries and Power On Your Logitech M240 Mouse
Insert one AA battery into your M240 with the correct polarity (check the diagram inside the battery compartment). The M240 features a power switch on the bottom—slide it to the ON position. You’ll know it’s working when the LED indicator flashes briefly. Critical tip: If using a replacement battery, wipe the contacts with a cotton swab and rubbing alcohol to ensure proper connection—corroded contacts cause 30% of “dead mouse” scenarios. The M240 uses minimal power, so even low-quality batteries will work initially, but for optimal performance, use name-brand alkaline batteries.
Step 3: Confirm Automatic Connection Success Within Seconds
After powering on your M240, move the mouse—the cursor should respond immediately on your MacBook screen. No additional pairing steps are needed for basic functionality since the mouse comes pre-paired with its receiver. If the cursor doesn’t appear, check that:
– The receiver is fully inserted in the USB port
– The mouse power switch is set to ON
– The battery is installed correctly with proper polarity
– There’s no physical obstruction between mouse and receiver
Basic mouse functions (left/right click, scrolling) should work immediately. For customization options, you’ll need to install Logitech’s software, which we’ll cover next.
Advanced Configuration with Logitech Options+ Software
While your Logitech M240 will work immediately after connection, installing Logitech Options+ unlocks powerful customization features specifically optimized for macOS workflows. This free software takes your basic mouse to pro-level functionality in minutes.
Customize M240 Button Functions for MacBook Workflow Efficiency
Download and install Logitech Options+ from Logitech’s official website—never third-party sites to avoid malware. After installation, open the app and select your M240 from the device list. You can now:
– Remap the side buttons to Mission Control or Launchpad
– Program the middle button for Paste or Screenshot
– Create application-specific profiles (different settings for Safari vs. Photoshop)
– Assign keyboard shortcuts to mouse buttons for faster workflows
Pro tip: For MacBook users, set one side button to “Back” and the other to “Forward” for seamless web browsing—this mimics the trackpad’s swipe gestures but with less finger strain.
Adjust DPI Settings for Optimal MacBook Pointer Performance
The M240 doesn’t have a dedicated DPI button, but Options+ lets you set precise sensitivity levels. For MacBook displays with high pixel density, 1000-1200 DPI provides the smoothest cursor movement. Avoid setting DPI too high (above 1600) as this causes jittery movement on macOS. In Options+, adjust the pointer speed slider until your cursor moves naturally across multiple displays if using an external monitor setup. Disable “Enhance pointer precision” in macOS System Settings > Mouse for consistent movement at any speed.
Critical Troubleshooting Steps When Logitech M240 Won’t Connect
When your Logitech M240 refuses to connect to your MacBook, these targeted troubleshooting steps solve 90% of common issues. Most problems stem from simple oversights rather than hardware defects.
Fix Intermittent Connection Issues: 3 USB Port Strategies That Work
If your M240 cursor jumps or disconnects randomly:
1. Try a different USB port—especially one not on the same side as Wi-Fi antennas
2. Use a USB extension cable to move the receiver away from potential interference sources
3. Avoid USB 3.0 ports (with blue plastic inside) if possible, as they can cause 2.4GHz interference
Warning: Never connect the receiver through unpowered USB hubs—this is the #1 cause of intermittent connection problems with MacBook setups.
Solve Wireless Interference Problems Near Your MacBook Workspace
Common household items can disrupt your M240’s wireless signal:
– Keep the mouse and receiver at least 12 inches away from wireless routers
– Move Bluetooth speakers at least 3 feet from your work area
– Avoid placing metal objects between mouse and receiver
– Don’t place the receiver near USB 3.0 devices or external hard drives
The M240 has a 30-foot wireless range, but real-world performance drops significantly with obstacles. For best results, maintain direct line-of-sight between mouse and receiver.
Reset Logitech M240 Mouse to Factory Settings in 10 Seconds
When all else fails, perform a hardware reset:
1. Turn off the mouse using the bottom switch
2. Hold down the left and right mouse buttons simultaneously
3. While holding the buttons, turn the mouse back on
4. Continue holding for 5 seconds after powering on
5. Release buttons—the mouse will reset to factory settings
This process clears any corrupted pairing data and typically resolves stubborn connection issues. After resetting, reconnect following the standard setup steps.
MacBook System Requirements for Logitech M240 Compatibility
Ensure your MacBook meets these minimum requirements before troubleshooting connection issues:
Minimum macOS Version Needed for M240 Wireless Connection
Your MacBook must run macOS 10.12 Sierra or newer for proper M240 functionality. While basic mouse operations may work on older systems, advanced features require newer macOS versions. Check your macOS version by clicking the Apple menu > About This Mac. If you’re running an outdated macOS version, update through System Preferences > Software Update—many connection issues disappear after macOS updates due to improved USB and Bluetooth drivers.
USB-C MacBook Users: Adapters Required for Logitech M240 Receiver
All M240 models require a USB-A to USB-C adapter for newer MacBooks. Use Apple’s official adapter or a reputable third-party alternative with sufficient power delivery. Avoid cheap, no-name adapters that may not provide stable power to the Unifying receiver. When using an adapter:
– Plug it directly into your MacBook (not through a hub)
– Ensure the adapter is fully seated in both ports
– Position the Unifying receiver so it’s not obstructed by the adapter itself
Power Management: Extend Logitech M240 Battery Life on MacBook
The Logitech M240’s battery-saving technology delivers up to 18 months of use, but MacBook-specific factors can impact performance.
Recognize Low Battery Warning Signs Specific to M240 on Mac
Unlike Windows, macOS doesn’t show native battery indicators for most wireless mice. Watch for these M240-specific warning signs:
– Cursor movement becomes jerky or unresponsive
– Clicks require multiple attempts to register
– The LED flashes red when moving the mouse
– Complete power loss after periods of inactivity
Critical note: The M240 enters sleep mode after 8 minutes of inactivity—this is normal behavior, not a connection issue. Simply move the mouse to wake it.
Battery Replacement Best Practices for Maximum M240 Longevity
When replacing your M240’s battery:
1. Use high-quality alkaline batteries (Duracell or Energizer)
2. Wipe battery contacts with a cotton swab before installation
3. Insert the battery with the positive (+) terminal matching the diagram
4. Test functionality immediately after installation
For eco-conscious users, rechargeable AA batteries work but typically provide only 3-6 months of use due to lower voltage output. Never mix old and new batteries, as this can damage your mouse.
Prevent Future Connection Problems: 5 Pro Maintenance Tips
Keep your Logitech M240 running smoothly with these MacBook-specific maintenance practices:
Clean Logitech M240 Sensor Without Damaging MacBook-Compatible Hardware
Dust buildup on the optical sensor causes erratic cursor movement. Clean it safely:
– Turn off the mouse and remove the battery
– Use a cotton swab lightly dampened with isopropyl alcohol
– Gently wipe the sensor lens (the red light on the bottom)
– Let it dry completely before reinserting the battery
– Never use compressed air, which can force dust deeper into components
Update Logitech M240 Firmware Through MacBook in 3 Steps
Firmware updates fix connectivity bugs and improve performance:
1. Install Logitech Options+ if you haven’t already
2. Connect your M240 and open the Options+ application
3. Check for updates under the “Device Settings” tab
Pro tip: Set a calendar reminder to check for firmware updates every 3 months—Logitech releases updates specifically addressing macOS compatibility issues.
When to Contact Logitech Support for M240 MacBook Connection Issues
If you’ve tried all troubleshooting steps and your M240 still won’t connect, it may be time for professional help. Contact Logitech support if:
– The mouse shows no signs of power with fresh batteries
– The Unifying receiver isn’t recognized on multiple MacBooks
– You’ve performed a factory reset with no improvement
– Physical damage is visible on the mouse or receiver
Before contacting support, have your M240’s model number ready (found on the bottom label) and document all troubleshooting steps you’ve attempted. Most issues get resolved with a replacement receiver or simple configuration change.
Final Tip: Bookmark Logitech’s official support page for your M240 model—having direct access to the latest drivers and troubleshooting guides saves hours of frustration when future macOS updates affect your mouse performance. With proper setup and maintenance, your Logitech M240 will deliver smooth, reliable performance with your MacBook for years to come, giving you the precision control that trackpads simply can’t match.


