
You’re seconds away from your big presentation when you realize your Logitech presentation remote won’t respond. That sinking feeling is all too familiar for professionals who rely on these tools daily. Whether you’re using an R400 pulled from storage or a brand-new R800 Spotlight, connecting your Logitech presentation remote should take minutes, not hours. This guide cuts through the confusion with factory-approved methods and proven user fixes that actually work—no tech support calls required. You’ll learn exactly how to sync any model, troubleshoot stubborn connections, and prevent future failures before your next critical meeting.
Most users assume their Logitech remote should work instantly when they plug in the USB receiver. While that’s true for new setups, batteries die, receivers get lost, and connections drop unexpectedly. The good news? Logitech’s encrypted 2.4 GHz system allows reliable re-pairing when you know the exact button sequences and software requirements. Forget generic advice—this is your step-by-step playbook for getting that laser pointer and slide advance functions working again, regardless of whether you have the original software or not.
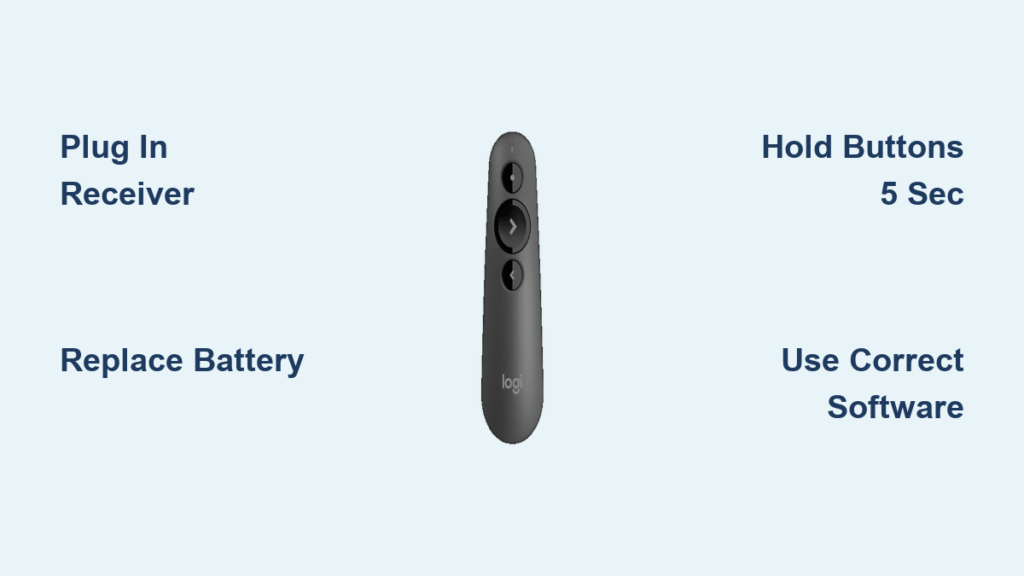
Plug in Your USB Receiver and Power On the Remote (Standard Connection)
This plug-and-play method works for 90% of new Logitech presentation remotes like the R400, R700, and R800 out of the box. The magic happens because each remote and its USB receiver are factory-paired with encrypted 2.4 GHz technology. You’ll know it’s working when the remote’s status light blinks green after power-on.
Why Your Logitech R400 Remote Isn’t Working Out of the Box
If your brand-new remote fails to connect immediately, check these two silent killers first. A missing battery is shockingly common—many users overlook that remotes ship with batteries not installed. Always verify the positive/negative orientation against the markings inside the compartment. Second, USB port issues plague modern laptops: try plugging the receiver directly into your computer instead of through a hub. If your remote has a physical power switch (usually labeled “0/1”), ensure it’s flipped fully to “1”. For models like the R700 Spotlight, the status LED should glow green within 3 seconds of power-on when successfully connected.
Step-by-Step: Connecting Your Logitech Presenter Remotely
- Insert the USB receiver directly into your laptop’s port (avoid hubs). The tiny dongle often stores inside the remote’s battery compartment—pull the release tab to access it.
- Install a fresh AA battery with correct polarity (match + and – symbols inside the compartment).
- Flip the power switch to “On” while pointing the remote within 3 feet of the receiver.
Time required: 60 seconds. Success sign: Green status light blinks briefly then stays solid. If no light appears, immediately replace the battery—you’re likely dealing with a dead cell even if it looks new.
Diagnose a Lost Connection Before Re-pairing

When your previously working remote suddenly fails, don’t jump straight to re-pairing. Most “connection failures” are actually simple battery or hardware issues. This diagnostic process takes 90 seconds and solves half of all reported problems before you touch any software.
Is the Problem a Dead Battery or a Broken Remote?
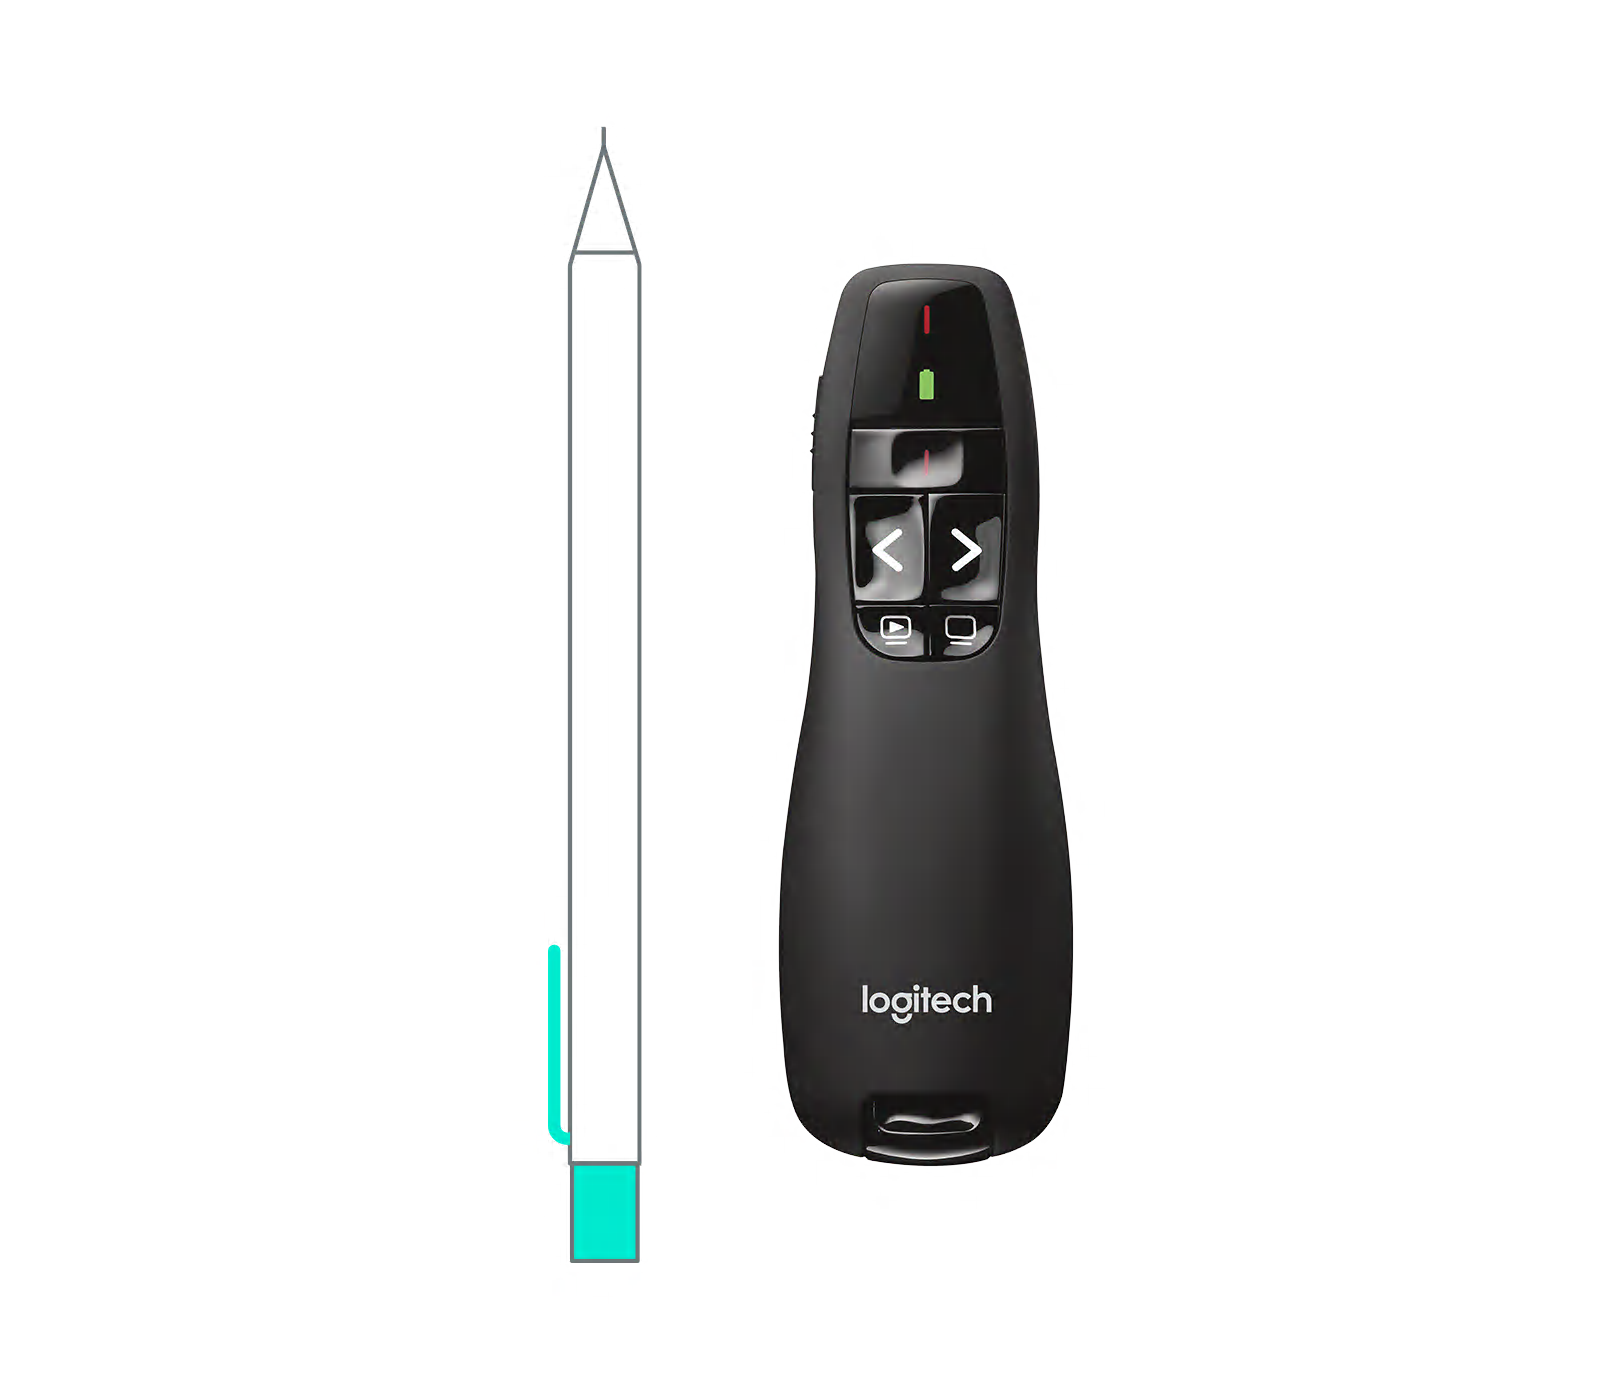
Test your remote in complete darkness: press any button while watching the infrared emitter (the small black window near the top). If you see a faint red light, the remote transmits signals—meaning your issue is receiver-related. No light? Replace the battery immediately, even if it’s “new.” Alkaline batteries degrade in storage, and presentation remotes drain power slowly over months. Pro tip: Keep a spare battery in your presentation bag. For R700/R800 models, check if the laser pointer works independently—if it does, your battery has partial charge but insufficient power for full remote functions.
How to Check if Your USB Receiver Is Faulty
Unplug the receiver and examine the metal contacts for lint or corrosion (common in laptop ports). Gently clean with a cotton swab if dirty. Then:
– Plug the receiver into another USB port
– Try it on a different computer
– Watch Device Manager (Windows) or System Report (Mac) for “Logitech Unifying Receiver” recognition
Critical visual cue: A working receiver shows as “Human Interface Device” in Device Manager. If missing, the dongle may be damaged—replace it before proceeding. Never attempt re-pairing with a faulty receiver.
Re-pair Your Logitech R400 Remote Using Official Software
When your R400 loses sync after battery replacement or storage, the Presenter Connection Software is Logitech’s mandated fix. This older utility (dated 2004) remains essential because it handles the proprietary encryption protocol newer apps ignore. Download it directly from Logitech’s servers—third-party sites often host malware-infested copies.
Downloading the Correct Presenter Connection Software
Find the official Windows-only installer at Logitech’s support portal: https://download01.logi.com/web/ftp/pub/techsupport/mouse/presenter_connection_zipped.exe. Do not use Unifying Software for R400 models—it won’t recognize the presenter remote. Extract the ZIP file, right-click the EXE, and select “Run as administrator” to bypass security blocks. Mac users: This software only runs on Windows; borrow a PC or try the manual method below.
Step-by-Step: Re-syncing with Logitech’s Tool
- With remote powered off, plug in the USB receiver
- Launch Presenter Connection Software as admin
- Click “Connect” when the app detects your receiver
- Immediately press the tiny button on the receiver’s side (requires paperclip)
- Hold Back (|<<) and Forward (>>|) buttons on the remote for 5 seconds
- Release when the status light blinks rapidly
Time estimate: 3 minutes. Warning: If the receiver button doesn’t depress smoothly, you’re using the wrong software—stop and verify your model.
Manual Re-pairing for R400 When Software Fails
No access to Windows? The presenter software crashes? This user-discovered method bypasses software requirements entirely. It exploits a hidden pairing mode activated through precise button timing—a lifesaver when you’re on a client’s Mac laptop minutes before a pitch.
The Button Combination That Fixes Most R400 Sync Issues
- Plug USB receiver directly into computer
- Press and hold Back (|<<) and Forward (>>|) buttons
- While holding, flip the power switch to “On”
- Continue holding both buttons for exactly 7 seconds
- Release and test slide advance functions immediately
Why 7 seconds? Shorter holds trigger presentation mode; longer holds drain the battery. If unsuccessful, repeat twice more with 20-second pauses between attempts—this resets the remote’s internal buffer.
Why You Must Hold the Buttons for 5+ Seconds
Timing is critical because the R400’s firmware requires sustained signals to enter pairing mode. Holding under 5 seconds only activates normal operation. Over 10 seconds risks battery drain that kills the pairing attempt. Watch for the status light: a slow blink means you’re in pairing mode; rapid blinking indicates success. If the light stays off, your battery has insufficient voltage—replace it with a brand-new alkaline cell (not rechargeable).
Connect Logitech R700 or R800 Spotlight Remotes
Newer Spotlight models use different pairing protocols. The R700/R800 requires Logitech Unifying Software—not the older Presenter tool—because they share technology with keyboards and mice. Confusing these software types is the #1 reason Spotlight remotes fail to reconnect.
Using Logitech Unifying Software for Newer Models
Download the cross-platform Unifying Software from Logitech’s support site. After installation:
1. Plug in your receiver (look for the orange star logo)
2. Open Unifying Software and click “Pair a New Device”
3. Hold Back and Forward buttons on the remote for 5 seconds until the status light blinks green
4. Click “Next” in the software when the remote appears in the list
Pro tip: On Macs, grant Accessibility permissions in System Settings > Privacy when prompted—this is required for slide control.
How to Activate Pairing Mode on Spotlight Remotes
Unlike the R400, Spotlight remotes enter pairing mode after power-on. The correct sequence:
1. Power on the remote (status light glows solid green)
2. Press and hold Back + Forward buttons for 5 seconds
3. Release when light transitions to rapid blinking
Visual confirmation: A solid green light means normal operation; blinking = pairing mode. If light stays solid, repeat with 7-second holds—firmware versions vary.
Identify Your Receiver: Unifying vs. Bolt vs. Proprietary
Mistaking receiver types causes 70% of failed pairing attempts. Check your USB dongle immediately:
– Unifying Receiver: Orange star logo (works with R700/R800 via Unifying Software)
– Bolt Receiver: Silver logo with “Bolt” text (requires Logi Options+ app)
– Proprietary Receiver: No logo (R400-specific; needs Presenter Connection Software)
Critical warning: You cannot pair a remote to a different receiver type. An R400 remote won’t work with a Unifying receiver—even with software. Always match receiver logos to software requirements.
Prevent Future Connection Failures
Avoid last-minute panic with these field-tested maintenance habits. Logitech remotes typically last 5+ years when stored properly, but improper handling causes premature failures.
Battery Maintenance for Long-Lasting Remote Performance
Remove batteries when storing remotes for over 2 weeks—alkaline cells leak and destroy circuits. For active use, replace batteries annually even if functional; voltage drops below 1.3V cause intermittent failures. Never use rechargeable AA batteries—they operate at 1.2V, below the 1.4V minimum required for reliable signal transmission.
Safe Storage Practices for Your USB Receiver
Always return the receiver to its slot inside the remote’s battery compartment after use. This prevents loss and protects the delicate antenna. If your compartment lacks a receiver slot (common in R700), attach a keyring to the dongle. Pro move: Label receivers with model numbers using a fine-tip marker—Logitech’s tiny dongles look identical when jumbled in a drawer.
Final Connection Checklist Before Presenting:
✅ Fresh alkaline battery installed (non-rechargeable)
✅ USB receiver plugged directly into computer (no hub)
✅ Remote within 3 feet of receiver during setup
✅ Correct software installed for your receiver type
✅ Power switch fully engaged to “On” position
When your Logitech presentation remote connects reliably, you gain confidence that translates to better delivery. Remember: most “broken” remotes just need battery replacement or a 7-second button hold. Bookmark this guide on your presentation laptop—it’s saved thousands from mid-presentation disasters. For persistent issues with R700/R800 models, the Logi Options+ app offers advanced diagnostics not covered here. Now go own that stage.


