
Your fingers fumble during intense gaming moments as you hunt for critical keybinds on your standard keyboard. The Logitech G13 Advanced Gameboard solves this problem with its 20 programmable G-keys, thumbstick, and dynamic LCD screen—but only if you know how to harness its full potential. Learning how to use Logitech G13 properly transforms this intimidating device from a confusing accessory into your tactical advantage. In this guide, you’ll discover the exact steps to configure profiles for specific games, program battle-winning macros, and unlock hidden features like mode layers that triple your available commands. Stop wasting time searching for keys and start dominating your favorite games with a customized control system built for your left hand.
Unlike standard peripherals, the G13 requires specific software to unlock its capabilities. You won’t get far without installing Logitech G HUB or the legacy Gaming Software (LGS), which serves as your command center for all customizations. The moment you connect this device, you’re not just adding keys—you’re creating a dedicated gaming cockpit that adapts to each title you play. Whether you’re navigating World of Warcraft raids or piloting trucks in Euro Truck Simulator 2, the G13 puts complex actions at your fingertips. We’ll walk through every critical step from initial connection to programming advanced macros, so you can convert this powerful hardware into your personal gaming accelerator.
First-Time Logitech G13 Setup: Connect, Install Software, and Detect Device
Skip this step and your G13 becomes an expensive paperweight. Proper setup requires specific software that recognizes the device’s unique hardware configuration. Unlike plug-and-play keyboards, the G13 needs dedicated drivers to communicate with your operating system and games.
Connect Your G13 to Your Computer
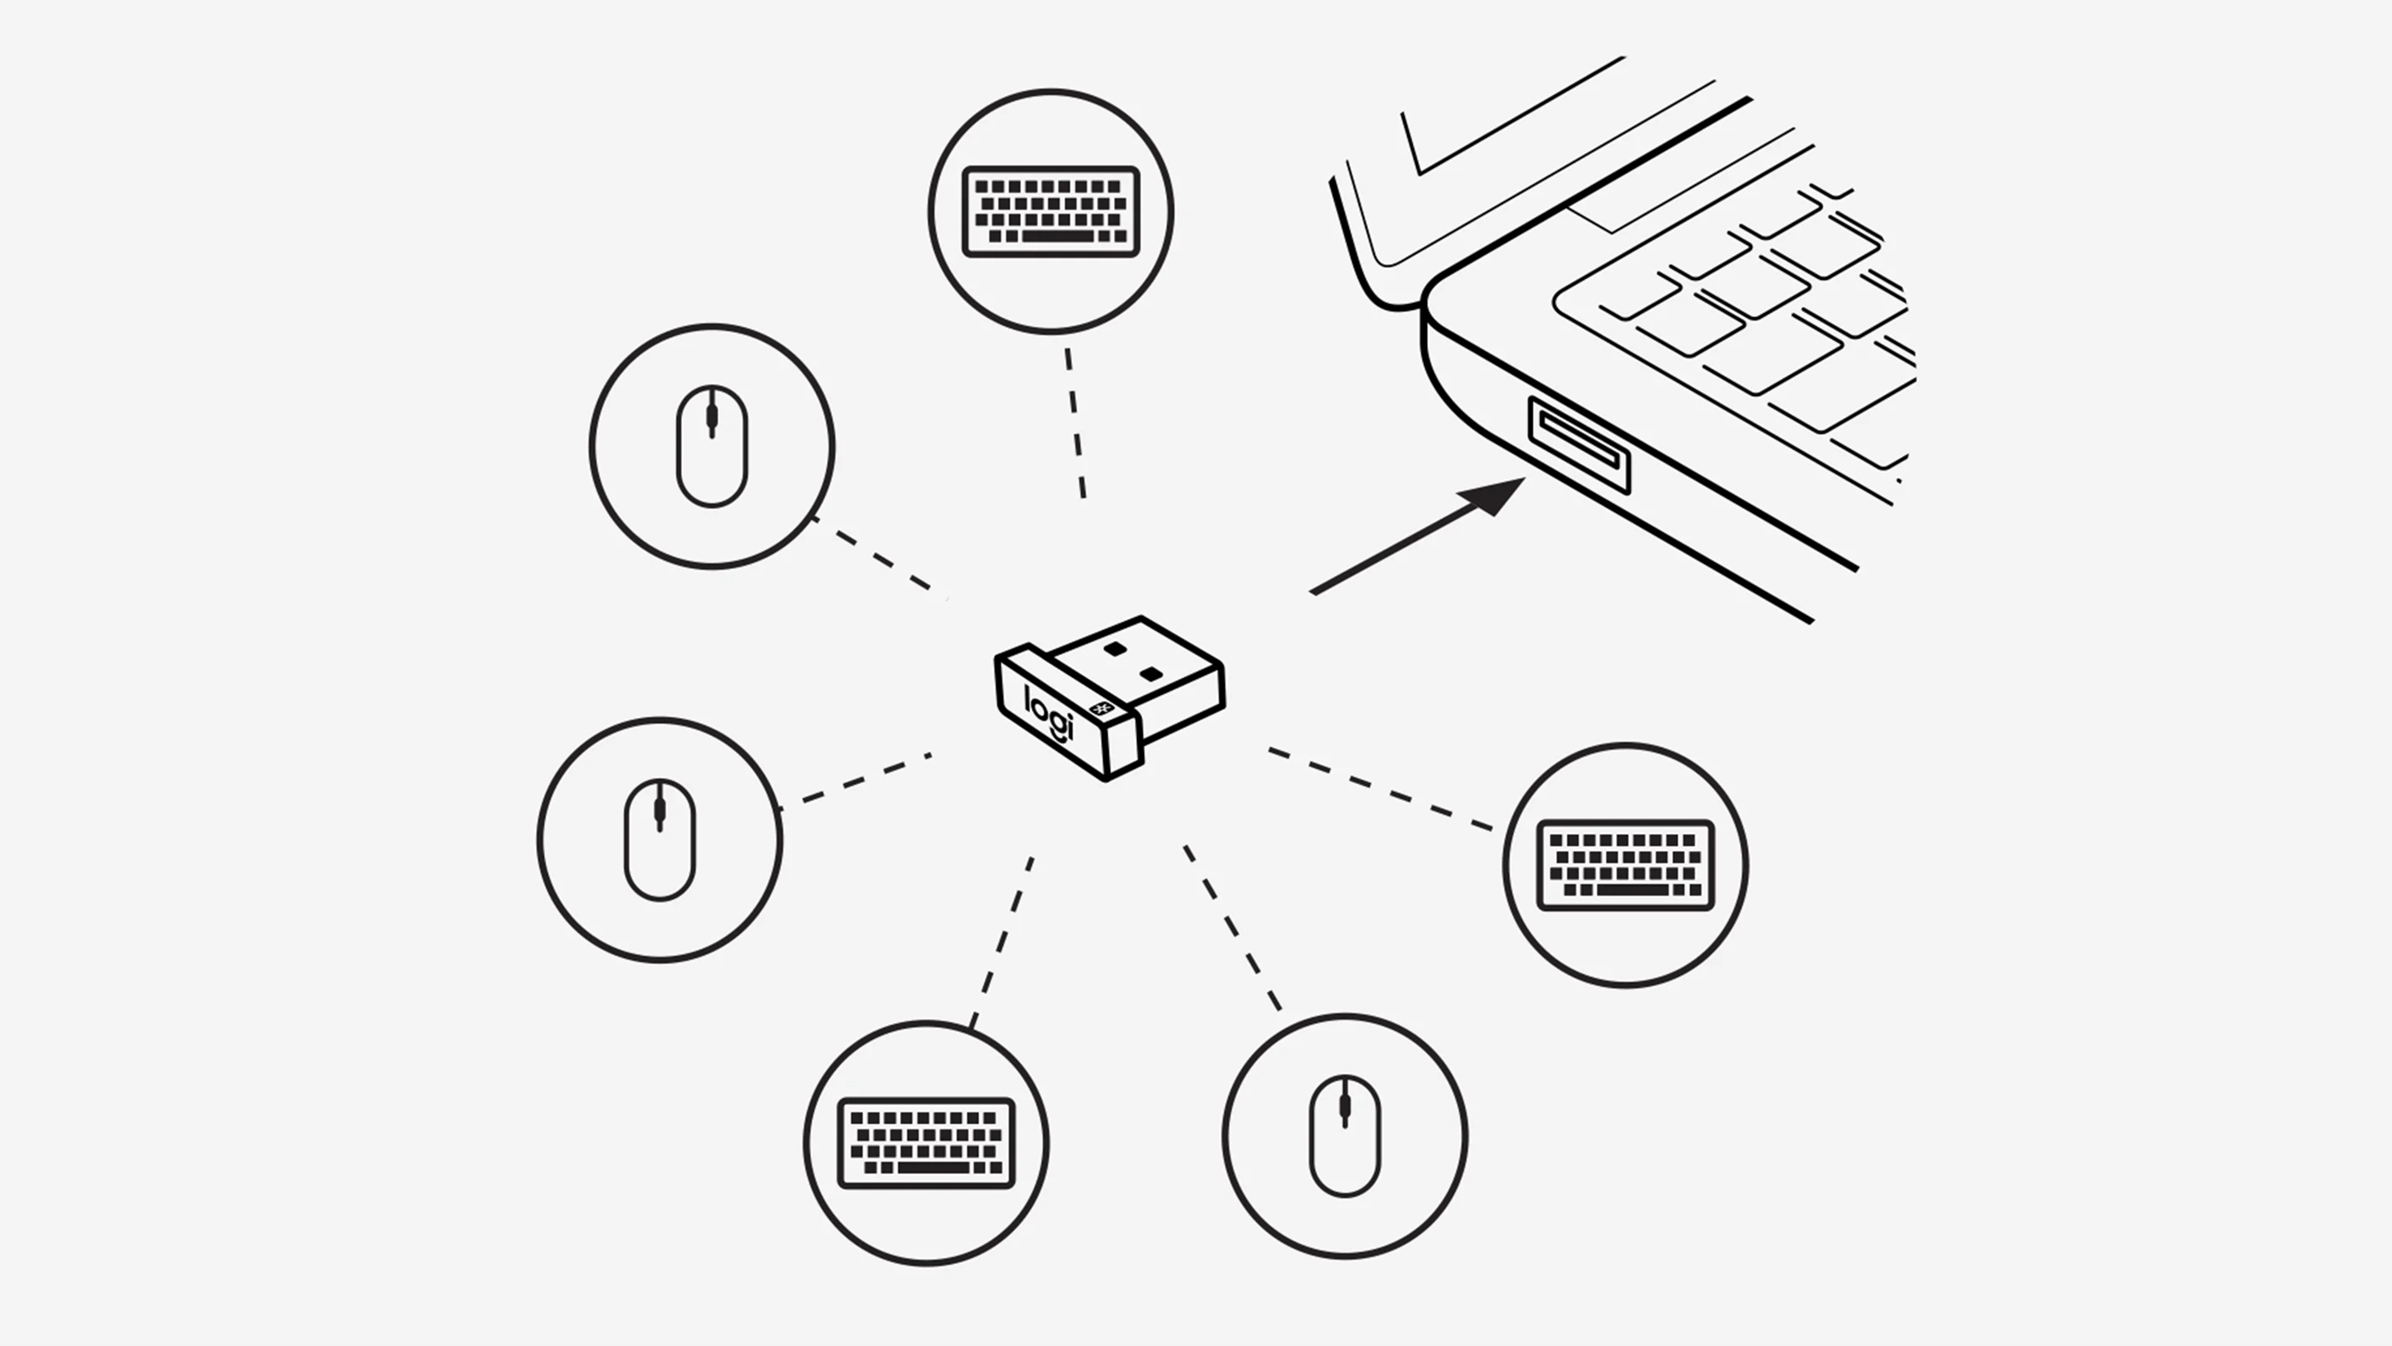
Grab the included USB cable and plug the G13 directly into your computer—avoid USB hubs which cause detection issues. Critical warning: Windows may show a “Device Not Recognized” error; this is normal and indicates you need the correct software. Visit Logitech’s official support page and download either G HUB (newer) or Logitech Gaming Software (LGS). LGS remains the preferred choice for G13 users due to deeper legacy support and more stable macro functionality. After installation, reconnect the device. The software will automatically detect your G13 within 30 seconds, displaying its icon in the device list. If detection fails, unplug/replug while the software is open—this forces an active hardware scan.
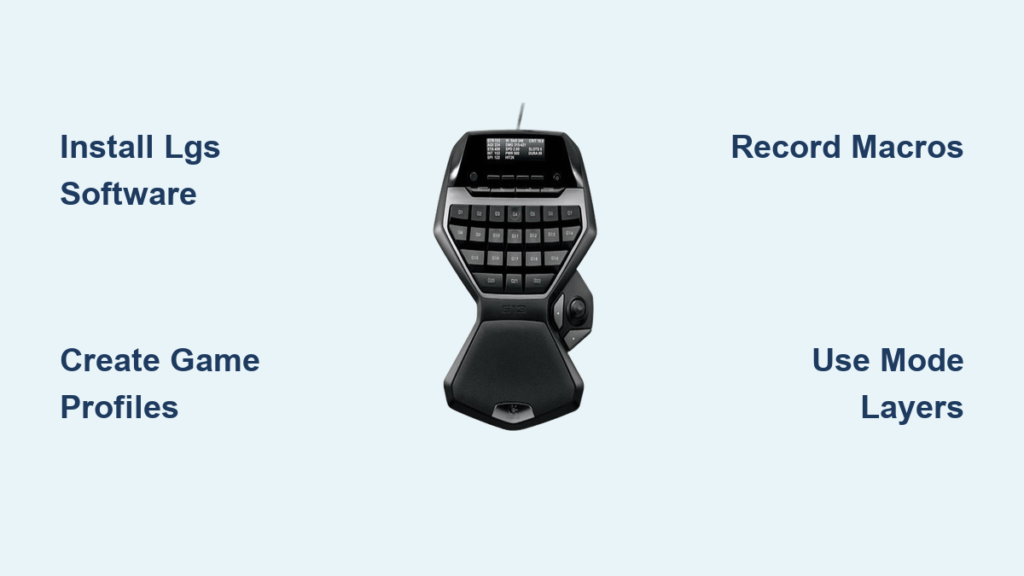
Understand the G13’s Physical Layout
Your left hand controls everything on this ergonomic gameboard. The 4×4 grid of G-keys (labeled G1-G20) forms the core input surface, surrounded by three critical mode keys (M1-M3) at the top. The textured thumbstick doubles as a D-pad or analog joystick, while the monochrome LCD screen above it provides real-time feedback. Notice the dedicated macro record button below the LCD—press this before recording any sequence. The G13’s layout intentionally mirrors your natural hand position: thumb on the stick, index finger hovering over G1-G4, middle finger on G5-G8. This design minimizes finger travel during intense gameplay compared to standard keyboards.
Install and Update Logitech Software
After installing LGS (recommended) or G HUB, open the application and click “Download” when prompted for device-specific profiles. This installs the G13’s firmware drivers—never skip this step. Check for updates weekly; outdated software causes macro failures in newer games. In LGS, navigate to Help > Check for Updates. If using G HUB, updates install automatically but offer fewer G13 customization options. Confirm successful setup when the software displays your G13’s LCD preview showing “Logitech G13” with a green status indicator. If you see a red “X”, restart both the software and your computer before reconnecting the device.
Create Game-Specific Profiles for Logitech G13 in G HUB

Generic keybindings waste the G13’s potential. Profiles automatically switch your configuration when launching specific games, turning one physical device into multiple specialized controllers. A World of Tanks profile might map G1-G4 to fire control keys, while a StarCraft II profile assigns them to unit groups.
Creating a New Profile
In Logitech software, click the “+” icon next to “Profiles.” Name it after your game (e.g., “WoW – Shadowlands”) for instant recognition. Enable “Auto-Switch” so the software detects when World of Warcraft.exe launches and loads this profile. Pro tip: For non-game applications like Photoshop, create a “Productivity” profile mapping G-keys to Ctrl+C/Ctrl+V equivalents. Always test profile switching by launching your game—watch the LCD screen change to confirm active profile detection. If auto-switch fails, manually select the profile before launching your game.
Assigning Keys and Macros
Click any G-key in the on-screen G13 display. Choose “Keystroke” to assign single keys (like “1” for spell casting), “Mouse” for camera control, or “String” for complex commands like “/join raid.” For thumbstick configuration, select “Thumbstick Mode” then choose between “D-Pad” (for menu navigation) or “Joystick” (for in-game movement). Critical mistake to avoid: Never assign conflicting keys already used by your mouse or main keyboard—this causes input conflicts. Test every assignment in-game; if a key doesn’t register, reduce the “Delay” setting to 10ms in advanced options.
Record and Edit Winning Macros for Logitech G13 in 3 Steps
Macros automate multi-step actions into single keypresses—your secret weapon for complex spell rotations or inventory management. A perfectly timed macro can mean victory in Guild Wars 2 where milliseconds matter.
Recording a Simple Macro
Press the dedicated Macro Record button (below LCD), then click your target G-key (e.g., G3). The LCD flashes “REC.” Now press your sequence: for a healer, this might be “1” (Heal), wait 0.5s, “2” (Buff), wait 0.3s, “3” (AoE Heal). Press Macro Record again to stop. Visual cue: The LCD shows “SAVED” with macro duration. Always include slight delays between actions—0ms macros fail in most games due to input processing time. Test immediately in training mode; if spells cast out of order, re-record with longer pauses.
Editing Macro Delays and Loops
Right-click your macro and select “Properties.” In the timeline editor, drag action markers to adjust timing. For a World of Tanks reload macro (R then Enter), set 1,200ms between keys to match reload animation. Enable “Repeat while pressed” for continuous actions like sprinting—hold G5 to move instead of mashing W. Expert note: Use “Toggle” mode for on/off functions (e.g., G20 for push-to-talk). This prevents accidental deactivation during keypresses. Never exceed 30 actions per macro; games like EVE Online may flag longer sequences as bots.
Unlock G13 Mode Layers, Thumbstick Controls, and LCD Programming

Most users never explore beyond basic macros, missing the G13’s most powerful features. Mode keys (M1-M3) effectively triple your key capacity, while the LCD provides critical in-game data without screen clutter.
Master the Mode Keys for Triple Keybinds
M1-M3 don’t send inputs—they switch entire keymap layers. Press M1 for combat abilities, M2 for movement/potion keys, M3 for chat macros. In The Elder Scrolls Online, M1 could be damage spells, M2 healing, M3 utilities. Critical setup: In software, duplicate your base profile into three versions (M1, M2, M3), then customize each. The LCD updates to show active mode (e.g., “M1: DPS”). Never assign mode keys to in-game modifiers like Shift—this causes layer conflicts. Test mode switching during gameplay; if layers don’t change, reduce “Mode Switch Delay” to 50ms.
Configure Thumbstick as D-Pad or Joystick
Access thumbstick settings via the software’s “Thumbstick” tab. Select “D-Pad Mode” for discrete directional inputs (ideal for menu navigation in Arma 3). Choose “Joystick Mode” for analog movement in isometric games like Diablo III. Pro tip: In FPS games, set it to mouse emulation for camera control while keeping WASD for movement—this enables true dual-stick control on PC. Calibrate sensitivity using the “Dead Zone” slider; 15% prevents accidental inputs during thumb repositioning.
Program LCD for Real-Time Game Data
Install Logitech’s ARX Control app to display system stats (CPU/temp) on the LCD. For true gaming integration, download game-specific plugins like “LCDG13” for Euro Truck Simulator 2. These .LUA scripts pull speed, gear, and fuel data directly onto your G13 screen. Troubleshooting: If LCD shows “No Data,” verify the plugin is placed in the game’s /plugins folder and restart both ARX Control and the game. In Arma 3, display health and ammo by enabling “In-Game Overlay” in the plugin settings—this eliminates screen-hogging HUD elements.
5 Expert Tips to Maximize Logitech G13 Performance and Longevity
Start Simple and Build Gradually
Map only your 5 most critical actions on day one (e.g., heal, sprint, reload). Add new macros weekly as muscle memory develops. Overcomplicating early leads to frustration and abandonment.
Maintain Consistent Key Mapping Across Games
Assign “Jump” to G1 in all FPS titles and “Mount” to G20 in MMOs. This creates universal muscle memory—your fingers work automatically regardless of game.
Backup Profiles Before System Changes
Click File > Export in LGS to save .CFG profile files. Store them in cloud storage. After Windows updates, import these to avoid reprogramming everything—a 2-minute save after 5 hours of setup.
Update Firmware Monthly
Check Logitech’s G13 support page for firmware updates. Updated firmware fixes macro timing issues in new game patches. Install via LGS under Device Settings > Firmware Update.
Clean Thumbstick Monthly
Dust buildup causes drift. Power off the G13, tilt it vertically, and blow compressed air around the stick base. Never use liquids—this voids warranty.
Mastering how to use Logitech G13 transforms gaming from reactive to strategic. By implementing these setup protocols and macro techniques, you’ll execute complex actions faster than对手 with standard keyboards. The real power lies in layering these techniques: combine mode-switching with LCD feedback to monitor resources while executing thumbstick-controlled movement. Remember to export profiles after each major customization session—this device becomes irreplaceable once properly configured. Your next raid victory or racing podium finish starts with the G13 settings you create today. Now power up your software and program that first macro; your competitive edge awaits.


