
Mounting your Logitech webcam correctly transforms your video presence from amateur to polished professional in minutes. Whether you’re conducting important business meetings, teaching online classes, or streaming gaming content, a properly positioned webcam creates eye contact that builds trust and engagement. The right mounting technique prevents distracting wobble, ensures optimal framing, and eliminates the unflattering “up-the-nose” angle that plagues so many video calls. Most users waste hours adjusting their setup after mounting incorrectly, but with the right approach, you’ll achieve broadcast-quality video in under five minutes.
Your Logitech webcam’s mounting method directly impacts video quality more than most people realize. A shaky or poorly positioned camera undermines even the highest-resolution sensor, while a stable, well-placed mount makes average hardware look professional. This guide reveals exactly how to mount Logitech webcam models correctly for any setup—laptop, monitor, or custom streaming rig—without expensive accessories. You’ll learn which mounting method works best for your specific model, how to avoid common positioning mistakes, and professional techniques for rock-solid stability that survives accidental desk bumps.
Why Your Logitech Webcam Mounting Position Makes or Breaks Video Quality
The Eye-Level Rule for Professional Video Presence
Mounting your Logitech webcam at eye level creates natural eye contact that builds rapport during video calls. When your camera sits below eye level (like on a laptop keyboard), viewers see an unflattering upward angle that emphasizes double chins and creates psychological distance. Conversely, mounting too high forces you to look down, creating hooded eyes that appear disengaged. The optimal position places the camera lens directly at or slightly above your seated eye level—typically 2-4 inches above your monitor top.
For monitor setups, clamp your Logitech webcam to the top bezel with the lens centered above your screen. Laptop users should elevate their webcam using a small stand or stack of books to achieve proper height. Streaming professionals often mount their Logitech C920 or Brio models on adjustable arms that position the camera precisely at eye level regardless of monitor height. Test your positioning by sitting in your normal video call posture and checking that your eyes appear in the upper third of the frame with a neutral, engaging expression.
How Mounting Stability Affects Video Performance

A wobbly Logitech webcam sabotages your video quality regardless of resolution. Even minor vibrations from typing or desk movement create distracting motion blur that fatigues viewers. Proper mounting technique eliminates this problem through three critical stability factors: secure attachment points, reduced leverage, and vibration isolation.
When using the universal clip mount, tighten the tension screw until the webcam resists gentle pressure without sliding. For tripod mounts, ensure the 1/4″-20 screw fully engages the threads before tightening. Professionals add stability by mounting webcams on weighted bases or using vibration-dampening materials like rubber washers between the mount and surface. Test stability by gently tapping your monitor—if the image wobbles more than 2 seconds, retighten your mount or add counterweight.
Lighting Considerations Based on Mounting Position
Your webcam’s mounting position determines how lighting interacts with your face, making proper placement essential for flattering video. Mounting facing a window creates backlighting that silhouettes your features, while positioning with light behind you produces flat, shadowless illumination. The ideal setup places your primary light source (natural or artificial) directly in front of you, slightly offset to create dimension.
When mounting your Logitech webcam above your monitor, position your main light source just below eye level and slightly to one side—never directly behind the camera. For dual-monitor setups, mount the webcam on your center screen to maintain consistent lighting. Streaming professionals often use ring lights positioned just above the webcam mount to create even, shadow-free illumination. Test your lighting by checking for harsh shadows under your eyes or nose, which indicate improper light placement relative to your mounted camera.
Step-by-Step Guide to Securely Mounting Any Logitech Webcam Model
How to Mount Logitech Webcam to Monitor Without Damaging the Screen
Clamping your Logitech webcam to a monitor requires careful technique to avoid screen damage while ensuring stability. Start by identifying your monitor’s thickness—most modern flat screens have 0.5-1 inch bezels that accommodate standard clips. Open the universal clip by pressing both release levers simultaneously, then position it over your monitor’s top edge with the webcam lens facing forward.
Gently squeeze the clip until it makes contact with both the front and back of the bezel, then slowly release the levers to engage the spring mechanism. Tighten the adjustment screw in quarter-turn increments while checking for stability—stop when the webcam resists moderate pressure without sliding. For curved monitors, position the clip near the center where curvature is minimal. Critical tip: Never overtighten, as this can crack thin monitor bezels—your mount should be secure but removable without tools.
Mounting Logitech Webcam on Laptop: Solving the Height Problem
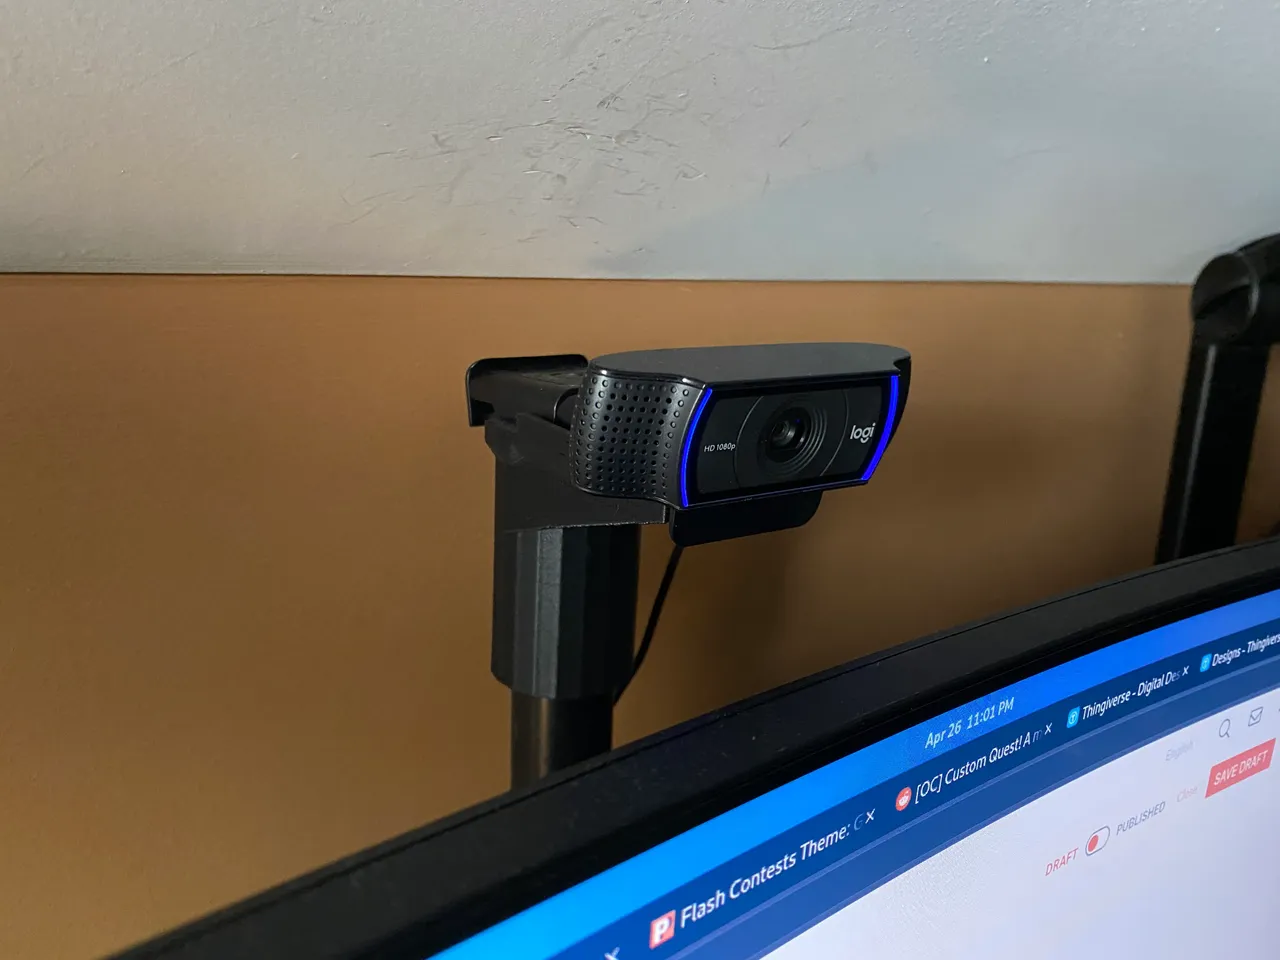
Laptop users face the unique challenge of mounting webcams at proper height without obstructing the screen. The built-in camera rarely provides professional results, making external Logitech webcam mounting essential. Your best option is a flexible gooseneck mount that attaches to your laptop’s back edge, positioning the camera above screen level.
Place the clamp on the thickest part of your laptop’s rear chassis (avoiding ventilation slots), then extend the gooseneck to position the camera 2-4 inches above your screen. Alternatively, use a small monitor riser to elevate both your laptop and webcam mount. When traveling, a mini tripod with weighted base provides stable desktop mounting without screen attachment. Pro tip: Angle the webcam slightly downward to maintain eye contact while keeping your screen visible—never mount it below screen level.
Tripod Mounting Techniques for Studio-Quality Webcam Placement
The standard 1/4″-20 thread on most Logitech webcams (C920, C922, Brio) enables professional mounting options beyond basic clip attachments. For optimal studio positioning, mount your webcam on a tabletop tripod with adjustable legs that positions the camera at precise eye level. Extend the center column minimally to reduce vibration, and add weight to the tripod base using sandbags or books for maximum stability.
Articulating arms provide even greater positioning flexibility—they clamp to your desk edge and allow 360-degree camera rotation. Position the arm so the webcam mounts directly in front of you at eye level, with the arm extending just far enough to avoid monitor obstruction. Expert note: When using third-party mounts, verify thread compatibility—some budget adapters use metric threads that can strip your webcam’s mounting point over time.
Troubleshooting Common Logitech Webcam Mounting Problems
Even with proper technique, you might encounter mounting issues that compromise your video quality. If your webcam slips downward on a monitor, the clip tension is insufficient—add thin rubber washers between the clip and monitor for better grip. For persistent wobble, check that all mounting screws are fully tightened and that your surface isn’t vibrating from nearby equipment.
When the camera angle constantly shifts during use, your mount lacks sufficient friction—apply a small amount of thread locker to the adjustment points (avoiding moving parts). If your Logitech webcam won’t stay connected after mounting, ensure you’re using a direct USB port rather than a hub, and verify cable strain relief by leaving a small loop near the connection point. Critical fix: For models with integrated cables, never let the cable bear weight—secure it separately to prevent port damage.
Professional Mounting Hacks for Specific Logitech Webcam Models
Optimizing Mounting for Logitech C920 and C922 Series
The popular C920 and C922 models feature both universal clip and standard tripod mount options. For maximum stability, combine both mounting methods: attach the clip to your monitor for primary support, then secure the tripod thread to an adjustable arm for fine positioning. This dual-mount technique prevents the “nodding” problem common with clip-only installations.
When mounting the C922 for streaming, position it slightly off-center to avoid obstructing your primary monitor view. The built-in privacy shutter requires unobstructed movement—ensure your mount doesn’t interfere with the sliding mechanism. Pro tip: Rotate the C922 90 degrees for vertical framing during mobile-focused streams, using the tripod mount to maintain stability in this orientation.
Advanced Mounting Solutions for Logitech Brio 4K
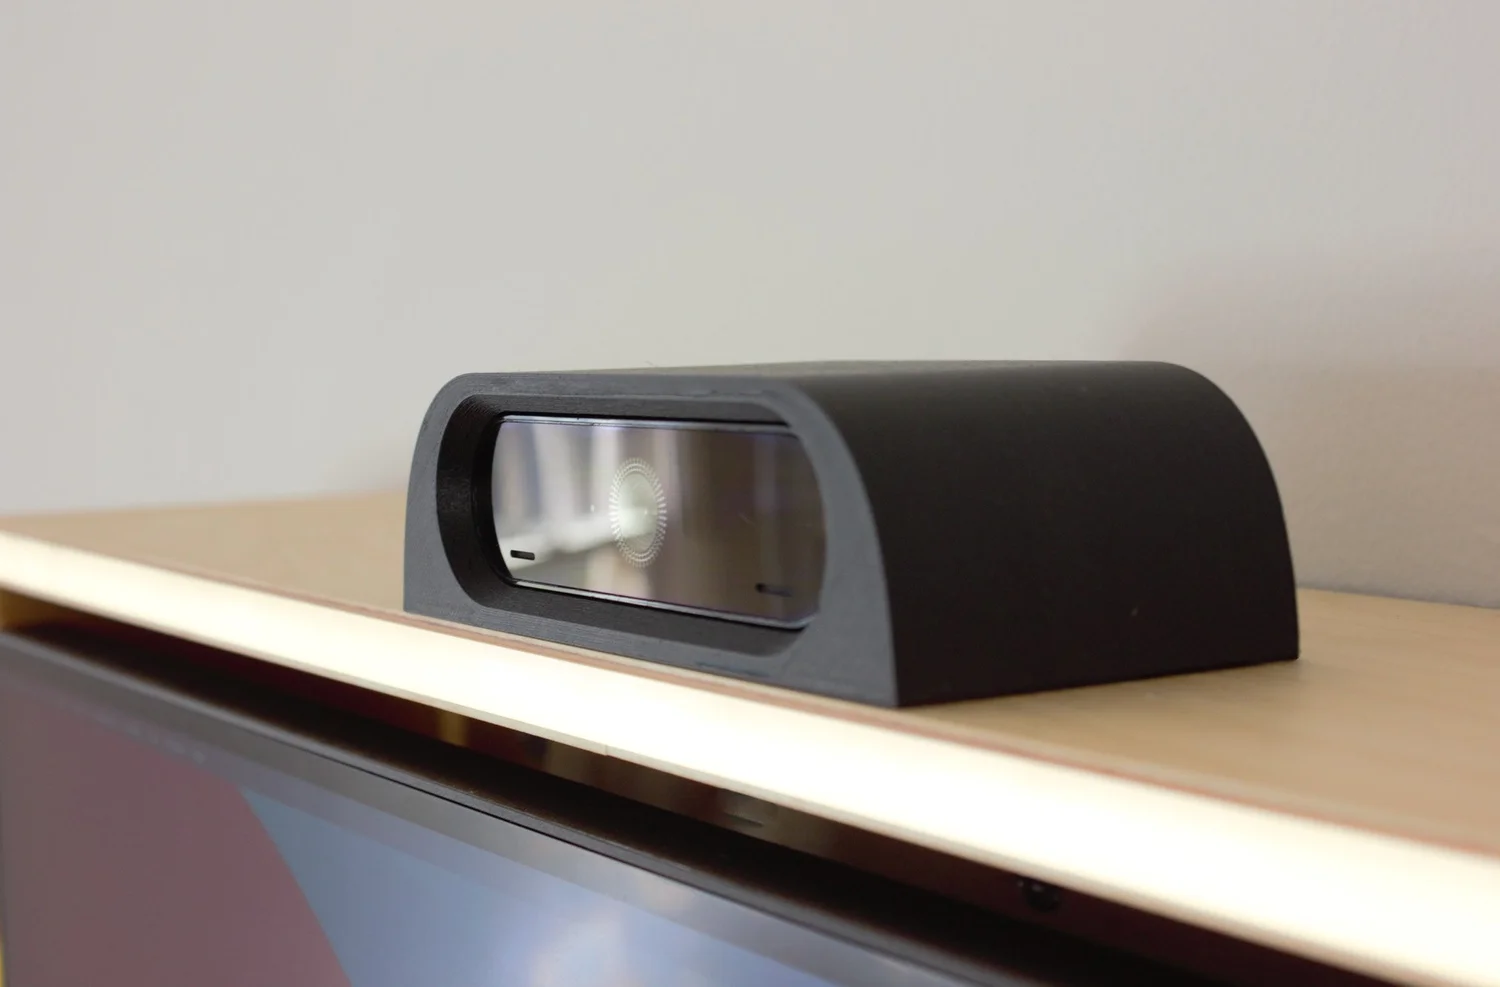
The premium Brio 4K demands precise mounting due to its higher resolution revealing more imperfections. Use a solid metal mount rather than plastic alternatives to prevent vibration blur. For conference room installations, mount the Brio above the display using a VESA-compatible bracket that positions the camera exactly at eye level for seated participants.
The Brio’s auto-framing feature works best when mounted centrally with a clear view of your entire upper body. Avoid flexible mounts that could shift during auto-zoom operations. Expert technique: When mounting for dual-monitor setups, use a center mount positioned above both screens to maintain consistent eye contact direction regardless of which screen you’re viewing.
Budget-Friendly Mounting Alternatives for Any Logitech Webcam
You don’t need expensive accessories to mount your Logitech webcam professionally. A sturdy binder clip with rubber bands creates instant stability—attach the clip to your monitor top, then secure the webcam using elastic tension. For temporary setups, stack books or binders to elevate your webcam to proper height, securing it with non-slip mat material.
The most reliable budget solution is a $10 flexible smartphone tripod that accommodates the standard 1/4″-20 thread. Position it on your desk with legs spread wide for maximum stability, then adjust the ball head for perfect framing. Smart hack: Use Sugru moldable glue to create custom mounting brackets that hold your webcam securely without clamping mechanisms.
Mounting your Logitech webcam correctly delivers immediate improvements to your professional presence without expensive upgrades. The perfect mount positions your camera at eye level, eliminates distracting movement, and works seamlessly with your lighting setup. Remember that stability trumps fancy positioning—spend extra time securing your mount properly rather than chasing perfect angles that wobble during use. For ongoing maintenance, periodically check all mounting points for looseness, especially after moving your setup. The few minutes spent perfecting your Logitech webcam mount pays dividends in every video interaction, transforming how colleagues, clients, and audiences perceive you. Next time you join a video call, notice how natural eye contact builds connection—proof that you’ve mastered how to mount Logitech webcam for professional results.


