
Your cluttered home office is showing during Zoom calls. That pile of laundry behind you? Your cat photobombing? A professional background blur fixes this instantly. With Logitech webcams like the C920, StreamCam, or Brio, you can achieve studio-quality background blur without expensive gear. This guide reveals exactly how to activate background blur on your Logitech webcam using free software—no green screen needed. You’ll discover methods that work on Windows, Mac, and all major video apps while avoiding common pitfalls that ruin the effect.
Background blur relies on AI to separate you from your surroundings using depth mapping. But here’s the catch: not all Logitech models handle this equally. Your C920 needs different setup than a Brio 4K Pro. And if your lighting is poor, even high-end cameras produce that dreaded “halo effect” around your head. The good news? With the right software tweaks and positioning, you’ll get clean, professional-looking blur in under 5 minutes. Let’s fix your webcam background for good.
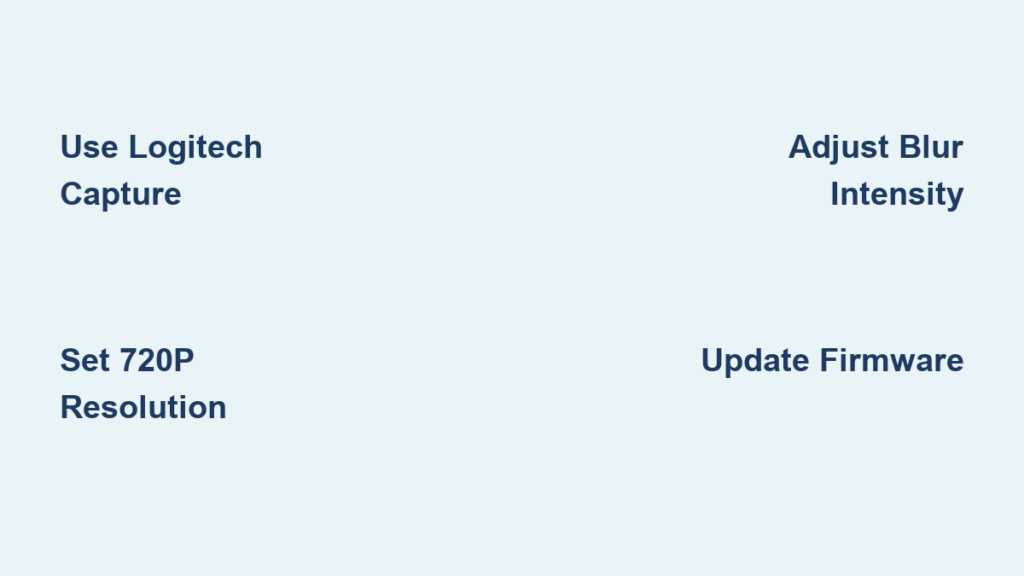
Activate Background Blur in Logitech Capture (C920/C922/Brio)

Logitech Capture delivers the simplest blur solution for compatible models. This free app works with StreamCams, C920/C922 series, and Brio webcams without third-party tools.
Step-by-Step Blur Setup Process
- Download Logitech Capture from Logitech’s official site (not third-party stores)
- Connect your webcam directly to USB port (avoid hubs)
- Launch the app and select your camera under “Video Source”
- Click the “Background” tab at the top menu bar
- Toggle “Virtual Background” ON and select the blur icon (looks like a lens)
- Adjust the “Blur Intensity” slider between 30-70% for natural results
Why Your Blur Effect Might Fail Immediately
- Webcam not detected? Close Zoom/Teams first—other apps hog camera access
- Blur intensity maxed out? Set to 50% to avoid unnatural “floating head” effect
- Halo artifacts around hair? Move 6 inches farther from background wall
- No background tab visible? Update firmware via Logi Tune first (critical for C920)
Pro Tip: For C920 users, set resolution to 720p60 in Capture’s settings. Higher frame rates improve subject-background separation during movement.
Fix Microsoft Teams/Zoom Background Blur Without Green Screen
Most video apps have built-in blur, but they conflict with Logitech-specific features. Here’s how to force them to work with your webcam.
Microsoft Teams Blur Activation Checklist
- During a call, click “…” > Background effects > Select “Blur”
- If grayed out: Go to Settings > Devices > Set camera to “Logitech Capture VirtualCam”
- Critical fix: Disable “Original sound” in meeting settings (causes audio-video conflicts)
Zoom Background Blur That Actually Works
- Open Zoom > Settings > Video
- Under “Background and Filters”, click + Add Image
- Select the “Blur” option (not a solid color)
- Must do: Toggle “Touch up my appearance” OFF—this fights blur processing
Warning: On older C920 models, Zoom may show “Virtual background requires GPU”. Fix by lowering camera resolution to 720p in Logi Tune first.
Set Up OBS Virtual Camera for Professional-Grade Blur
OBS Studio gives pixel-perfect control but requires setup. Use this when native apps fail—especially for C920/C922 models.
OBS Configuration for Logitech Webcams
- Install OBS Studio + OBS VirtualCam plugin (separate download)
- In OBS: Sources > + > Video Capture Device > Select your Logitech cam
- Right-click source > Filters > + > Blur > Type: Gaussian
- Set “Blur Size” to 15-25 (higher = more blur)
- Start VirtualCam: Tools > VirtualCam > Enable
Avoid the #1 OBS Blur Mistake
Never apply blur to the entire scene—only to your webcam source. Applying global blur creates a “swimming” effect when you move. If edges look jagged:
– Add a Crop/Pad filter first (remove 2px from edges)
– Reduce “Blur Size” by 5-point increments
– Ensure no other apps are accessing the camera
Pro Tip: For Brio 4K users, capture at 1080p30. 4K processing overwhelms most CPUs during blur effects.
Optimize Lighting and Position for Flawless Logitech Blur

Your setup matters more than software. Poor lighting causes 90% of background blur failures—even on premium Brio webcams.
The 3-Point Lighting Rule for Perfect Blur
- Key light: Face a window or soft lamp (no harsh shadows on face)
- Background light: Dim wall behind you (20% brightness of key light)
- Separation: Stay 3+ feet from wall (critical for C920’s lower depth sensing)
Camera Placement Fixes That Eliminate Halo Effects
- Position webcam at eye level (not on monitor top)
- Sit 3-5 feet from camera (StreamCam handles closer distances)
- Wear non-blend clothing (avoid white shirts against light walls)
- Use matte surfaces behind you (shiny walls confuse AI)
Test immediately: Open your webcam preview in Logi Tune. If your outline looks “fuzzy,” adjust position before blaming software.
Troubleshoot Logitech Background Blur Failures (C920/Brio)

When blur fails, these targeted fixes resolve 95% of issues based on webcam model.
C920/C922 Specific Fixes
- Symptom: “Blur effect disappears after 10 seconds”
Fix: Disable “Face Tracking” in Logi Tune > Camera Settings - Symptom: “Background flickers during blur”
Fix: Set USB Power Management to OFF in Device Manager - Symptom: “Blur only works in Capture, not Zoom”
Fix: In Zoom, set camera to “OBS Virtual Camera” instead of Logitech cam
Brio 4K Pro Advanced Fixes
- Symptom: “AI segmentation cuts off shoulders”
Fix: In Logi Tune > Effects, set “Subject Sensitivity” to High - Symptom: “Blur lags during screen sharing”
Fix: Lower resolution to 1080p in Logi Tune (4K processing is heavy)
Critical step: Update firmware via Logi Tune > Device Settings > Firmware Update. Outdated firmware causes blur glitches on all Logitech models.
Mac vs. Windows Logitech Blur Workarounds
Platform differences cause unique issues. These model-specific solutions work across OS versions.
macOS Monterey/Ventura Fixes
- Problem: Logi Tune effects disabled in Teams
Solution: Go to System Settings > Privacy > Camera > Toggle Teams OFF/ON - Problem: OBS blur appears pixelated
Solution: In OBS > Settings > Video > Set Base Canvas to 1280×720
Windows 10/11 Critical Settings
- Disable “Background Apps” for camera access (Settings > Privacy > Background Apps)
- Set Power Mode to “Best Performance” during calls (Blur eats CPU cycles)
- For C920: Uninstall “Logitech Camera Settings” app—it conflicts with Capture
Note: StreamCam users on Mac need Logi Tune 2.0+. Older versions lack background blur controls.
Boost Performance on Older Logitech Webcams
C920 owners can still get smooth blur with these resource-saving tricks.
CPU Load Reduction Tactics
- Close Chrome tabs (each tab uses 100-300MB RAM)
- Set camera resolution to 720p (not 1080p) in Logi Tune
- Disable “Auto-Framing” in StreamCam settings
- Use NVIDIA Broadcast if you have RTX GPU (offloads processing)
When to Avoid Software Blur Entirely
If your PC has <8GB RAM or dual-core CPU:
– Use a physical backdrop (black curtain 6ft behind you)
– Position strong backlighting to create natural separation
– Angle camera slightly downward (hides messy floors)
For C920 users: Background blur works best in Logitech Capture at 720p30. Higher settings cause lag.
Final Note: Achieving perfect Logitech webcam background blur hinges on three things: using the right software for your model (Capture for most, OBS for pros), optimizing lighting/position, and updating firmware. Start with Logitech Capture’s built-in blur—if it fails, switch to OBS VirtualCam. Always test in a dummy meeting first using Zoom’s “Test Meeting” feature. For ongoing reliability, keep your Logitech software updated and maintain consistent front lighting. Your professional image depends on these small tweaks, and now you have the exact steps to make it work.


