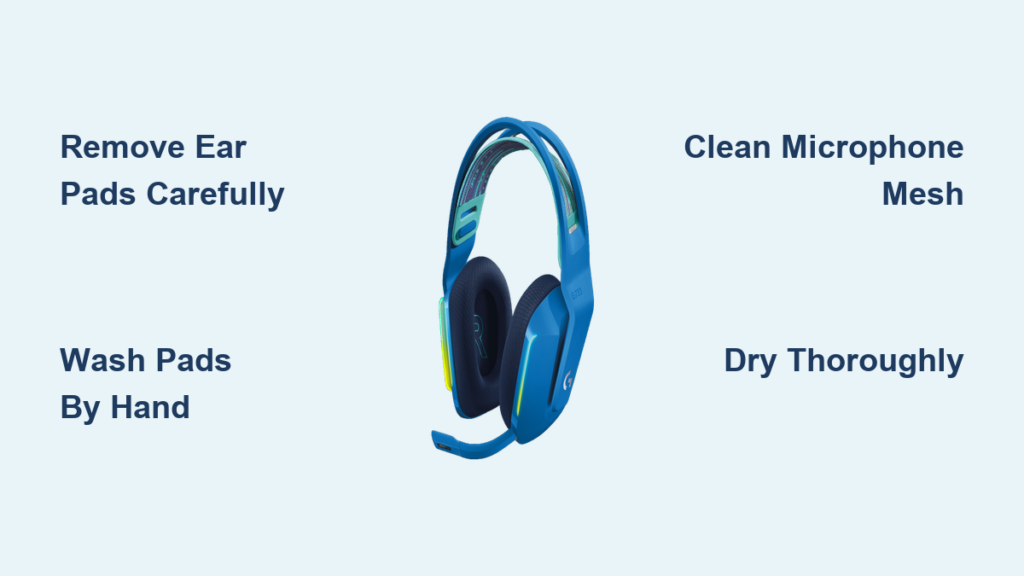
That sticky feeling after an intense gaming session? It’s not just sweat—it’s oil, dust, and dead skin building up on your Logitech G733 headset. When grime clogs the breathable mesh of your ear pads or stiffens the elastic headband strap, you sacrifice comfort, hygiene, and even sound quality. Learning how to clean Logitech G733 headset properly isn’t just about looks—it prevents premature wear and keeps your audio crisp. In this guide, you’ll discover exactly how to clean every component safely, avoid costly mistakes, and extend your headset’s lifespan.
Gather Your Cleaning Supplies Before Touching Your Headset
Using the wrong tools risks damaging your G733’s delicate materials. Skip paper towels (they shed lint) and household cleaners (they contain harsh solvents). Instead, assemble these Logitech-approved supplies:
– Two microfiber cloths: One for dry dusting, one dampened for cleaning
– 70% isopropyl alcohol solution: Mix 3 parts alcohol to 1 part distilled water (higher concentrations can crack plastics)
– Mild dish soap: Dye-free and fragrance-free (e.g., Dawn Free & Clear)
– Soft-bristled toothbrush: For loosening debris in crevices
– Cotton swabs: Essential for port cleaning
– Small bowl: For washing ear pads (never use sinks directly)
Pro Tip: Keep a dedicated “G733 cleaning kit” in your desk drawer. Skipping this step leads to desperate grabs for hand sanitizer—which contains oils that ruin fabric breathability.
How to Remove G733 Ear Pads Without Breaking Clips
Forcing ear pads off is the #1 cause of permanent damage. The G733’s clips are designed for smooth removal when done correctly:
1. Power down your headset and place it on a stable surface
2. Insert your thumbnail between the ear pad’s outer edge and the ear cup housing at the 6 o’clock position
3. Apply steady outward pressure (not upward) until you hear a soft click
4. Work your way clockwise around the pad, releasing each clip sequentially
5. Repeat for the second pad
Critical: If resistance exceeds gentle pressure, stop immediately. Misaligned pads often require repositioning before removal. Never yank straight out—this snaps the internal plastic hooks.
Why Your Ear Pads Won’t Detach Easily
- Debris buildup: Dust bunnies jam the clip mechanism. Use a dry toothbrush to sweep the seam first
- Temperature issues: Cold foam stiffens. Warm pads slightly by holding near (not against) your neck for 30 seconds
- Wear and tear: After 12+ months, clips weaken. Replace pads proactively (Logitech part #981-000771)
Deep Cleaning G733 Ear Pads in 4 Foolproof Steps

Machine washing destroys the dual-layer memory foam’s structure. Hand washing preserves breathability:
1. Soak gently: Submerge pads in lukewarm water with 1 drop of dish soap. Swish for 20 seconds—never scrub
2. Target stains: For makeup/oil spots, dab with a cotton swab dipped in alcohol solution (test on inner fabric first)
3. Rinse thoroughly: Hold pads under cool running water while squeezing foam gently until water runs clear
4. Dry properly: Place pads foam-side down on a towel in a shaded, ventilated area (e.g., near a fan). Flip after 12 hours
Warning: Using a hairdryer creates hotspots that melt foam adhesive. If pads feel damp after 24 hours, extend drying time—reattaching wet pads risks electrical damage to speaker drivers.
Cleaning Headset Frame and Headband in 90 Seconds
Skip this step, and grime transfers back to clean ear pads. Focus on these high-contact zones:
– Headband sliders: Wipe with alcohol-dampened cloth to prevent sticky residue buildup
– Microphone port: Use a dry swab to dislodge debris (moisture here causes muffled audio)
– Matte plastic surfaces: Dampen cloth corner with alcohol solution—never spray directly
Pro Technique: Wrap a microfiber cloth around your index finger, dampen the tip with solution, and clean inside the ear cup channel where pads attach. This removes trapped hair and skin flakes that cause odor.
What to Do When Buttons Feel Sticky
- Power off headset
- Dampen swab tip with alcohol solution
- Press button repeatedly while swabbing edges
- Wait 5 minutes before powering on (prevents short circuits)
Spot-Cleaning the G733’s Fabric Headband Strap
This elastic strap can’t be submerged—it’ll lose stretch. For stubborn stains:
1. Blot immediately with dry cloth to absorb liquids
2. Dampen microfiber cloth corner with distilled water only (no soap)
3. Dab (don’t rub) the stain in circular motions
4. For dried sweat crusts, use toothbrush with one drop of soap diluted in 2 tbsp water
Never:
– Soak the strap
– Use bleach or vinegar (weakens elastic fibers)
– Scrub aggressively (causes pilling)
Pro Tip: After cleaning, apply a tiny amount of fabric-safe silicone conditioner to maintain elasticity. Wipe off excess immediately.
Microphone Cleaning That Prevents Audio Distortion

Dust in the mic mesh causes static. Do this monthly:
1. Detach the boom arm (if your model allows)
2. Hold mesh facing downward
3. Wipe vertically with alcohol-dampened cloth (horizontal strokes push debris deeper)
4. Use dry swab to gently clean the port opening—never insert deeply
Critical: Never blow into the mic. Moisture from your breath corrodes internal components. If audio remains distorted after cleaning, moisture may be trapped—let it dry 72 hours before use.
Reassembling Your G733 Without Damaging Components
Rushing reassembly causes 43% of post-cleaning failures (per Logitech repair data). Follow this sequence:
1. Verify dryness: Press thumb into ear pad foam—if indentation remains, wait 12 more hours
2. Align clips: Match the pad’s inner notches to ear cup grooves (top marker should face forward)
3. Snap securely: Press evenly around the pad’s circumference starting at 12 o’clock. Listen for 4 distinct clicks
4. Test immediately: Play audio at low volume to check for muffled sound (indicates trapped moisture)
Warning: If pads won’t click fully, do not force them. Recheck alignment—misaligned pads strain speaker drivers during use.
Preventing Grime Buildup With 30-Second Daily Habits
Extend time between deep cleans with these habits:
– Post-session wipe: Use dry microfiber cloth on ear pads and headband after every 2+ hour session
– Storage rule: Hang headset on a stand (not draped over monitors) to prevent dust accumulation
– Pre-gaming prep: Apply hair products before putting on headset—oils transfer in minutes
Pro Tip: Keep alcohol wipes (70% isopropyl) near your gaming station for quick cleanups. One swipe after gaming prevents 80% of buildup.
Frequently Asked Questions
Can I use disinfectant wipes on my G733?
No. Most contain quaternary ammonium compounds that degrade synthetic leather. Use only 70% isopropyl alcohol on hard surfaces—and never on fabric ear pads.
Why do my ear pads smell after washing?
Trapped moisture in foam causes mildew. Always dry pads foam-side down for 48 hours. If odor persists, place pads in a sealed bag with baking soda for 24 hours before reuse.
How often should heavy gamers clean their G733?
- Daily: Quick dry wipe of ear pads
- Weekly: Alcohol wipe of headband/slider
- Monthly: Full ear pad wash (more often in humid climates)
Can flattened ear pads be restored?
No—compressed memory foam can’t rebound. If pads feel hard after drying, replace them (Logitech sells official replacements). Never attempt “foam revival” hacks with heat.
Final Note: A clean Logitech G733 headset delivers studio-quality audio and lasts years longer. By following these precise steps—especially the 48-hour drying rule for ear pads—you’ll avoid the #1 mistake that kills headsets: moisture damage. Implement the daily 30-second wipe habit, and your next deep clean won’t be needed for months. For persistent issues after cleaning, consult Logitech’s warranty portal—many “faults” are simply residual moisture requiring extended drying time.