
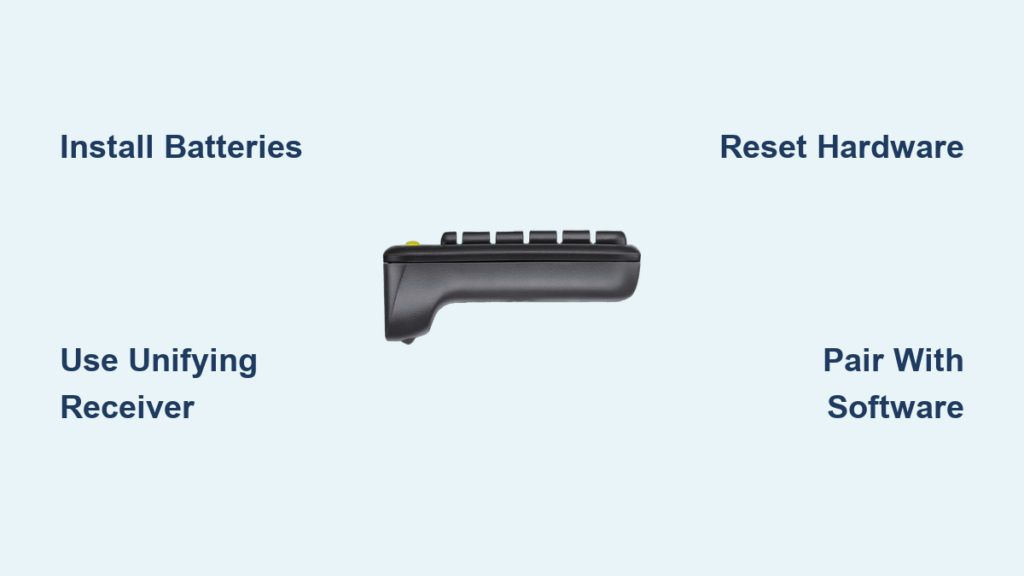
Your Logitech K400 Plus wireless touch keyboard arrived, but it’s not connecting as expected. This frustrating scenario affects thousands of home theater PC and Raspberry Pi users who depend on this compact keyboard for media control. Unlike standard keyboards, the K400 Plus combines a touchpad with wireless functionality, creating unique connection challenges that standard troubleshooting often fails to resolve. In this guide, you’ll discover exactly how to connect Logitech K400 Plus keyboard successfully across Windows, Mac, Linux, and Raspberry Pi systems—plus solutions for those annoying connection failures that leave your keyboard unresponsive.
Powering Up and Initial Pairing: Your First Steps
Before diving into complex setup procedures, ensure you’ve completed these fundamental connection steps correctly—many “connection problems” stem from simple oversights during initial setup.
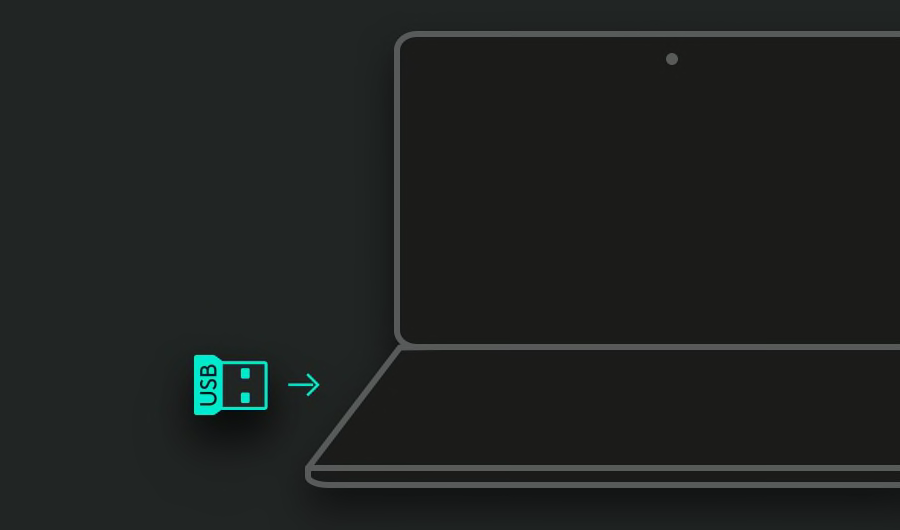
Install batteries properly and position the Unifying receiver correctly. Remove the battery cover (secured by a small screw) and insert two AA batteries, paying close attention to the polarity markings. Slide the power switch to the ON position—the green LED indicator should illuminate immediately. Plug the Unifying receiver directly into your computer’s USB port, avoiding hubs or extension cables initially. For desktop computers, connect to a front USB port for better signal reception.
Wait patiently for the automatic pairing process to complete. Unlike many wireless devices, the K400 Plus requires up to 5-6 minutes for initial connection on some systems, especially Raspberry Pi. Don’t assume failure if the keyboard doesn’t respond immediately—this extended pairing period is normal. During this time, the keyboard automatically synchronizes with the pre-paired Unifying receiver. The green power LED confirms the keyboard is active, but full functionality may take several minutes to establish.
Why Your Initial Connection Might Fail
Several common issues prevent successful first-time pairing:
- Incorrect battery installation: Double-check polarity—reversed batteries won’t power the keyboard
- USB port interference: USB 3.0 ports sometimes cause signal disruption—try a USB 2.0 port instead
- Physical obstructions: Keep the receiver within 10 meters (33 feet) of the keyboard with minimal barriers
- Receiver placement: Position the receiver away from metal surfaces and other wireless devices
Troubleshooting Common Connection Failures
When your Logitech K400 Plus keyboard won’t connect after the initial setup period, these targeted solutions resolve 90% of persistent connection issues across all operating systems.
Quick hardware reset for immediate response problems. If the keyboard becomes unresponsive during use, perform this sequence: Turn off the keyboard using the side switch, unplug the Unifying receiver, remove the batteries for 10 seconds, then reinsert them. Power the keyboard back on and reconnect the receiver. This complete power cycle clears communication errors that cause intermittent disconnections or complete failure.
Fixing Specific Operating System Issues
Windows connection problems: Check Device Manager for “Logitech HID-compliant keyboard” under Keyboards and “Logitech HID-compliant mouse” under Mice and other pointing devices. If missing, restart your computer with the receiver plugged in. For Windows 7/8 users, install Logitech SetPoint software for proper driver support.
Raspberry Pi delayed response: Many Pi users report the keyboard works only after 5-10 minutes on first boot. During initial setup, use a wired keyboard, then switch to the K400 Plus once the system is fully booted. If issues persist, connect the receiver via a USB extension cable to improve signal strength.
Re-Pairing Your K400 Plus with Logitech Unifying Software
When the standard plug-and-play method fails, the Logitech Unifying Software provides the most reliable solution for establishing or repairing your keyboard connection.
Download and install the Unifying Software from Logitech’s official support site. This free utility works on Windows and macOS, allowing you to manage all Unifying-compatible devices. After installation, launch the software and follow these precise steps:
- Plug the Unifying receiver directly into your computer’s USB port
- Click “Pair a New Device” in the software interface
- Turn your K400 Plus keyboard ON if it isn’t already
- Press and hold the “Connect” button inside the battery compartment for 5 seconds
- Wait for the software to detect your keyboard (may take up to 30 seconds)
- Confirm pairing when prompted
Recover from lost or damaged receivers. If you’ve misplaced your original Unifying receiver, purchase a replacement (Logitech part number PN 910-004654) and use the Unifying Software to pair it with your existing keyboard. One receiver can manage up to six compatible Logitech devices, making this an ideal solution for multi-device setups.
Solving Raspberry Pi and Linux-Specific Connection Issues

Raspberry Pi users frequently encounter unique challenges when connecting the K400 Plus, but these targeted solutions ensure reliable operation with your media center.
Install Solaar for advanced Linux management. This open-source tool provides essential features missing from standard Linux configurations:
bash

sudo apt update

sudo apt install solaar
After installation, launch Solaar from your applications menu to:
– Monitor battery levels
– Manage device pairing
– Swap Fn key functionality (critical for proper F1-F12 key operation)
– View device information and signal strength
Fix unresponsive function keys immediately. By default, the top row keys perform media functions rather than standard F1-F12 operations. Press Fn + F1 through Fn + F10 for standard function keys, or use Solaar to toggle the “Swap Fx Function” setting for permanent reversal. This setting makes F1-F10 work as standard function keys without requiring the Fn modifier.
Optimizing Touchpad and Function Key Performance

Maximize your K400 Plus experience by configuring these often-overlooked features that transform your keyboard from functional to exceptional.
Customize touchpad behavior for your workflow. On Windows, navigate to Settings > Devices > Touchpad to adjust:
– Pointer speed (set to 3/4 for optimal balance)
– Tap-to-click sensitivity
– Scrolling direction (natural vs traditional)
– Three-finger gestures for application switching
Unlock hidden shortcuts for productivity. Memorize these essential key combinations:
– Fn + F5: Toggle touchpad on/off (small LED indicator confirms status)
– Fn + F6: Activate right-click mode (press anywhere on touchpad)
– Fn + F4: Switch display modes during presentations
– Fn + F7: Mute audio instantly
Maximizing Battery Life and Preventing Power Issues
Extend your Logitech K400 Plus keyboard’s operational time between battery changes with these expert power management techniques.
Recognize low battery indicators before complete failure. The green power LED will flash when batteries are nearing depletion—typically after 12-18 months of regular use. Don’t wait for complete power loss; replace batteries immediately when flashing begins to avoid interrupted workflow.
Implement power-saving best practices:
– Use high-quality alkaline or lithium AA batteries (avoid cheap zinc-carbon)
– Turn the keyboard OFF when not in use for extended periods
– Keep the power switch clean—dust buildup can cause partial disconnection
– Store in a cool, dry place when not in use for weeks or months
Maintenance Tips for Long-Term Reliability
Preserve your K400 Plus investment with these simple maintenance routines that prevent common wear-and-tear issues.
Clean your keyboard safely without damage. Use a soft, slightly damp microfiber cloth to wipe the surface—never spray liquids directly onto the device. For stubborn debris between keys, use compressed air held upright to avoid moisture discharge. Clean the touchpad surface weekly for optimal tracking performance, especially in dusty environments.
Prevent connection interference proactively. Position the Unifying receiver away from:
– Wireless routers and Bluetooth devices
– Metal surfaces that reflect signals
– USB 3.0 ports that sometimes cause interference
– Power adapters and other electromagnetic sources
When not in use, store your keyboard in a protective case or cover to prevent dust accumulation in the touchpad sensor and mechanical components. For extended storage, remove batteries to prevent potential leakage damage.
Your Logitech K400 Plus keyboard should now connect reliably across all your devices. Remember the critical 5-6 minute initial pairing period for Raspberry Pi systems, keep the Unifying receiver in direct line-of-sight, and use Solaar for Linux configuration. When connection problems arise, always perform the complete power cycle reset first—it resolves most intermittent issues instantly. For persistent problems, the Logitech Unifying Software provides the most reliable pairing solution across Windows and Mac systems. With proper maintenance and these configuration tips, your K400 Plus will deliver seamless wireless performance for years of comfortable media control and productivity.


