
Your Logitech webcam should deliver crystal-clear video for meetings, streaming, or content creation—but only if you set it up correctly. Whether you’ve just unboxed a C920, C922, or premium Brio model, this guide shows you exactly how to use a Logitech webcam to its full potential. Many users struggle with blurry video, audio issues, or software conflicts that prevent them from leveraging all the features they paid for. You’ll learn the precise steps to connect, configure, and optimize your camera for professional results in under 15 minutes—no technical expertise required.
Most modern Logitech webcams work instantly when plugged in, but that basic setup only scratches the surface of what your camera can do. Without proper configuration, you might deal with washed-out lighting, distracting backgrounds, or inconsistent audio that undermines your professional presence. This comprehensive guide walks you through every critical step—from the initial connection to advanced settings that transform your video quality. By the end, you’ll know exactly how to use a Logitech webcam to look and sound your best on every call.
What’s Inside Your Logitech Webcam Box (C920, C922, Brio Models)
Before connecting anything, verify your package contains all necessary components. Logitech webcams typically include the camera unit, a USB cable (either USB-A or USB-C depending on model), and a universal clip mount that attaches to laptops, monitors, or tripods. Higher-end Brio models often include a privacy shutter and additional mounting hardware.
Check for model-specific accessories that affect how you use a Logitech webcam. The C920 and C922 come with a flexible clip that works on most displays, while the Brio 4K includes a magnetic privacy cover. If you’re using an older model like the C310, you’ll find a shorter USB cable that may require a USB extension for optimal placement. Missing components? Visit Logitech’s support site immediately—don’t use third-party accessories that could damage your camera.
Connect Your Logitech Webcam to Any Computer in 60 Seconds
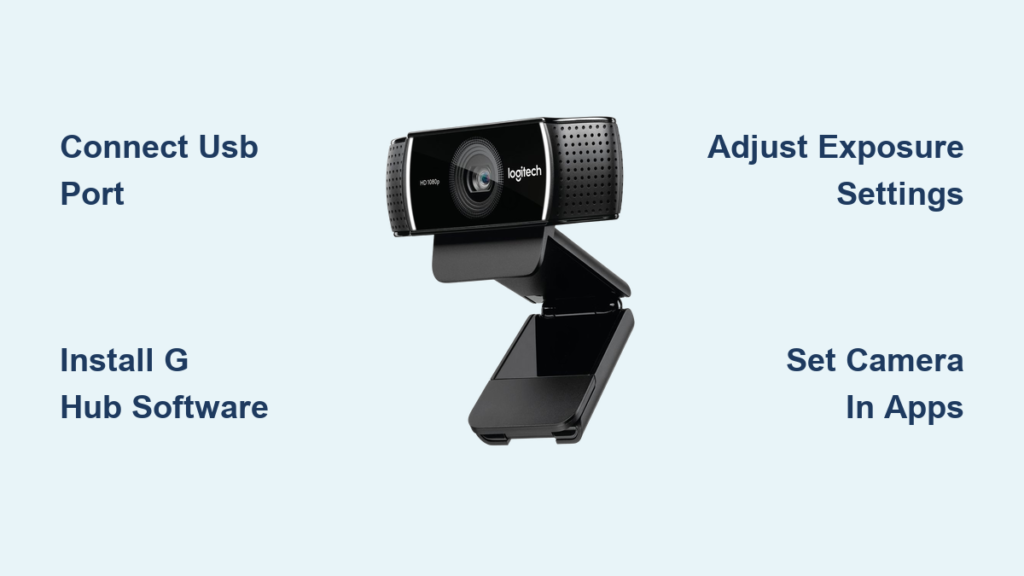
Plug your Logitech webcam directly into a USB port on your computer—avoid USB hubs which can cause power or connection issues. Most Windows, macOS, and Chrome OS systems recognize Logitech cameras immediately, activating the status LED within seconds. If the light doesn’t illuminate, try a different USB port (preferably USB 3.0/blue port for 1080p+ models) or check for physical damage to the cable.
Your operating system automatically installs generic UVC (USB Video Class) drivers, enabling basic functionality in any video application. For immediate testing, open your computer’s native camera app (Windows Camera or macOS Photo Booth) to verify video feed. If you see a black screen, check Device Manager (Windows) or System Report (Mac) to confirm the camera appears under “Imaging Devices” or “USB.” This quick connection gets you operational but unlocks only 40% of your Logitech webcam’s capabilities.
Install Logitech G HUB for Advanced Webcam Features (C920/C922)
While basic video works without software, installing Logitech G HUB unlocks critical features that transform how you use a Logitech webcam. Download the official software from Logitech’s support page—never third-party sites—to avoid malware. Search specifically for your model number (e.g., “Logitech C920 software”) to ensure compatibility.
Complete G HUB Installation in 4 Steps
- Run the installer and follow prompts (allow admin permissions when requested)
- Launch G HUB and sign in with a Logitech account (create one if needed)
- Wait for automatic device detection—your webcam should appear in the dashboard
- Click “Get Started” to access the camera control panel
G HUB provides professional-grade adjustments impossible through standard video apps. You’ll gain precise manual controls for focus, exposure, and color balance plus special features like background replacement and face tracking. Older C920 models may require the legacy “Logitech Camera Settings” application instead—Logitech’s site automatically directs you to the correct software version.
Set Up Logi Tune App for Business Webcams (C320, C520 Models)
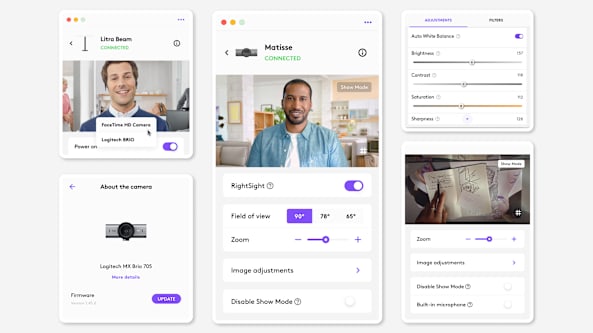
Business-focused Logitech webcams like the C320, C520, and MeetUp models use Logi Tune instead of G HUB. Download this streamlined application from Logitech’s business support section for optimized conference call performance. The installation process takes under two minutes and requires no account creation.
Logi Tune excels at one-click optimizations perfect for professionals. The “Auto Light Balance” feature instantly corrects poor room lighting during early morning or late evening calls. “RightSight” automatically centers you in the frame if you move during presentations. Most importantly, “RightSound” uses AI to isolate your voice from background noise—a critical advantage when learning how to use a Logitech webcam in shared workspaces.
Fix Blurry Video on Logitech Webcam: 5 Essential Settings
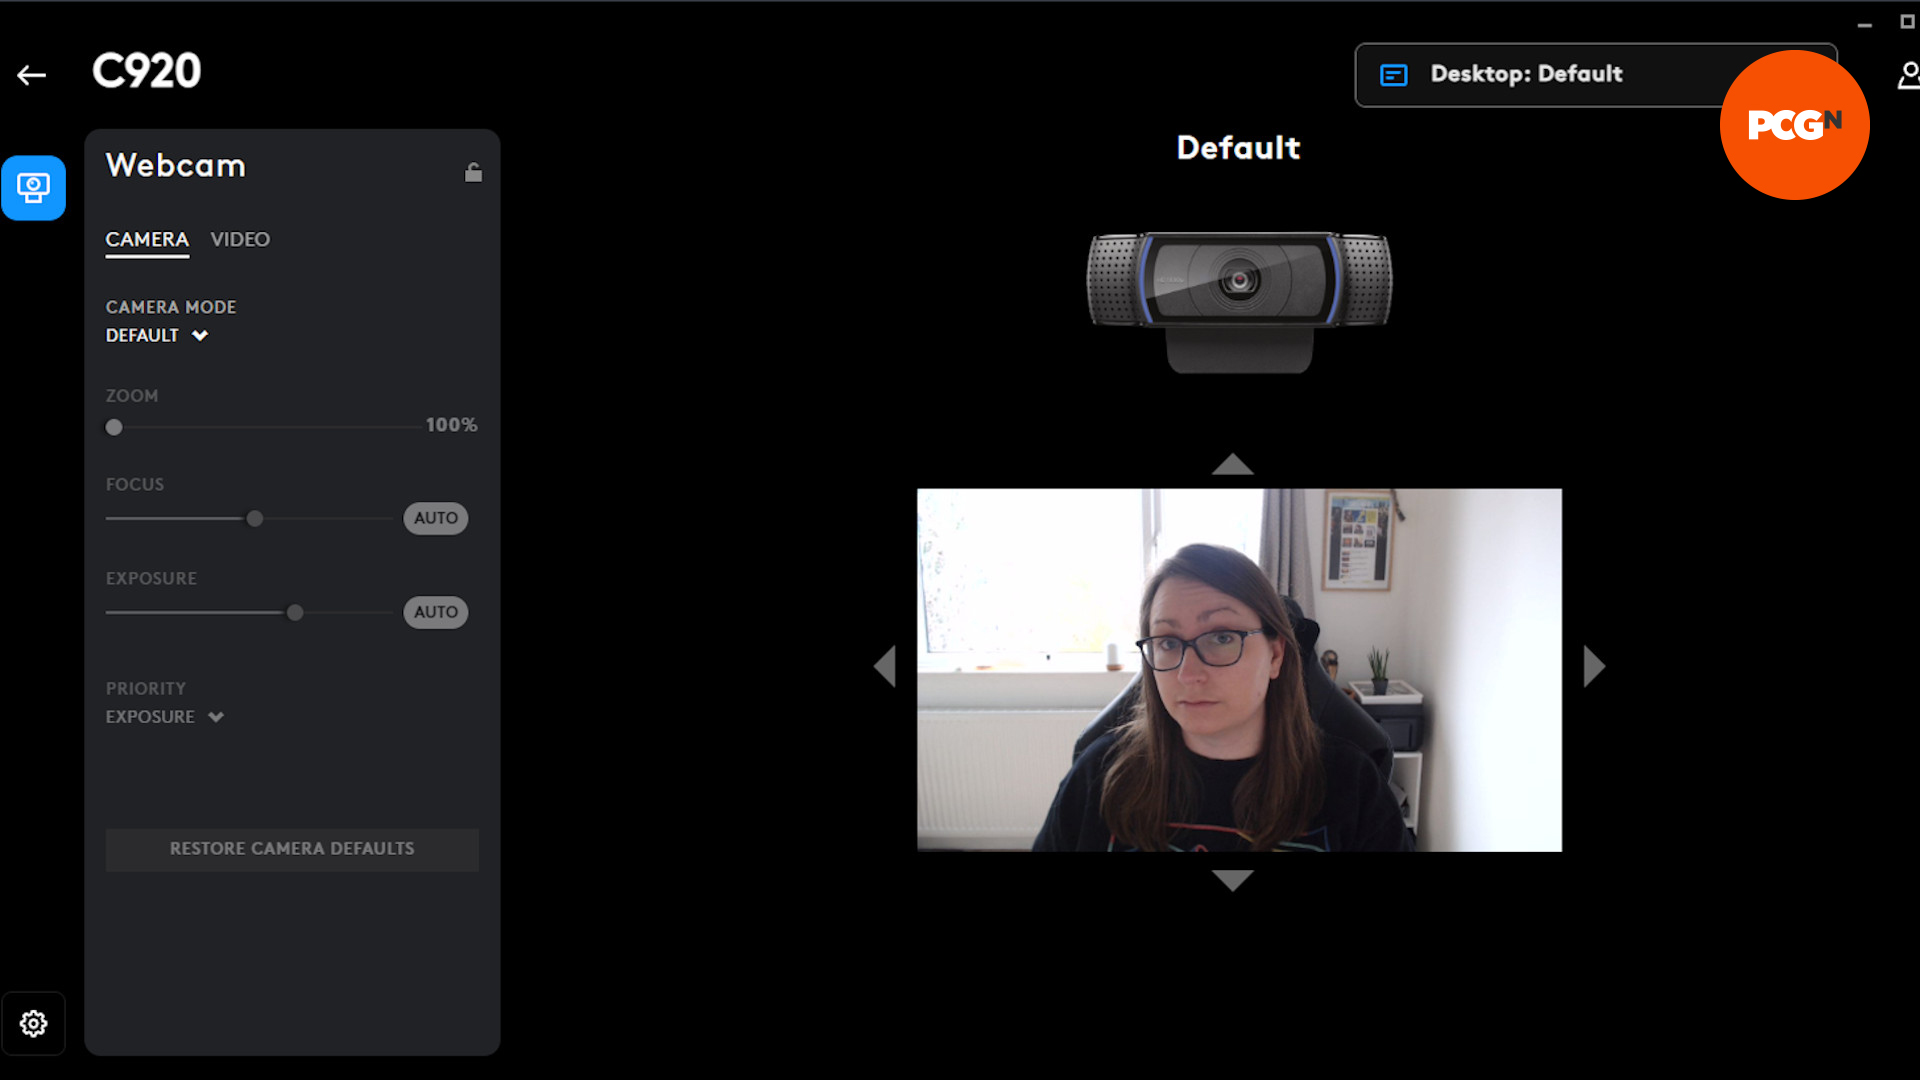
Auto-focus issues plague many new Logitech webcam users, especially with C920 models in variable lighting. Access the camera settings through G HUB or your video application to make these critical adjustments that transform fuzzy footage into HD clarity.
Adjust Brightness and Exposure for Perfect Lighting
Low light causes grainy images while bright windows create washed-out faces. In G HUB’s “Exposure” section, drag the slider until your face shows clear texture without harsh shadows. For backlit situations (window behind you), enable “Backlight Compensation” which darkens the background to properly expose your face.
Calibrate White Balance to Eliminate Yellow Tints
Office lighting often gives Logitech webcam footage an unnatural yellow cast. Point your camera at a white object (sheet of paper works perfectly), then click “White Balance” in G HUB and select “One Push.” The camera analyzes the reference point and neutralizes color temperature instantly. Repeat this whenever you change rooms.
Set the Right Frame Rate for Smooth Video
Many users unknowingly operate their Logitech webcam at 15fps, causing choppy video. In camera settings, select 30fps for standard HD video or 60fps for smooth motion (requires good lighting and USB 3.0 connection). Lower frame rates when bandwidth is limited—Zoom automatically adjusts this, but Teams requires manual setting.
Optimize Logitech Webcam Microphone for Clear Audio
Built-in microphones on Logitech webcams outperform laptop mics but require proper configuration. In Windows Sound Settings or Mac Audio MIDI Setup, select your webcam as the default input device—not your computer’s internal mic. Then test audio levels: speak normally while watching the input meter—it should peak at 75%, never hitting maximum.
Reduce echo and background noise with these critical steps:
– Enable “Noise Cancellation” in G HUB (reduces keyboard clicks and fan noise)
– Position the camera 12-18 inches from your face—Logitech mics have limited range
– Disable “Automatic Gain Control” in advanced settings to prevent volume fluctuations
– For critical calls, use a separate headset but keep the webcam mic as backup
Select Your Logitech Camera in Zoom, Teams, and Google Meet
Most video platforms automatically detect your Logitech webcam, but confirmation prevents embarrassing “no camera” moments. In Zoom: click Settings > Video > select your Logitech model from the camera dropdown. For Teams: go to Settings > Devices > choose your webcam under “Camera.” Google Meet requires testing during a call—click the three dots > Settings > Video.
Why Your Logitech Webcam Won’t Show Up in Video Calls
When your camera disappears from application menus, follow this troubleshooting sequence:
1. Check if another application (like Slack) is using the camera—close all video apps
2. Unplug and reconnect the USB cable (try a different port)
3. Restart the video application completely
4. Update USB drivers through Device Manager (Windows) or reinstall Logi software
5. Test with the native camera app to isolate whether the issue is hardware or software
Position Your Logitech Webcam for Professional Video Calls
Eye-level placement makes the biggest visual difference when learning how to use a Logitech webcam effectively. Mount the camera on top of your monitor—not below on your laptop screen—to avoid unflattering upward angles. The lens should align with your eyes, creating natural eye contact. For laptop users, place books under your computer to raise the screen to proper height.
Frame yourself with the “rule of thirds”: position your eyes in the upper third of the frame with equal space on both sides. Leave 2-3 inches of space above your head—too much empty space looks sloppy. During important calls, disable “Auto-Framing” features which can awkwardly zoom during natural movements. A well-positioned Logitech webcam conveys confidence and professionalism instantly.
Troubleshoot Common Logitech Webcam Problems in Minutes
When issues arise, systematic troubleshooting saves hours of frustration. Most problems stem from software conflicts or incorrect settings—not hardware failure. Start with these verified solutions before considering returns or replacements.
Fix “No Video Signal” Error on Logitech C920
This common Windows error occurs when multiple applications claim camera access. Close all background apps completely (check system tray for hidden processes), then restart your computer. If the problem persists, open Device Manager, expand “Imaging Devices,” right-click your Logitech camera, and select “Uninstall device.” Restart your computer to trigger fresh driver installation.
Resolve Green Tint Issues on Logitech Brio 4K
The Brio’s 4K sensor sometimes displays a green cast in low light. First, ensure you’re using a USB 3.0 port (blue interior)—USB 2.0 can’t handle full 4K data. Then in Logi Tune, disable “HDR Mode” which causes this issue in dim environments. If the tint remains, manually set white balance using a gray card reference rather than automatic settings.
Fix Laggy Video During Zoom Calls with Logitech Webcam
Buffering video usually indicates bandwidth issues, not camera problems. In Zoom settings, lower video quality to 720p and disable “Enable HD.” Close bandwidth-heavy applications like cloud sync services. For persistent lag, switch to a wired Ethernet connection—WiFi fluctuations disproportionately affect video streams. Logitech webcams themselves never cause lag; the bottleneck is always your network or computer processing.
Your Logitech webcam delivers professional results when properly configured. Master these setup steps and optimization techniques to maximize every feature you paid for. For ongoing support, bookmark Logitech’s official firmware pages—updating your camera’s firmware quarterly resolves emerging compatibility issues with new software updates. The difference between an amateur and professional video presence comes down to these precise adjustments that transform how you use a Logitech webcam.


