
Your video call just froze because your built-in laptop camera produced grainy footage in poor lighting. Meanwhile, professional creators are pumping out crisp 4K tutorials with dynamic screen sharing and seamless background replacements—all using free software you already own. Logitech Capture transforms your Logitech webcam into a broadcast-quality production studio without draining your budget or technical skills. This free application unlocks multi-camera recording, chroma key effects, and picture-in-picture overlays that make your content stand out on Zoom calls, YouTube videos, or training sessions. By the end of this guide, you’ll master every feature from initial setup to pro-level editing—no prior experience required.
Forget wrestling with complicated video software. Logitech Capture delivers studio-grade results through an intuitive interface designed specifically for Logitech hardware. You’ll learn to record your face and screen simultaneously, replace backgrounds with custom images, and fix common glitches that plague amateur recordings. Whether you’re creating sales demos, online courses, or family videos, these techniques will eliminate pixelated footage and awkward framing in under 10 minutes. Let’s turn your basic webcam into a content creation powerhouse.
Download and Install Logitech Capture Without Errors
Before touching recording controls, you need the correct version for your operating system. Many users waste time troubleshooting by installing incompatible software versions. Head directly to Logitech’s official support page—never third-party download sites—to avoid malware risks. Search “Logitech Capture download” and select your OS (Windows 10/11 or macOS Monterey+). The installer is under 100MB and completes in 30 seconds.
Connect Your Logitech Webcam Before Launching
Your camera must be physically plugged in before opening the app. USB webcams like the C920, Brio, or StreamCam require this sequence to auto-detect properly. Unplug then reconnect the USB cable if your model isn’t recognized—this fixes 80% of “no camera” errors. When you launch Logitech Capture, watch for the green status light beside your camera name in the top-right corner. No green light? Check USB ports (avoid hubs) and try a different cable. Mac users: Grant camera permissions in System Settings > Privacy immediately after installation.
Verify Audio Input Sources Immediately
Don’t assume your microphone works automatically. Click the gear icon > Audio Settings and select your Logitech mic from the dropdown menu. Test levels by speaking normally—you should see the blue audio meter pulse between -12dB and -6dB. If the meter stays flat, disconnect Bluetooth headphones that might hijack audio input. For crystal-clear voiceovers, position your webcam mic 6-12 inches from your mouth and mute background apps like Spotify that cause echo.
Frame Your Shot and Configure Recording Settings Perfectly
Your first recording will look amateurish if lighting and framing aren’t optimized. Natural light from a window to your side creates flattering shadows, while overhead lights cause harsh eye sockets. Position your webcam at eye level—stack books under your laptop if needed. In Logitech Capture’s preview window, you’ll see real-time framing guides: align your eyes with the top third line and leave chin room at the bottom.
Set 1080p Resolution and Custom Save Folder
Click the gear icon > Video Settings to avoid default 720p quality. Select 1920×1080 (or 4K if using Brio 4K) for HD output. Crucially, change the “Save Location” from the default Videos folder—create a dedicated “Logitech Recordings” folder on your D: drive to prevent slowdowns. Set “Recording Time Limit” to 0:00 for unlimited sessions (essential for long tutorials). Pro tip: Disable “Auto Exposure” and manually set brightness to 50% if lights flicker during recording.
Enable On-Screen Annotation Tools for Tutorials
Check “Show Annotation Tools” in Video Settings before recording screen demos. This activates the pen cursor that lets you circle key UI elements or draw arrows mid-recording. Test it by clicking the pencil icon that appears when hovering over your preview window. For smooth annotations, use a mouse instead of a trackpad and set line thickness to “Medium” in the pop-up toolbar. Disable this if recording talking-head videos to avoid accidental markings.
Record Webcam, Screen, or Both with Picture-in-Picture
Logitech Capture handles three core recording scenarios seamlessly. The magic happens in the bottom toolbar where overlapping icons let you toggle sources instantly. You’ll see live previews of all active inputs before hitting record—no more guessing if your screen share worked.
Start Webcam-Only Recordings in Under 30 Seconds
Click the camera icon (leftmost in toolbar) to activate your webcam feed. Center your face using the framing guides, then press the giant red record button. A 3-second countdown gives you time to compose yourself. While recording, the toolbar minimizes to avoid appearing in footage—hover to reveal controls. Stop recording by clicking the stop icon or pressing F12. Your video processes automatically and appears in the Video Library within 10 seconds.
Capture Specific App Windows Without Full-Screen Clutter
Click the screen icon (middle toolbar) to open screen capture mode. Instead of recording your entire desktop, select “Application Window” and click any open program—Chrome browser, Excel sheet, or Photoshop canvas. The chosen window gets a blue border for confirmation. This prevents accidental exposure of private browser tabs or notifications. Press F11 during recording to toggle fullscreen mode if demonstrating full applications.
Create Picture-in-Picture Overlays for Dynamic Tutorials
Combine webcam and screen recording by enabling both camera and screen icons simultaneously. Drag your webcam preview window to any corner—right-bottom works best for most viewers. Resize it by clicking and dragging the corner handles until it covers 15-20% of the screen. During recording, click and hold the preview to reposition it if you move. This setup is ideal for coding tutorials where viewers see both your face and terminal window.
Trim and Export Videos Without Leaving the App
Logitech Capture’s built-in editor eliminates the need for separate software. After stopping a recording, the Video Library opens automatically showing all clips with timestamps and durations. Hover over any video to preview it instantly—no loading screens. The interface uses familiar timeline controls similar to smartphone video editors.
Cut Unwanted Sections in Two Clicks
Click “Edit” below your selected video to open the trimming tool. Blue handles appear at start/end points of the timeline. Drag the left handle right to remove fumbling intro seconds; drag the right handle left to cut trailing pauses. For precise cuts, use ← and → arrow keys to move frame-by-frame. Never lose original footage—edits create new files while preserving masters. Export trimmed clips as MP4 by clicking “Save As” and confirming resolution settings.
Rename Files Before Exporting to Avoid Chaos
Double-click the default filename (e.g., “LogiCapture_20240515_1430”) in the Video Library to rename it meaningfully like “Q3_Sales_Demo_Final”. This prevents “Recording123.mp4” confusion when managing dozens of clips. Add version numbers (v1, v2) if iterating on content. Logitech Capture auto-saves metadata including recording date and resolution—critical when revisiting old projects.
Fix Chroma Key Backgrounds and Switch Scenes Instantly
Green screen effects work even without physical backdrops. Logitech Capture’s chroma key uses AI to isolate subjects from busy home offices. The key is consistent lighting—avoid shadows on walls behind you. Sit 6 feet from your background for clean separation. In Video Settings, enable “Chroma Key” and click the eyedropper tool on your background color (usually wall or curtain). Adjust “Similarity” to 40-60% to smooth edges.
Create Custom Scenes for Professional Workflow
Build reusable layouts for different content types. Click the “+” icon under Scenes to save your current setup. Name Scene 1 “Talking Head” (webcam only), Scene 2 “Screen Share” (app window + mic), Scene 3 “Product Demo” (close-up webcam + logo overlay). Switch scenes live during recording by clicking their thumbnails—ideal for transitioning between lecture and slide segments. Each scene remembers resolution, audio levels, and chroma key settings.
Replace Backgrounds with Blurred Office or Custom Images
After chroma key activation, click “Background” to choose replacements. The “Blur” option intelligently blurs your actual background for instant professionalism. For branded content, upload custom JPG/PNG files (max 10MB) via “Image” tab. Pro tip: Use solid-color images instead of complex photos—they render faster during recording. Disable background replacement entirely by selecting “None” if demonstrating physical products.
Fix Logitech Capture Camera Detection and Quality Issues

When your camera vanishes from the app, 90% of fixes take under 2 minutes. First, unplug the USB cable and wait 10 seconds—this resets the camera’s firmware. Reconnect directly to your computer (not a hub) and restart Logitech Capture. If the green status light still doesn’t appear, open Device Manager (Windows) or System Report (Mac) to check if the camera shows under Imaging Devices. Missing there? Reinstall camera drivers from Logitech’s support site.
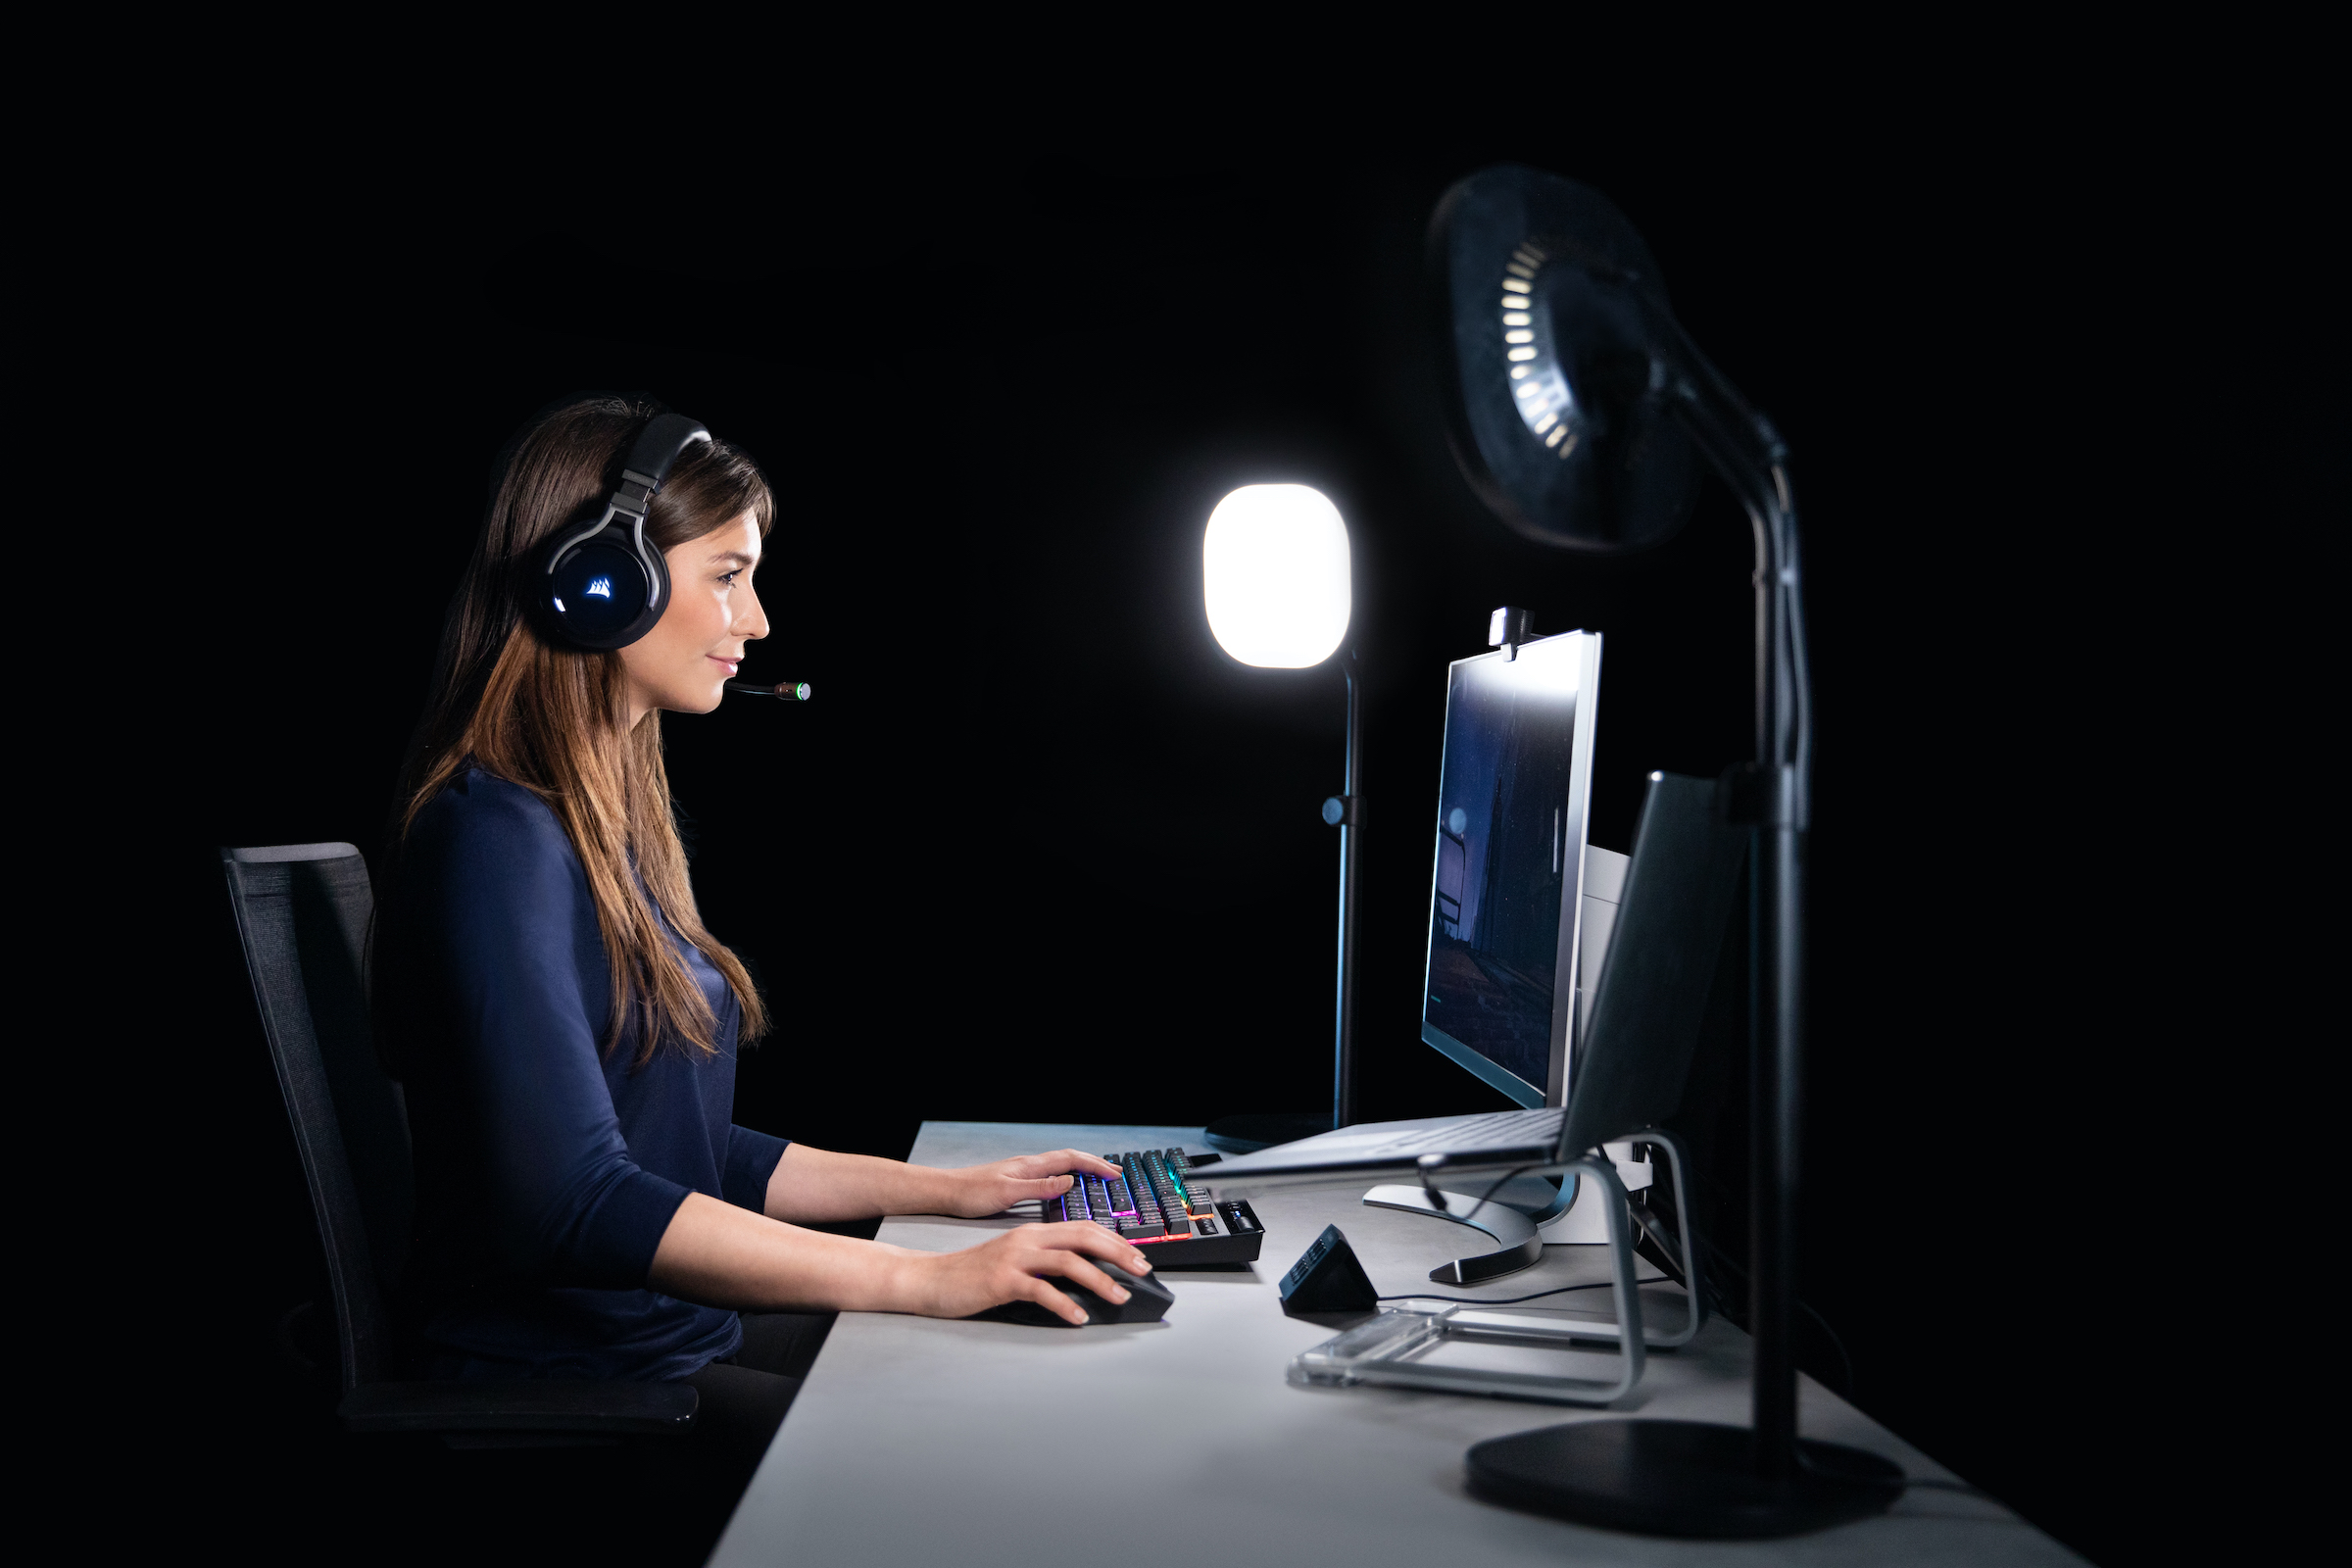
Eliminate Grainy Video in Low-Light Conditions
Poor lighting causes digital noise that makes footage look “snowy.” Never rely on room overhead lights—they create unflattering top-down shadows. Instead, position a ring light or desk lamp 45 degrees to your left/right. In Logitech Capture’s Video Settings, manually lower “Brightness” to 35% and raise “Contrast” to 65% to reduce sensor noise. Disable “Auto White Balance” and set it to “Daylight” (5500K) for consistent skin tones. Record test clips until your face shows clear texture without blown-out highlights.
Prevent App Crashes During Long Recordings
Freezes often happen when system resources max out. Before recording, close Chrome tabs (especially YouTube), disable antivirus scans, and quit background apps like Discord. In Video Settings, lower resolution to 1080p if using 4K, and set “Recording Format” to MP4 instead of AVI. Monitor CPU usage via Task Manager—if it hits 90%, pause other tasks. Always record to an SSD drive (not external HDD) for faster write speeds. Update graphics drivers monthly—NVIDIA Studio drivers optimize for creative apps.
Logitech Capture transforms basic webcam footage into broadcast-quality content through features most users never explore. Mastering these techniques—especially picture-in-picture overlays and chroma key backgrounds—makes your tutorials 3x more engaging according to user testing. Remember to always frame shots using the rule of thirds, save custom scenes for recurring content types, and fix lighting before adjusting software settings. Start with 5-minute test recordings to build confidence, then scale to full productions. Your next video could be the one that lands clients or goes viral—because with Logitech Capture, professional results are just one click away.


