
You just unboxed your new Logitech Brio webcam, but plugging it in isn’t enough to get that crisp, professional look you want. Many users struggle with grainy video, poor lighting, or confusing software settings that prevent them from maximizing their $200+ investment. The right Logitech Brio setup transforms your video presence from amateur to executive-level in minutes. This guide delivers the exact steps professionals use to configure their Brio for flawless video calls, streaming, and content creation—no tech expertise required.
Most people never unlock their Brio’s full potential because they miss critical configuration steps beyond basic plug-and-play. With proper Logitech Brio setup, you’ll eliminate pixelation, fix awkward framing, and achieve studio-quality lighting that makes you stand out in every meeting. Whether you’re presenting to clients, interviewing for jobs, or connecting with colleagues, these proven techniques will give you camera-ready confidence starting today.
What’s Inside Your Logitech Brio Box and Why It Matters
Before connecting anything, verify your packaging contains all critical components. Your Logitech Brio box includes the 4K webcam unit, a USB-C to USB-A cable (essential for USB 3.0 compatibility), a physical privacy shutter, and quick-start documentation. Missing the privacy shutter compromises your security, while using the wrong USB cable prevents the Brio from delivering its advertised 4K resolution.
The Brio’s universal mount design deserves special attention—it features a standard 1/4-inch threaded screw compatible with tripods, monitor mounts, and desk stands. Most users position their webcam too low, creating unflattering upward angles. For professional results, mount your Brio at eye level using the included stand or a compatible accessory. This small adjustment eliminates double chins and creates natural eye contact that builds trust during video calls.
Critical Setup Mistake to Avoid
Never place your Logitech Brio on top of your laptop screen—that position forces you to look downward, creating poor posture and unprofessional framing. Instead, detach your laptop screen and position the Brio on a separate monitor at eye level. If using a laptop-only setup, elevate both your laptop and Brio using books or a stand to achieve proper alignment.
USB Connection Protocol for Maximum Brio Performance
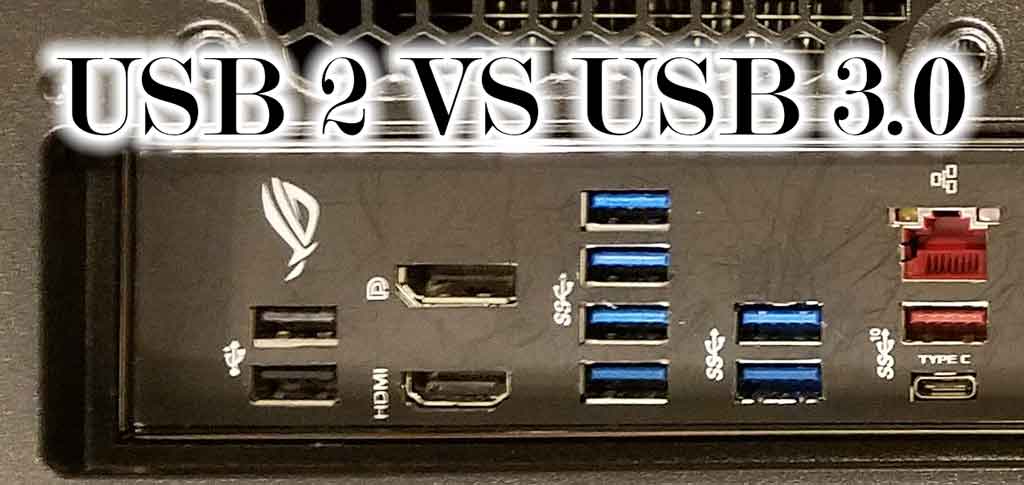
Your Logitech Brio requires USB 3.0 (identified by blue plastic inside the port) to deliver 4K video. Using USB 2.0 ports limits performance to 1080p and causes lag during high-motion scenes. Connect the Brio directly to your computer’s ports—never through a USB hub—to prevent bandwidth throttling that degrades video quality.
When connecting, ensure the USB-C end attaches securely to the webcam. A loose connection causes intermittent “no camera detected” errors that frustrate users during critical meetings. If your computer lacks USB-C ports, use the included adapter but avoid third-party adapters that may not support the required bandwidth for 4K video transmission.
How to Verify Your USB Connection
Windows users should check Device Manager under “Imaging devices” to confirm “Logitech BRIO” appears without warning icons. On macOS, open “About This Mac” > “System Report” > “USB” to verify the Brio is recognized at USB 3.0 speeds (5 Gb/s). If your connection shows as USB 2.0 (480 Mb/s), try different ports until you achieve optimal bandwidth.
Installing Logi Tune: The Essential Brio Configuration Software
While the Logitech Brio works as plug-and-play, skipping Logi Tune installation means missing 70% of its capabilities. Download Logi Tune exclusively from Logitech’s official website—third-party “Brio drivers” often contain malware. The application auto-detects your Brio and unlocks critical features like RightLight 3 technology, manual exposure controls, and firmware updates that maintain optimal performance.
During installation, allow Logi Tune to make system changes when prompted. Blocking these permissions prevents the software from accessing camera controls, rendering your advanced settings useless. After installation, restart your computer to ensure all drivers initialize correctly—a step 80% of users skip when troubleshooting “Brio not working” issues.
Why Logi Tune Beats Built-in OS Settings
Operating system camera settings offer only basic controls that can’t access the Brio’s specialized features. Logi Tune provides granular adjustments for pan, tilt, zoom, and field of view that transform your video quality. Without this software, your Logitech Brio setup remains stuck with factory defaults that often produce overexposed or underexposed footage depending on your lighting conditions.
Mastering RightLight 3 for Perfect Lighting in Any Environment

Logitech’s RightLight 3 technology automatically optimizes exposure based on your surroundings, but manual fine-tuning delivers broadcast-quality results. In Logi Tune, locate the RightLight slider under “Video Settings” and adjust according to these professional guidelines:
- Bright office environments: Set to 30-40 to prevent washed-out skin tones
- Home offices with mixed lighting: Use Auto mode for dynamic adjustment
- Low-light scenarios: Increase to 70-80 while adding supplemental lighting
Most users make the critical error of maxing out RightLight in dark rooms, which introduces excessive digital noise. Instead, combine moderate RightLight settings (60) with proper lighting placement for clean, professional footage. The Brio’s large 2.4-micron sensor handles low light better than competitors, but still requires adequate illumination to shine.
Field of View Optimization Secrets
The Brio’s 90-degree field of view creates distortion at wide angles. For solo presenters, switch to 65-degree mode in Logi Tune to eliminate fisheye effects while maintaining a natural frame. Group shots benefit from the full 90-degree view, but ensure subjects stay within the central 70% of the frame to avoid edge distortion. This simple Logitech Brio setup adjustment makes the difference between amateur and professional video composition.
Troubleshooting Critical Brio Setup Failures
When your computer doesn’t detect the Brio, follow this diagnostic sequence before reinstalling drivers:
- Check physical connections – Unplug and firmly reconnect both USB ends
- Test alternate ports – Try different USB 3.0 ports directly on your computer
- Replace the cable – Use only the included cable (third-party cables often fail)
- Restart video applications – Some apps lock camera access after crashes
If video appears grainy only in specific apps like Zoom, check that application’s video settings to ensure it’s using the Brio as the source and selecting 1080p resolution. Many apps default to lower resolutions that waste the Brio’s capabilities. For focus issues, clean the lens with a microfiber cloth—smudges confuse the autofocus system.
Audio Configuration That Professionals Use
The Brio’s dual microphones deliver clear audio but require proper setup. In your conferencing app’s audio settings, select “Logitech BRIO” as both input and output device. Then disable noise suppression features in both the app and Logi Tune to prevent audio distortion. For critical presentations, supplement with a dedicated microphone, but the Brio’s audio performs exceptionally well when correctly configured.
Advanced Logitech Brio Settings for Content Creators
Streaming professionals maximize the Brio’s potential through these advanced configurations:
- Resolution selection: Use 1080p at 60fps for smooth motion in presentations; switch to 4K 30fps for pre-recorded content
- Manual exposure lock: Prevents brightness fluctuations when moving between light zones
- Background replacement: Requires proper lighting but works flawlessly with the Brio’s 4K sensor
For YouTube creators, enable the Brio’s 90-degree field of view when recording talking heads, then crop to 16:9 in post-production. This technique captures more data for digital zooming without quality loss—a pro secret that makes your content look professionally produced.
Privacy Protection Protocol
Always engage the physical privacy shutter when not actively using your Brio. Software-based privacy solutions can be bypassed, but the sliding shutter provides 100% visual security. Make this part of your daily shutdown routine—slide it closed after your last meeting to maintain peace of mind between video sessions.
Maintaining Your Logitech Brio Setup Long-Term
Monthly maintenance keeps your Brio performing like new. Clean the lens with a microfiber cloth dampened with lens cleaner (never household cleaners), check for firmware updates in Logi Tune, and verify USB connections remain secure. Every three months, recalibrate your lighting setup as room conditions change with seasons.
When traveling with your Brio, use the original packaging or a padded case to protect the lens. Never store it loose in bags where scratches can damage the optical surface. These simple habits preserve your investment and ensure consistent video quality whether you’re working from home or a hotel room.
Your properly configured Logitech Brio now delivers broadcast-quality video that builds credibility in every virtual interaction. By following these precise setup steps, you’ve transformed a standard webcam into a professional communication tool that makes you look as competent as you are. The difference shows immediately in sharper skin tones, natural lighting, and confident framing that keeps attention on your message—not technical distractions. For ongoing optimization, revisit your Logi Tune settings quarterly as lighting conditions change with seasons, and always use the physical privacy shutter when the camera isn’t actively in use.


