
Your huddle room video conferencing just got simpler. The Logitech Rally Bar Mini delivers professional-grade audio and video in a compact all-in-one package designed specifically for small meeting spaces. If you’ve ever struggled with tangled cables or complicated conference room tech, this streamlined video bar solves those headaches. In this step-by-step Logitech Rally Bar Mini setup guide, you’ll learn how to transform your small meeting space into a fully functional video conferencing environment without calling IT. Whether you’re setting up your first system or replacing outdated equipment, this guide covers every connection, configuration, and calibration needed for flawless video meetings.
Most small conference rooms suffer from poor audio pickup and awkward camera angles that make virtual participants feel disconnected. The Rally Bar Mini eliminates these issues with its integrated 4K camera, eight-microphone array, and premium speakers—all in one sleek device. After following this setup guide, your team will experience crisp video, clear audio, and intuitive controls that make joining meetings as simple as pressing one button.
Rally Bar Mini Unboxing and Component Verification

Before touching any cables, verify you have all components from the box. Missing one piece can halt your entire setup process. Your Logitech Rally Bar Mini package should contain these seven critical items:
- The Rally Bar Mini unit itself (the main video bar)
- Remote control with pre-installed batteries
- Wall mounting hardware kit
- Table stand mount for flat surface placement
- Power adapter and matching power cable
- HDMI to USB-C cable for computer connections
- Micro-USB to USB-A cable for direct PC connectivity
If any components are missing, contact your vendor immediately—don’t proceed with setup. Each cable serves a specific purpose in the Logitech Rally Bar Mini setup process, and substitutions often cause compatibility issues. The HDMI cable carries video to your display, while the USB-C cable handles both video and audio when connecting directly to computers.
Strategic Placement for Optimal Performance

Mounting Position Determines Meeting Quality
Where you position your Rally Bar Mini directly impacts audio clarity and camera framing. For best results, center the device either directly above or below your display at eye level—approximately 4-5 feet from the floor for seated participants. Avoid mounting higher than 6 feet, as this creates unflattering overhead angles that make participants look up toward the camera.
The Rally Bar Mini works with displays ranging from 55″ to 85″. Measure your screen height before mounting—the video bar should sit within 12 inches of the top or bottom edge. If mounting above the display, ensure at least 2 inches of clearance between the screen and device to prevent shadowing on the camera feed.
Physical Installation Options
You have three mounting choices depending on your room layout:
- Tabletop placement: Position the device on the included stand directly on your conference table. Ideal for temporary setups but risks accidental bumps during meetings.
- Above display mounting: Secure the wall mount bracket to the back of your TV, then slide the Rally Bar Mini into place. Provides the cleanest aesthetic and best camera angle.
- Below display mounting: Use when ceiling height prevents above-display installation. Slightly less ideal for eye contact but still functional.
Whichever method you choose, ensure the front panel faces unobstructed toward meeting participants. The microphone array and camera sensors are on the front face—blocking them with documents or equipment creates dead zones in audio pickup and video coverage.
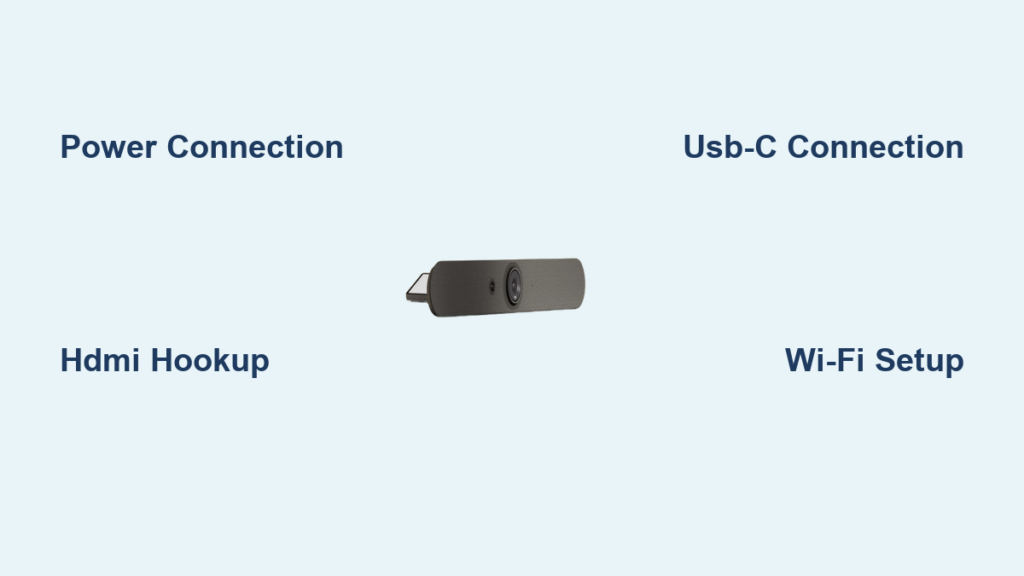
Critical Cable Connections for Flawless Operation
Power and Display Hookup Sequence
Connect components in this exact order to prevent signal issues:
- Plug the power cable into the Rally Bar Mini’s DC port, then connect to a wall outlet (not a power strip)
- Attach the HDMI cable from the “HDMI OUT” port on the Rally Bar Mini to your display’s HDMI input
- Power on your display and select the correct HDMI source
Wait for the Rally Bar Mini’s status LED to turn solid white before proceeding—this indicates proper power and initialization. If the LED blinks red, check your power connections immediately.
Computer Connection for BYOD Meetings
For laptop or desktop connectivity, follow these steps:
- Connect the USB-C cable from the Rally Bar Mini to a USB 3.0 port on your computer
- Wait 15 seconds for automatic driver installation (no additional software needed)
- Open Zoom, Teams, or your preferred conferencing app
- Select “Logitech Rally Bar Mini” as your camera, microphone, and speaker
Avoid using USB hubs or extension cables—they often cause compatibility problems with video bars. If your computer lacks USB-C ports, use the included Micro-USB to USB-A adapter cable instead.
Remote Control Pairing and Essential Functions
Insert the CR2032 batteries into the remote (positive side up), then point it toward the Rally Bar Mini within 3 feet. The device automatically pairs within 10 seconds—watch for the status LED to pulse blue during pairing. If pairing fails, press and hold the mute button for 5 seconds to force reconnection.
Master these remote functions for daily operation:
* Green phone button: Instantly joins scheduled meetings in Zoom or Teams
* Mute button: Physical press cuts microphone with visual indicator
* Volume rockers: Adjust speaker levels without entering menus
* Presentation button: Automatically switches to content sharing mode
* Directional pad: Navigates settings without touching the device
The remote’s ergonomic design places most-used buttons within thumb reach—practice locating the mute and volume controls by feel to avoid fumbling during important calls.
First Boot Configuration Wizard Walkthrough
Power on the system and follow the on-screen prompts in sequence:
- Language selection: Choose your primary language (English, Spanish, French, etc.)
- Wi-Fi connection: Select your corporate network and enter the password
- Google account login: Optional but recommended for app store access
- App installation: Download Zoom, Teams, or other preferred conferencing apps
- Account sign-in: Enter your work credentials for automatic meeting access
The entire process takes approximately 8 minutes. During Wi-Fi setup, ensure you connect to your organization’s primary network—not guest Wi-Fi—as some corporate firewalls restrict video conferencing on secondary networks.
Fine-Tuning Audio and Video Settings
Camera Calibration Process
Access camera settings through the remote’s menu button:
1. Navigate to Settings > Video > Camera
2. Enable “Auto-Framing” to automatically adjust the field of view
3. Set zoom level between 78° and 90° depending on room size
4. Perform a manual pan/tilt test to verify full movement range
For rooms with 4-6 participants, a 85° field of view typically captures everyone without distortion. If participants sit farther than 10 feet from the camera, reduce the field of view to maintain facial detail.
Audio Optimization Checklist
Maximize microphone performance with these adjustments:
* Set microphone sensitivity to “Medium” for most rooms under 200 sq. ft.
* Enable “Noise Cancellation” to filter HVAC and keyboard sounds
* Position the Rally Bar Mini within 12 feet of the farthest participant
* Test audio pickup by speaking from each seat while monitoring levels
The eight-beamforming microphones cover a 180° arc with 16-foot pickup range—ideal for rectangular tables. For square tables, center the device at one end for optimal coverage.
Troubleshooting Connection Failures Immediately
No Power After Connection
If the status LED remains dark:
* Verify the power adapter is fully inserted at both ends
* Try a different wall outlet (avoid surge protectors initially)
* Check for tripped circuit breakers in your building
Computer Doesn’t Recognize Device
When your laptop fails to detect the Rally Bar Mini:
* Unplug and replug the USB-C cable at both ends
* Try a different USB port (preferably blue USB 3.0)
* Restart your computer with the device connected
* Check device manager for unrecognized hardware
Poor Video Quality Fixes
For blurry or distorted video:
* Clean the camera lens with a microfiber cloth
* Disable HDR on your display if enabled
* Ensure HDMI cable is connected to HDMI 2.0 port (supports 4K)
* Reset camera settings to factory defaults through the menu
Proven Placement Strategies for Professional Results
Position the Rally Bar Mini to solve common huddle room problems:
- Camera angle: Mount at eye level (4-5 feet) to create natural eye contact
- Lighting: Face participants toward windows—not with windows behind them
- Acoustics: Place away from air vents and noisy equipment
- Cable management: Route all cables through included adhesive clips
For rooms with reflective tables, elevate the Rally Bar Mini on the table stand to prevent glare on the camera lens. The device’s compact design (just 23.6 inches long) fits neatly on most conference tables without obstructing view lines.
Maintenance and Long-Term Optimization
Check these items monthly to maintain peak performance:
* Update firmware through Settings > System > About > Check for Updates
* Clean microphone ports with a soft brush to prevent dust buildup
* Verify all cable connections are secure and undamaged
* Test auto-framing with different participant counts
The Rally Bar Mini automatically receives security patches and feature updates—never skip these as they often improve audio algorithms and camera processing. For organizations managing multiple units, Logi Tune software provides centralized control over all settings.
Following this Logitech Rally Bar Mini setup guide ensures your small meeting space delivers enterprise-quality video conferencing without complexity. When properly configured, the system becomes invisible technology—your team focuses on collaboration rather than troubleshooting. Bookmark this page for reference during your next setup, and share it with colleagues who manage huddle room technology. With everything connected correctly, your next video meeting will start with a single button press rather than frantic cable swapping.


