Have you ever wanted to replace that plain arrow pointer with something that reflects your personality or brand? Whether you’re personalizing your Windows desktop, designing a themed website, or building an interactive web experience, learning how to make a custom mouse cursor unlocks real creative potential. The catch is that cursors come with strict technical rules, file format quirks, and accessibility concerns that can trip up even experienced developers.
This guide shows you exactly how to make a custom mouse cursor that works flawlessly on both local systems and live websites. You’ll learn the 32×32 pixel design rule, how to set precise hotspots, the right way to convert image files, and how to implement your cursor using CSS or JavaScript. We’ll also cover accessibility best practices so your cursor remains functional for every user. By the end, you’ll have a complete toolkit for designing, installing, and deploying custom cursors professionally.
Design Your Cursor Image
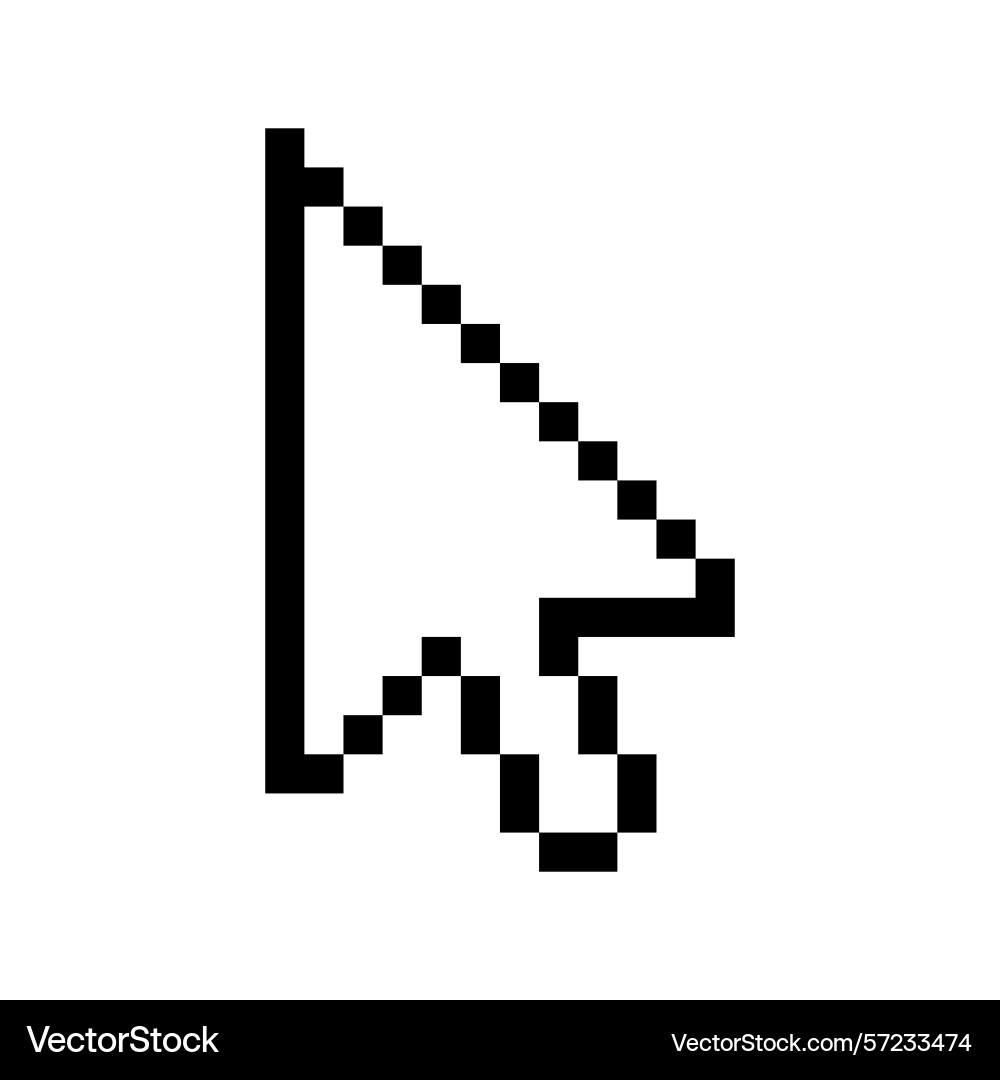
Before any coding or file conversion, you need a clean, functional design that works within the tiny screen space a cursor occupies.
Start with a 32×32 Canvas
All local Windows cursors are restricted to 32×32 pixels. Even if your final destination is a website, starting at this size ensures maximum compatibility and clarity. Larger images may look sharp but can cause lag or visual clutter during fast movement.
Use software that supports transparency (alpha channels) for the initial design. Recommended editors include:
- GIMP (free)
- Photoshop
- Paint Tool SAI
- Krita
Avoid MS Paint or basic editors without transparency support. These tools add a white background that ruins the cursor effect entirely.
Apply a High-Contrast Outline
A common mistake is designing a cursor that vanishes against dark or busy backgrounds. To prevent this visibility problem, add a white or light-colored outline around your entire design. Most editors offer stroke or outer glow effects that handle this in one click.
This single step dramatically improves usability, especially in dark mode interfaces or on image-heavy websites where the cursor might otherwise disappear.
Position the Hotspot First
The hotspot is the exact pixel where clicks register. Usually it’s the tip of an arrow or the center of a circular cursor. When designing, mark the intended hotspot with a small dot before building the rest of the artwork around it.
For example, if you’re designing a sword cursor, align the blade tip with the hotspot. This ensures clicks land precisely where users expect them to.
Convert Files for Local Windows Use
If you want to permanently change your system cursor, you must use .cur or .ani file formats. Standard image files simply won’t work.
Why PNG Files Fail Locally
You cannot use .png files directly as system cursors in Windows. Even if resized to exactly 32×32 pixels, Windows forces the hotspot to the top-left corner and distorts the image. Transparency is also ignored in some contexts.
Only .cur and .ani files store embedded hotspot data, which is essential for proper click registration.
Convert PNG to .cur Using cursor.cc
To transform your PNG into a working cursor file, follow these steps:
- Visit cursor.cc
- Upload your 32×32 transparent PNG
- Click “Set Hotspot” and select the precise click point
- Click “Convert to .cur” and download the file
For animated cursors, use dedicated software like Axialis CursorWorkshop that exports to .ani format.
Install the Cursor in Windows
Once you have your .cur or .ani file ready, complete the installation:
- Copy the file to
C:\Windows\Cursors\ - Open Settings > Devices > Mouse > Additional mouse options
- Navigate to the Pointers tab
- Select “Normal Select”, click Browse, and choose your file
- Save as a new theme to prevent reverting on reboot
⚠️ Never skip saving the theme. Windows reverts to default cursors if the theme isn’t saved.
Use CSS for Web-Based Cursors
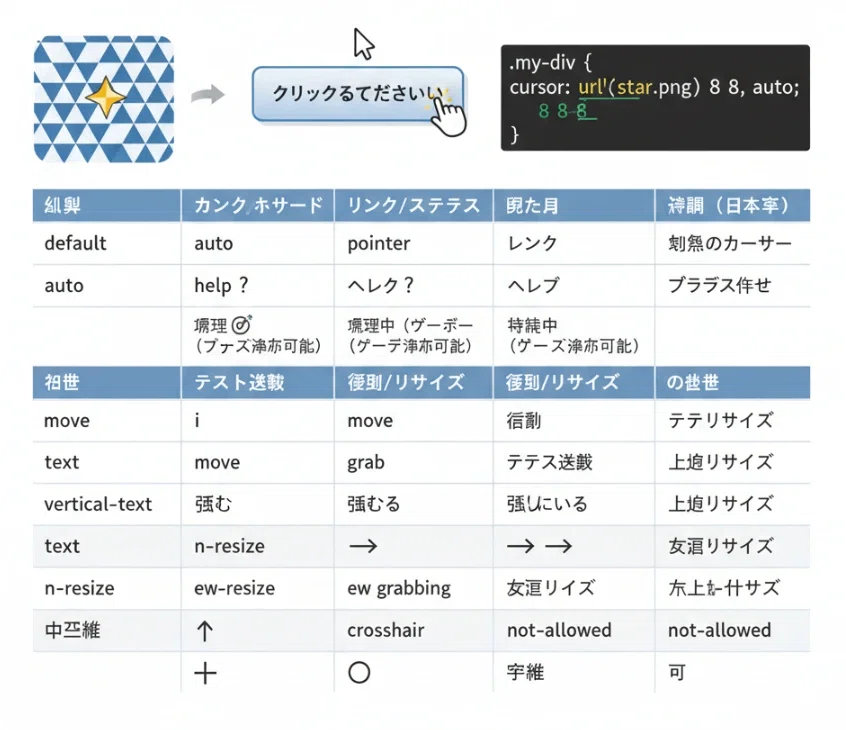
On websites, you can replace the default cursor using CSS with greater format flexibility than local installation allows.
Basic CSS Syntax
css

body {

  cursor: url('custom-cursor.png'), auto;

}
The url() function points to your image file. The second value (like auto) serves as a required fallback if the image fails to load. Without this fallback, users see no cursor at all when something goes wrong.
Supported Web Formats Compared
| Format | Animated | Custom Hotspot | Best Use |
|---|---|---|---|
.png |
No | No (top-left only) | Simple icons |
.gif |
Yes | No | Limited animation |
.svg |
No | No | Scalable designs |
.cur |
No | Yes | Precise hotspots |
Animated .ani files do not work in CSS at all. For animated web cursors, you’ll need JavaScript instead.
Set Custom Hotspot Coordinates
You can offset the hotspot using coordinates directly in the url() function:
css

cursor: url('cursor.png') 16 16, auto;
The numbers 16 16 define the X and Y offset from the top-left corner. For a 32×32 circle cursor, these values center the hotspot perfectly. This technique works with .png, .svg, and .gif files without needing a .cur conversion.
Apply Cursors to Specific Elements
Replacing the entire page cursor often hurts usability. Instead, target specific interactions:
“`css
.button:hover {
cursor: url(‘hand.png’), pointer;
}
input[type=”text”] {
cursor: text;
}
.hide-cursor {
cursor: none;
}
“`
This approach keeps navigation intuitive while adding visual flair where it matters most.
Create Animated Cursors with JavaScript
For advanced effects like trailing cursors, physics-based movement, or complex animations, CSS falls short. JavaScript gives you complete control.
Hide the Default and Use DOM Elements
JavaScript cursors work through a three-step process: hide the system cursor, create styled div elements, then track mouse movement to reposition them.
Add this HTML structure:
“`html
“`
The aria-hidden="true" attribute ensures screen readers ignore these decorative elements.
Style the elements with CSS:
“`css
body {
cursor: none;
overflow: hidden;
}
.cursor {
position: fixed;
top: 0;
left: 0;
pointer-events: none;
z-index: 9999;
transform: translate3d(0, 0, 0);
border-radius: 50%;
}
.small {
width: 6px;
height: 6px;
background: white;
border: 2px solid #000;
}
.big {
width: 40px;
height: 40px;
background: rgba(255, 255, 255, 0.2);
border: 1px dashed white;
}
“`
Then track mouse movement with JavaScript:
“`javascript
const small = document.querySelector(‘.small’);
const big = document.querySelector(‘.big’);
const moveCursor = (e) => {
small.style.transform = translate3d(${e.clientX}px, ${e.clientY}px, 0);
big.style.transform = translate3d(${e.clientX}px, ${e.clientY}px, 0);
};
document.addEventListener(‘mousemove’, moveCursor);
“`
Add Smooth Trail Animation
For a fluid trailing effect, delay the larger cursor behind the smaller one:
“`javascript
let mouseX = 0;
let mouseY = 0;
let trailX = 0;
let trailY = 0;
document.addEventListener(‘mousemove’, e => {
mouseX = e.clientX;
mouseY = e.clientY;
});
function animate() {
trailX += (mouseX – trailX) * 0.1;
trailY += (mouseY – trailY) * 0.1;
small.style.transform = translate3d(${mouseX}px, ${mouseY}px, 0);
big.style.transform = translate3d(${trailX}px, ${trailY}px, 0);
requestAnimationFrame(animate);
}
animate();
“`
This creates a responsive dual-cursor effect that feels natural and polished.
Fix Hotspot Misalignment Problems
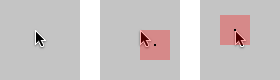
One of the most frustrating cursor issues is when the click point doesn’t match the visual tip.
Common Causes of Misalignment
Hotspot problems typically stem from three sources: using .png files without specifying coordinates, setting the wrong hotspot during .cur creation, or miscalculating offsets in JavaScript positioning.
Practical Solutions
For CSS implementations, always include offset values:
css

cursor: url('arrow.png') 1 30, auto;
This sets the hotspot near the arrow tip (1 pixel from left, 30 pixels down).
For .cur files, re-upload to cursor.cc and reposition the hotspot visually before reconverting.
For JavaScript cursors, adjust the transform offset in your code:
javascript

small.style.transform = `translate3d(${x - 8}px, ${y - 8}px, 0)`;
Test on clickable elements to verify accuracy before deploying.
Optimize for Accessibility

Custom cursors can seriously harm usability when implemented without care. Responsible design protects all users.
Respect Reduced Motion Preferences
Many users disable animations due to vestibular disorders or motion sensitivity. Honor their system settings:
css

@media (prefers-reduced-motion: reduce) {

  * {

    cursor: auto !important;

  }

  .cursor {

    display: none !important;

  }

}
This automatically disables custom cursors when users enable “Reduce motion” in their operating system.
Prevent Screen Reader Conflicts
JavaScript-based cursors create invisible DOM elements. Without proper attributes, screen readers may announce them as floating content. Always include aria-hidden="true" on cursor elements.
Provide an Opt-Out Toggle
Consider adding a button that lets users revert to the default cursor:
html

<button id="toggle-cursor">Use Default Cursor</button>
javascript

document.getElementById('toggle-cursor').addEventListener('click', () => {

  document.body.classList.toggle('default-cursor');

});
css

.default-cursor * {

  cursor: auto !important;

}

.default-cursor .cursor {

  display: none;

}
Empowering users with choices builds trust and improves compliance with accessibility standards.
Host and Deploy Your Cursor Files
Once your cursor is ready, proper hosting ensures reliable loading across all platforms.
Hosting .cur Files
Some free hosts like Neocities block .cur file uploads. Workarounds include:
- Filegarden for free
.curhosting - GitHub Pages for reliable file serving
- Direct hotlinking from external URLs
Use this CSS pattern for external hosting:
css

cursor: url('https://filegarden.com/cursors/mycursor.cur'), auto;
Verify your host allows direct file access without forcing downloads.
Self-Host Standard Web Formats
For .png, .svg, or .gif files, upload to your site’s /images/ directory and use relative paths:
css

cursor: url('/images/cursor.svg') 8 8, auto;
Consider using a CDN for better performance on high-traffic websites.
Test Across Browsers and Themes
Never assume your cursor works everywhere until you’ve verified it.
Essential Testing Checklist
Run through these verification points before launch:
- Cursor appears on light and dark backgrounds
- Clicks register at the correct visual point
- Fallback cursor shows when images fail
- Animation disables under reduced motion settings
- No performance lag during fast movement
- Screen readers ignore JavaScript cursor elements
Test on Chrome, Firefox, Safari, and Edge across Windows, macOS, and Linux. Remember that mobile devices ignore CSS cursor properties entirely, so focus testing efforts on desktop experiences.
Frequently Asked Questions About Custom Mouse Cursors
What file format works for custom cursors on Windows?
Windows requires .cur files for static cursors and .ani files for animated ones. Standard image formats like .png and .gif cannot be used directly as system cursors because they lack embedded hotspot data. Use a converter tool like cursor.cc to transform your PNG into a proper .cur file with hotspot coordinates.
Can I use a custom cursor on any website?
Yes, any website can implement custom cursors through CSS or JavaScript. CSS offers simple image replacement using the cursor property, while JavaScript enables complex animations and interactive effects. The implementation depends on your design goals and technical requirements.
Why does my custom cursor’s click point appear off-center?
This hotspot misalignment happens when you use .png files without specifying offset coordinates, or when the hotspot was set incorrectly during .cur file creation. Fix it by adding X and Y values in your CSS url() function, or by repositioning the hotspot in cursor.cc before converting.
Do custom cursors work on mobile devices?
No, mobile devices ignore CSS cursor properties entirely because touch input doesn’t use a pointer. Custom cursors only affect desktop experiences. If you’re designing for mobile users, focus on tap targets and touch interactions instead.
How do I make an animated cursor for my website?
CSS alone cannot animate cursors effectively. Use JavaScript to hide the default cursor, create styled DOM elements, and track mouse movement with event listeners. This approach allows for trailing effects, physics-based movement, and complex multi-element animations.
Are custom cursors bad for accessibility?
Custom cursors can harm accessibility when implemented poorly. They may interfere with OS-level high-contrast settings, confuse screen readers, or trigger motion sensitivity issues. Always respect prefers-reduced-motion settings, add aria-hidden attributes to JavaScript cursor elements, and provide an opt-out toggle for users who prefer the default cursor.
Key Takeaways for Building Your Custom Mouse Cursor
Learning how to make a custom mouse cursor successfully comes down to respecting technical constraints while prioritizing usability. Start every project with a 32×32 pixel transparent PNG, mark your hotspot before designing the rest, and always add a high-contrast outline for visibility.
Choose your implementation based on your goal: use .cur files for local Windows installation, CSS for simple web cursors, and JavaScript for animated or interactive effects. Never skip the accessibility safeguards, especially the prefers-reduced-motion media query and aria-hidden attributes.
Your next step is simple: pick one method from this guide and build a small test cursor today. Start with a basic CSS implementation on a personal project, then experiment with JavaScript animations once you’re comfortable. The skills transfer directly to more complex designs, and you’ll develop an intuition for what works through hands-on practice.