You’re working across two screens, but your mouse refuses to cross the boundary. You push it toward the edge, angle it perfectly, and still hit an invisible wall. This common frustration happens because Windows maps your displays virtually, and that virtual map must match your physical desk layout. Learning how to move mouse to second monitor starts with understanding that screen positioning in software controls cursor behavior, not just the hardware connection.
Misaligned virtual displays create cursor traps, especially when monitors differ in size, resolution, or height. The fix ranges from simple settings adjustments to advanced scripting tools that teleport your cursor instantly. This guide walks through every method, from basic alignment to AutoHotKey automation, so you can build a seamless multi-monitor workflow on any Windows version.
Why Your Mouse Gets Stuck at Monitor Edges
Windows uses the position of display icons in your settings to decide where the cursor can travel. If those icons don’t match your real desk arrangement, the operating system creates invisible barriers at non-matching edges. The cursor can only cross where virtual screens overlap.
The Invisible Barrier Problem
A cursor that stops abruptly at the boundary between two screens is a symptom of virtual misalignment. When your center monitor is taller than the side monitors in the settings, the software treats the mismatched edges as solid walls.
Common symptoms include:
– Cursor stops at the top corner between monitors
– Dragging windows across screens feels impossible
– Mouse only crosses at specific angles or with extra force
How Windows Calculates Cursor Paths
The operating system treats the edges of virtual display icons as physical walls. If the bottom edge of Monitor A doesn’t align with the bottom edge of Monitor B in settings, the cursor cannot cross that specific segment. This is why vertical positioning matters just as much as horizontal placement.
Align Display Icons in Windows Settings

The most reliable fix for a stuck cursor is making sure your virtual display layout mirrors your actual desk setup. A few pixels of misalignment can create a hard stop, so precision matters.
Match Physical Layout Exactly
Open your display settings and use the Identify function to label each screen with a number. Then drag the numbered icons until they reflect your real monitor arrangement.
Key alignment tips:
– Drag icons vertically as well as horizontally
– Align bottom edges when monitors have different heights
– Match the physical stand height of each screen
For example, if your second monitor sits to the right of the primary, drag its icon directly right in the settings. If one monitor is taller, align the bottom edges for the smoothest transitions.
Avoid the Invisible Barrier
Even a small gap between aligned edges stops cursor movement. The mouse can only cross through the overlapping zone between two virtual displays.
To eliminate barriers:
– Drag icons so their shared sides are completely flush
– Test by moving the mouse slowly across the boundary
– Readjust by a few pixels if the cursor sticks
Windows 11 Setup for Dual Monitors

Windows 11 offers the most visual interface for arranging displays. The live preview makes alignment easier than older versions.
Step-by-Step Configuration
- Press
Windows+Ito open Settings - Click System, then select Display
- Click Identify to label each physical screen
- Under “Rearrange your displays,” drag the numbered boxes
- Position the second monitor’s icon adjacent to the primary
- Ensure vertical edges align with physical stand heights
- Click Apply to save changes
The system may briefly black out screens while reconfiguring. After saving, test cursor movement across the boundary.
Earlier Windows Versions Setup Guide
Older Windows versions use similar logic but different navigation paths. The core action stays the same: identify screens, drag icons, and apply changes.
Windows 10 and 8 Configuration
- Right-click the desktop and choose Display settings
- Scroll to Multiple displays and click Display adapter properties
- Or navigate to Control Panel, then Appearance and Personalization, then Display
- Click Adjust resolution in the left pane
- Click Identify to map numbers to physical screens
- Drag monitor icons into correct positions
- Click OK to apply
The interface is less visual than Windows 11, so take extra care with icon placement.
Windows 7 and Vista Setup
- Open Control Panel from the Start menu
- Choose Appearance and Personalization, then Display
- Click Adjust resolution in the sidebar
- Click Identify to view screen numbers
- Drag monitor icons to match physical placement
- Click OK to save
The layout resets if you unplug a monitor, so recheck after reconnecting.
Windows XP Legacy Configuration
- Click Start and open Control Panel
- Double-click the Display icon
- Navigate to the Settings tab
- Click Identify to see numbers on physical screens
- Drag monitor icons into correct positions
- Click OK to finalize
Older versions lack live previews, so use the Identify function carefully to confirm placement.
Shift Cursor Focus with Alt+Space
Windows lacks a native “jump to next monitor” hotkey, but the Alt+Space shortcut moves the cursor to the active window’s title bar. This method works best for switching focus between screens quickly.
For Unmaximized Windows
- Click the window on the second monitor to make it active
- Press
Alt+Spaceto open the system menu - Press
Mto select Move - Press any arrow key
- The cursor jumps to the title bar
- Click to stop moving
For Maximized Windows
- Press
Alt+Space - Press
Enterto Restore the window - Press
Alt+Space, thenM, then an arrow key - The cursor jumps to the window
- Resize or maximize again after moving
This method moves the window itself, not just the cursor, so use it when you want to reposition apps.
AutoHotKey Scripts for Instant Mouse Jumps
For true one-click cursor teleportation, AutoHotKey (AHK) scripts let you jump between monitors instantly. No dragging required, just a custom hotkey trigger.
Install AutoHotKey First
- Download AutoHotKey from autohotkey.com
- Install and launch the program
- Create a new text file
- Rename the file with a
.ahkextension - Right-click and select Run Script
The script runs in the background. Your custom hotkey triggers the jump whenever needed.
Equal Monitors: Toggle Left and Right
Use this script when both monitors share the same resolution and sit side by side. It detects which half of the virtual desktop the cursor occupies and moves it to the opposite screen.
ahk

^Space::

  CoordMode, Mouse, Screen

  MouseGetPos, MouseX, MouseY

  if (MouseX > A_ScreenWidth) {

    MouseMove, -A_ScreenWidth, 0, 0, R

  } else {

    MouseMove, A_ScreenWidth, 0, 0, R

  }

return
The hotkey Ctrl + Space checks if the cursor is on the right half. If yes, it moves left by one screen width. If no, it moves right.
Mixed Resolution Monitors: Custom Coordinates

When monitors differ in size or sit at different heights, simple addition and subtraction fails. You need absolute coordinates based on your specific setup.
ahk

^Space::

  CoordMode, Mouse, Screen

  MouseGetPos, MouseX, MouseY

  if (MouseY > 0) {

    MouseMove, -1071, -753, 0

  } else {

    MouseMove, 1286, 670, 0

  }

return
Replace the numbers with your actual monitor centers. Use a test script with MouseGetPos to find exact coordinates for your configuration.
Three or More Monitors: Chain the Jump
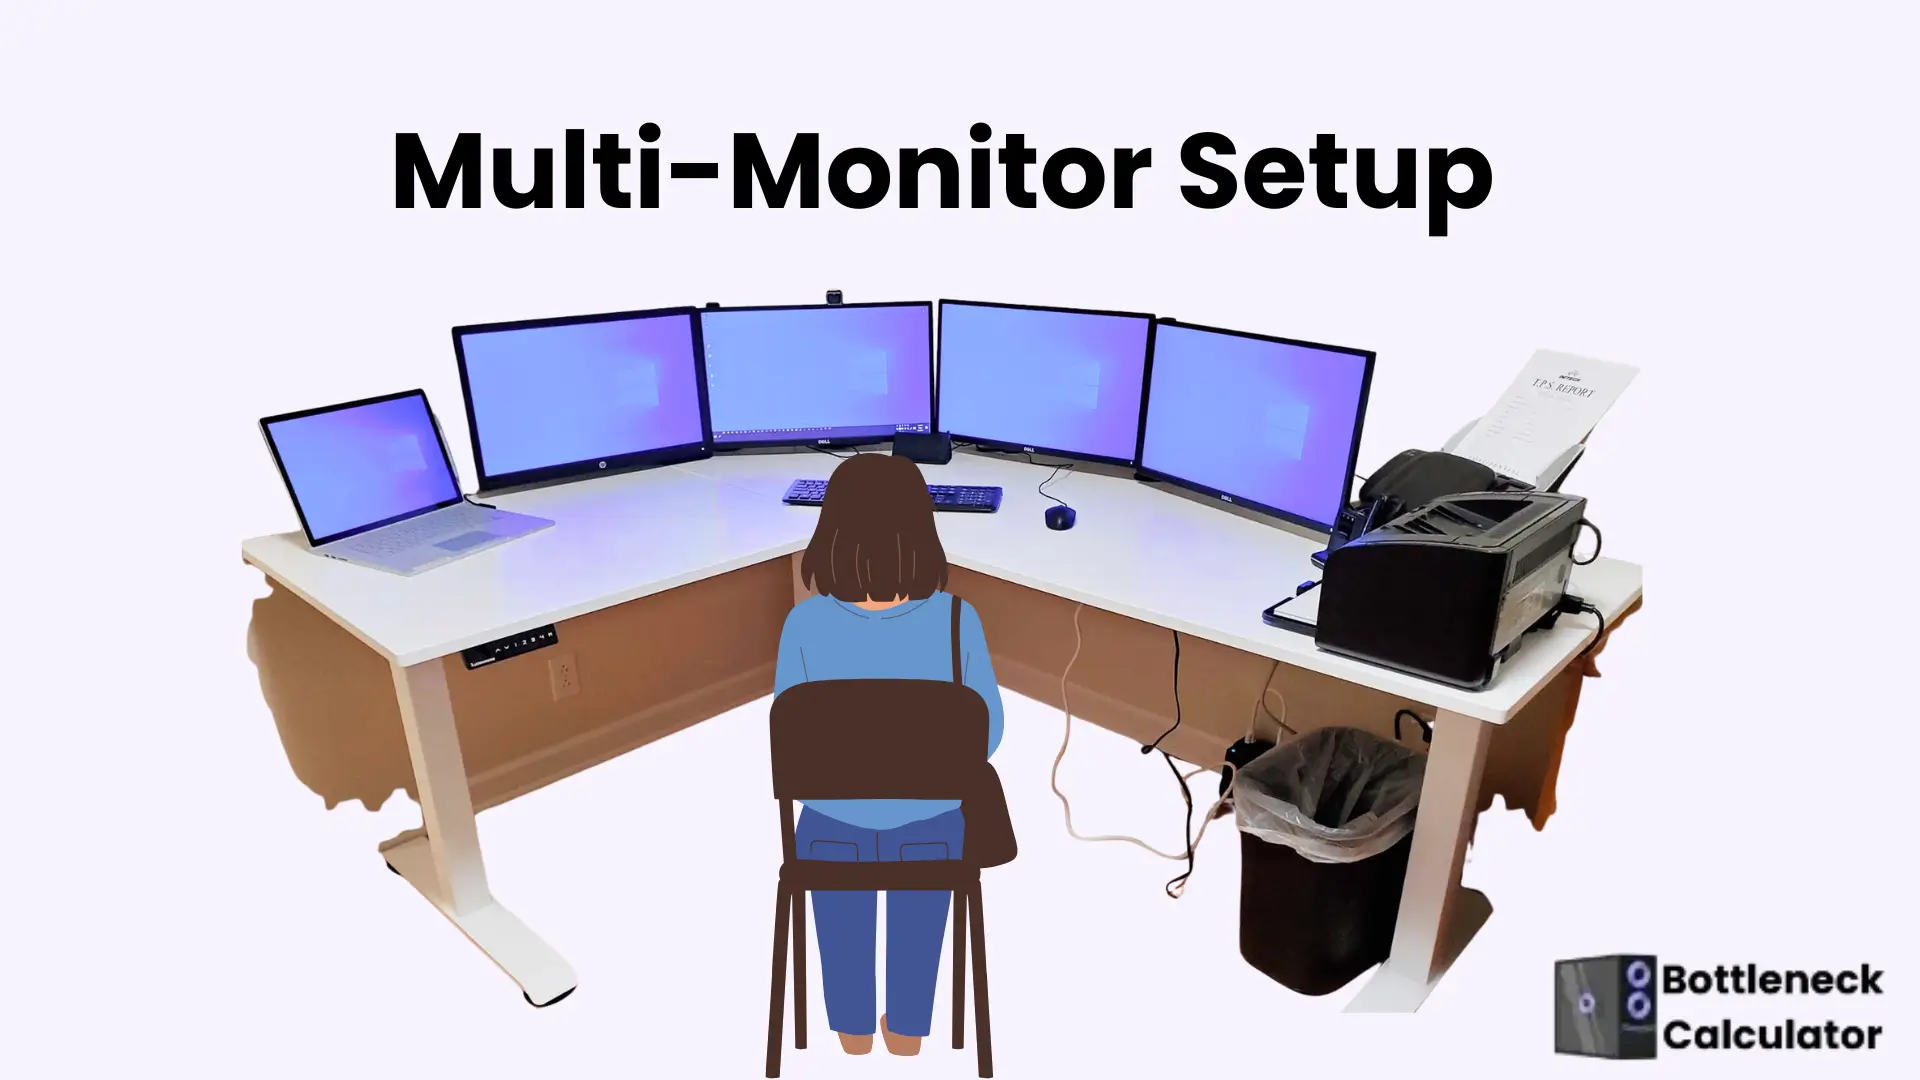
Complex setups require conditional logic that checks ranges of X and Y coordinates. The script identifies the current screen and routes the cursor to the next logical destination.
ahk

^Space::

  CoordMode, Mouse, Screen

  MouseGetPos, MouseX, MouseY

  if (MouseX < 1920) {

    MouseMove, 2880, 540, 0

  } else if (MouseX < 3840) {

    MouseMove, 4800, 540, 0

  } else {

    MouseMove, 960, 540, 0

  }

return
Adjust the ranges based on your monitor widths. For example, use 1920px for standard HD or 2560px for QHD displays.
Troubleshoot Persistent Cursor Sticking
Even after proper setup, some users still face cursor sticking at the edges. These fixes target persistent problems that basic alignment doesn’t solve.
Recheck Vertical Alignment
A single pixel of misalignment creates a hard stop. Zoom in on the display arrangement and drag icons until edges are perfectly flush.
Pro Tip: Align bottom edges when using a large center monitor with smaller side displays. This creates the largest crossover zone and eliminates top-corner traps.
Fix L-Shaped or Corner Setups
In L-shaped arrangements, the cursor gets trapped in corners where no monitor exists. The workaround involves slightly overlapping icons in settings to create a continuous path.
For example, shift a vertical monitor down so its top edge aligns with the horizontal monitor’s side. This distorts the layout slightly but enables smooth movement.
Update Graphics Drivers
Outdated drivers may cache old display layouts and create ghost barriers. Updating your GPU driver resets the display topology.
- Press
Windows+Xand open Device Manager - Expand Display adapters
- Right-click your GPU and select Update driver
- Restart after updating
Improve Cursor Visibility Between Screens
Jumping between monitors is useless if you can’t find the cursor afterward. Visibility tweaks reduce search time and make screen transitions smoother.
Change Pointer Color
Default Windows pointers vanish on bright or dark backgrounds. Switching to a high-contrast color makes the cursor easier to track.
- Press
Windows+Uto open Ease of Access - Go to Cursor and Pointer settings
- Choose a high-contrast scheme like Black or Inverted
- Adjust thickness for better visibility
A black pointer stands out on light backgrounds, while white works well on dark ones.
Enable Pointer Trails
Trails help visualize fast cursor movement across bezels and high-contrast boundaries.
- Press
Windows+Iand open Accessibility settings - Go to Mouse pointer and touch
- Turn on Show pointer trails
- Adjust length for subtle or dramatic effect
Use trails sparingly, since long trails can become distracting during normal use.
Quick Reference: Best Practices Table
| Issue | Solution | Pro Tip |
|---|---|---|
| Mouse won’t cross edge | Align display icons | Match bottom edges for mixed heights |
| Need instant jump | Use AutoHotKey | Script once, use forever |
| Cursor hard to find | Change pointer color | Black works on most backgrounds |
| Maximized window block | Restore first with Alt+Space | Use Enter to unmaximize |
| L-shaped setup trap | Overlap icons slightly | Create a continuous path |
Always click Identify after rearranging to confirm screen numbers match physical positions. A mislabeled monitor leads to confusion and incorrect alignment.
Frequently Asked Questions About Moving Mouse to Second Monitor
Why does my mouse get stuck at the top corner between monitors?
Your virtual display icons are vertically misaligned in Windows settings. The operating system treats non-matching edges as walls, so the cursor cannot cross into the “higher” virtual space of a taller monitor from a shorter one. Open Display Settings and drag the icons until their bottom edges align perfectly.
Do I need special software to move my mouse between monitors?
No special software is required for basic dual-monitor setups. Windows handles cursor movement natively once your display layout matches your physical arrangement. However, AutoHotKey scripts add instant teleportation features that Windows doesn’t include by default.
How do I find my monitor coordinates for AutoHotKey scripts?
Create a temporary AHK script with MouseGetPos, MouseX, MouseY and a hotkey to display the values. Move your cursor to each monitor’s center and note the X and Y coordinates. Replace the example values in the script with your actual numbers.
Will changing pointer color affect gaming or design work?
Changing pointer color only affects the system cursor, not in-game crosshairs or design software tools. High-contrast pointers actually improve productivity by making the cursor easier to locate during screen transitions.
Can I use these methods on a laptop with an external monitor?
Yes, all methods work with laptop and external monitor combinations. The laptop screen is typically Monitor 1, and the external display becomes Monitor 2. Use the Identify function to confirm which number corresponds to which screen before adjusting alignment.
What happens if I unplug my second monitor?
Windows resets the display arrangement when you reconnect a monitor. You’ll need to recheck alignment and reposition the icons in Display Settings. AutoHotKey scripts may also need coordinate adjustments if your monitor configuration changes.
Key Takeaways for Moving Your Mouse to a Second Monitor

The core principle behind seamless mouse movement across screens is matching your virtual display layout to physical reality. For most users, dragging display icons into perfect alignment solves cursor sticking problems entirely. Pay special attention to vertical positioning, since bottom-edge alignment creates the largest crossover zone for mixed-height setups.
Power users should consider AutoHotKey scripts for instant cursor teleportation. These scripts eliminate the physical drag across long distances and dramatically speed up multi-monitor workflows. Start with the equal-monitors script, then customize coordinates as your setup evolves.
Your next step is simple: open Display Settings right now, click Identify, and verify that your monitor icons match your desk arrangement. If the cursor still sticks after alignment, install AutoHotKey and try the toggle script for instant jumps between screens.