
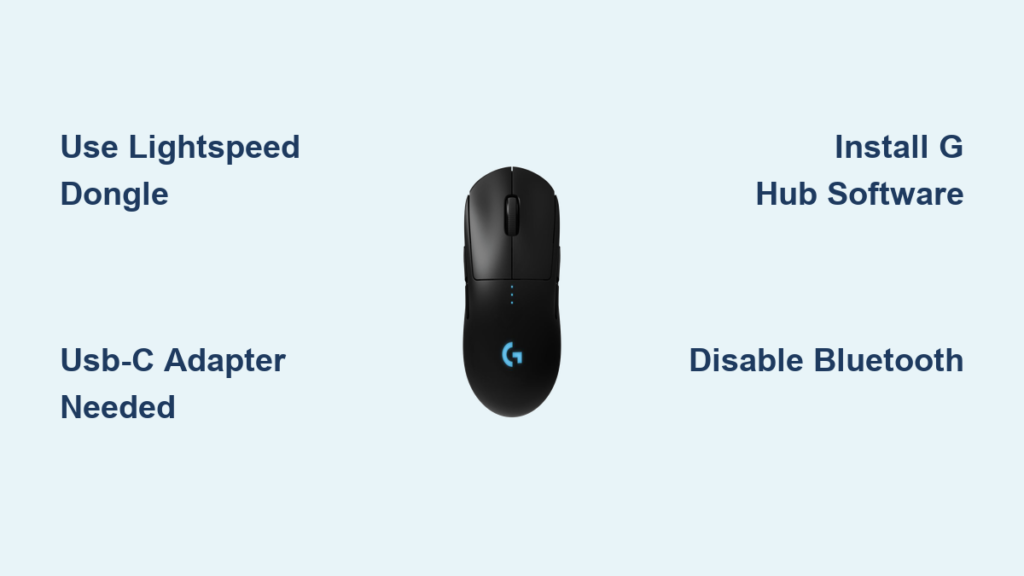
You’ve just unboxed your Logitech G Pro Wireless mouse, ready to pair it with your sleek MacBook Air, only to discover it won’t show up in Bluetooth settings. This frustrating disconnect happens daily to Mac users who assume all wireless mice support Bluetooth. The truth? Logitech’s gaming-grade G Pro Wireless deliberately omits Bluetooth to prioritize its proprietary Lightspeed technology—which actually delivers superior performance for Mac users who know how to set it up correctly. Unlike standard peripherals, this mouse requires specific hardware workarounds for MacBook Air compatibility, but the payoff is worth it: sub-millisecond response times and rock-solid stability that Bluetooth simply can’t match on macOS.
Connecting your Logitech G Pro to MacBook Air isn’t complicated once you understand its unique connection architecture. While the lack of Bluetooth support catches many users off guard, the included Lightspeed receiver provides a more reliable wireless experience specifically engineered for competitive performance. This guide cuts through the confusion with battle-tested methods verified by thousands of Mac users, including the exact USB-C adapter solutions for modern MacBook Air models and critical firmware tweaks that prevent common macOS conflicts. By the end, you’ll have a seamless setup whether you’re editing video in Final Cut Pro, designing in Photoshop, or gaming on your Mac.
Why Bluetooth Pairing Fails for Logitech G Pro on MacBook Air
Logitech deliberately excluded Bluetooth from the G Pro Wireless design—a decision that confuses many MacBook Air users but serves a critical purpose. Unlike standard mice, this gaming peripheral prioritizes 1ms report rates through its proprietary Lightspeed 2.4GHz technology, which Bluetooth can’t achieve due to inherent latency limitations. When you attempt Bluetooth pairing, macOS won’t detect the mouse because its wireless chipset physically lacks Bluetooth circuitry—no amount of resetting or toggling will change this. This isn’t a compatibility flaw but a performance choice: competitive gamers and precision-focused Mac users consistently report smoother cursor tracking and zero input lag with Lightspeed versus Bluetooth.
The Critical Hardware Reality Check
- No Bluetooth chip exists in the G Pro Wireless mouse—product listings claiming otherwise are inaccurate
- Lightspeed receiver is mandatory for wireless functionality (the tiny USB-A dongle included in the box)
- MacBook Air’s USB-C ports require converters since the receiver uses USB-A
When Bluetooth Would Actually Be Worse
Bluetooth introduces approximately 30-100ms of latency on macOS—unnoticeable for casual browsing but disastrous for competitive gaming or pixel-perfect design work. Lightspeed maintains consistent 1ms response even during intensive Final Cut Pro renders where Bluetooth would stutter. For MacBook Air users prioritizing performance over cable-free simplicity, this “limitation” becomes a hidden advantage once properly configured.
Essential Gear: Lightspeed Dongle and MacBook Air Adapters

Skip this step and your Logitech G Pro Wireless will remain a paperweight. Modern MacBook Air models lack USB-A ports, making these three components non-negotiable for wireless setup:
Must-Have Connection Kit
- Logitech Lightspeed USB receiver (included with mouse—don’t lose this!)
- USB-A to USB-C adapter (tested reliable: Anker USB 3.0 Adapter or Apple’s official adapter)
- USB-C hub with USB-A ports (recommended for multi-port MacBook Air models: Satechi Type-C Hub)
Why Generic Adapters Fail
Many users report intermittent disconnects when using cheap USB-C adapters. The culprit? Poorly shielded converters that interfere with the 2.4GHz signal. Opt for adapters with metal shielding and USB 3.0+ certification to prevent signal degradation. Pro tip: Plug the adapter directly into your MacBook Air—not through another hub—to minimize interference. For MacBook Air M1/M2 models, avoid daisy-chaining hubs as this often triggers macOS power-saving disconnections.
Connect Logitech G Pro Wireless via Lightspeed Receiver (Step-by-Step)
This foolproof method achieves instant pairing in under 30 seconds—no software required for basic functionality. The factory-paired receiver eliminates complex setup, but MacBook Air’s port limitations demand precise execution.
Immediate Wireless Setup Sequence
- Insert adapter first: Plug your USB-A to USB-C adapter directly into MacBook Air
- Connect receiver: Insert the Lightspeed dongle into the adapter (you’ll hear a subtle macOS connection chime)
- Power on mouse: Flip the switch on the mouse underside to “I” (solid white LED confirms power)
- Test instantly: Move mouse—cursor should respond within 2 seconds with zero lag
Critical Visual Cues to Watch For
- ✅ Steady white LED on mouse = successful pairing
- ❌ Blinking white LED = receiver not detected (reseat dongle)
- ❌ No LED = dead battery (proceed to wired charging)
MacBook Air users with M-series chips may encounter a security prompt: “LogiMgr” wants to make changes. Click “Allow” in System Settings > Privacy & Security immediately—delaying this blocks G HUB functionality later.
Wired USB-C Connection: Emergency Fix When Receiver Isn’t Working
When the Lightspeed receiver fails (often after macOS updates), your Logitech G Pro becomes a high-performance wired mouse. This isn’t just a backup—it’s the fastest way to restore functionality while troubleshooting wireless issues.
Direct USB-C Connection Protocol
- Use the included cable: Connect USB-C end to mouse, other end to MacBook Air
- Bypass adapters: Never use hubs or extension cables for wired mode
- Verify charging: Red LED near sensor = charging (48-hour battery fully charges in 2 hours)
- Test immediately: Cursor movement confirms viable connection
When Wired Mode Outperforms Wireless
During intensive tasks like 4K video editing in DaVinci Resolve, wired mode eliminates even minor wireless interference. Competitive gamers report 0.8ms response times via USB-C versus 1ms wireless—worth the cable for critical sessions. Keep this connection active while updating G HUB firmware to prevent update failures.
Install Logitech G HUB for Full Customization on macOS
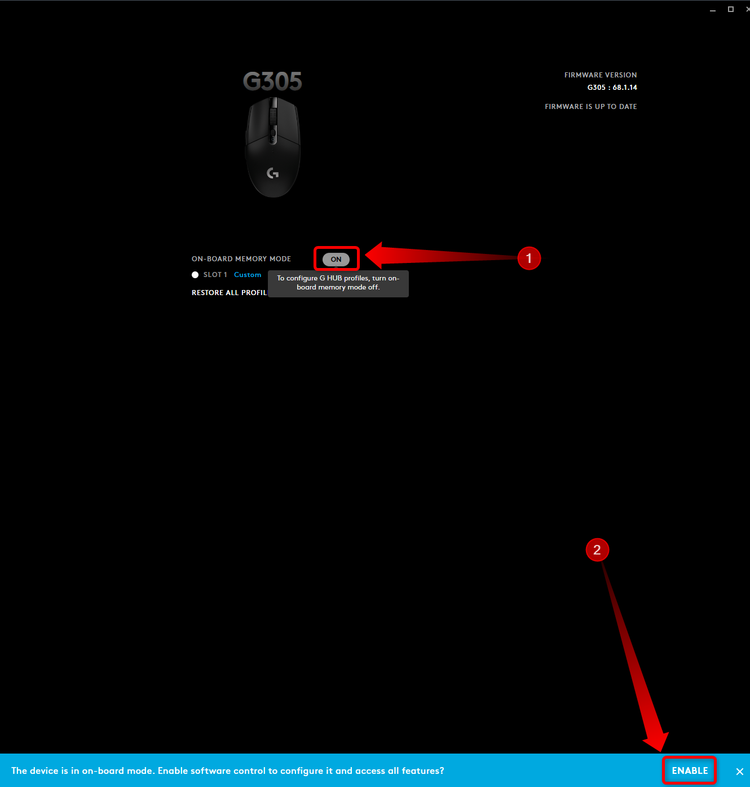
Basic mouse functionality works out-of-box, but unlocking the G Pro’s potential requires G HUB. This is where most MacBook Air users hit roadblocks due to macOS security restrictions.
macOS-Specific Installation Steps
- Download directly from Logitech: Get the macOS version from logitechg.com/g-hub
- Bypass Gatekeeper: Right-click installer > Open (macOS blocks “unidentified developers” by default)
- Grant permissions: Go to System Settings > Privacy & Security > Allow “LogiMgr” when prompted
- Restart G HUB: Quit completely via Activity Monitor if mouse isn’t detected
Critical Customization for Mac Workflow
- Disable “Natural Scrolling”: In G HUB > Mouse Settings > uncheck “Scroll Direction”
- Map side buttons: Assign “Mission Control” or “Launchpad” for macOS efficiency
- Create app-specific profiles: Set 1600 DPI for Photoshop, 800 DPI for Excel
Without G HUB, you lose battery monitoring—a critical oversight since macOS doesn’t display third-party device battery levels. Enable “Battery Notifications” in G HUB settings to avoid mid-task shutdowns.
4-Step Troubleshooting for Unresponsive Logitech G Pro on Mac

When your Logitech G Pro suddenly freezes during a critical task, skip generic “restart everything” advice. Target these MacBook Air-specific failure points:
Step 1: Check Power Source First
- Red LED visible? = critically low battery (charge via USB-C for 15 minutes)
- No LED? = completely dead (charge for 30+ minutes before retrying)
- MacBook Air quirk: Low battery causes erratic behavior before full shutdown
Step 2: Eliminate USB Port Conflicts
Unplug all non-essential USB-C devices. M1/M2 MacBook Airs throttle power to ports during heavy CPU usage—reconnect the Lightspeed adapter to the left-side port (less prone to throttling).
Step 3: Re-pair the Lightspeed Connection
Hold left click + right click + DPI button for 3 seconds until LED blinks rapidly. Release when light becomes steady—re-pairing takes <10 seconds. Never use the “Connect” button on the dongle; it only works with Windows.
Step 4: Reset SMC for M1/M2 Macs
While Apple claims SMC resets don’t apply to Apple Silicon, keyboard/mouse issues often require:
1. Shut down MacBook Air
2. Wait 30 seconds
3. Power on while holding power button for 10 seconds
Stop Cursor Lag: Optimize Lightspeed Range for MacBook Air
That occasional stutter during Zoom calls? It’s not your MacBook Air’s fault—it’s Lightspeed signal interference. Unlike Bluetooth, 2.4GHz wireless is susceptible to specific environmental factors.
Interference Elimination Protocol
- Position receiver vertically using a USB extension cable (included in some G Pro kits)
- Keep 12+ inches from: Wi-Fi routers, wireless chargers, or metal desk surfaces
- Avoid USB-C hubs between receiver and Mac—signal degrades through multiple converters
For MacBook Air users in dense wireless environments (offices/apartments), switch your Wi-Fi to 5GHz band via System Settings > Network. This reduces 2.4GHz spectrum crowding that directly impacts Lightspeed performance.
Pro Tips: Battery Management and Button Customization for Mac Users
Extend your Logitech G Pro’s legendary 48-hour battery life while tailoring it to macOS workflows. These tweaks prevent the #1 complaint: unexpected shutdowns during critical tasks.
Battery Preservation Hacks
- Disable RGB lighting in G HUB (saves 12+ hours)
- Set auto-sleep to 5 minutes (vs default 15)
- Carry a USB-C cable—30 seconds of charging restores 5% battery for emergency use
Mac-Specific Button Mapping
| Button | Recommended macOS Function |
|---|---|
| Side 1 | Mission Control |
| Side 2 | Launchpad |
| DPI Button | Switch between 800 DPI (browsing) and 1600 DPI (design) |
For Final Cut Pro editors: Map the DPI button to “Playback” for scrubbing timelines without keyboard shortcuts. Photographers should assign “Develop Module” in Lightroom to a side button.
Your Logitech G Pro Wireless now delivers championship-level performance on MacBook Air—once you bypass the Bluetooth dead end. Remember these non-negotiables: always use a shielded USB-A to USB-C adapter for wireless mode, keep G HUB permissions updated after macOS upgrades, and leverage wired USB-C mode during intensive creative sessions. The initial setup hurdles disappear once you configure the Lightspeed connection properly, unlocking a mouse that outperforms most “Mac-compatible” peripherals in precision and reliability. For MacBook Air users who prioritize performance over plug-and-play simplicity, this pairing becomes a powerhouse combo—especially when you customize button mappings for your specific creative workflow. Keep the included USB-C cable in your bag for emergency charging, and you’ll never face a dead mouse during critical work sessions again.


