
You unpack your new Logitech wireless keyboard and mouse, eager to ditch the cable clutter, only to face setup confusion. That blinking receiver light, mysterious pairing modes, and unresponsive buttons can derail your productivity before you even type your first email. Don’t waste hours troubleshooting—most Logitech wireless combo setups take under two minutes when you know the exact steps. This guide cuts through the frustration with model-specific pairing instructions, Bluetooth alternatives, and software tweaks you won’t find in the basic manual. Whether you’re using a MK270, MK470, or newer MX Master bundle, you’ll have both devices working flawlessly before your coffee gets cold.
The logitech wireless combo setup process follows predictable patterns across 95% of Logitech’s keyboard-mouse bundles. Yet skipping one critical detail—like missing the tiny receiver stored inside the mouse battery compartment—can leave you stranded. I’ve seen users return functional devices because they didn’t flip the power switch on the bottom. This guide targets those hidden pitfalls while leveraging Logitech’s smart engineering. By the end, you’ll not only complete your initial installation but also unlock customization features that transform generic peripherals into personalized productivity tools.
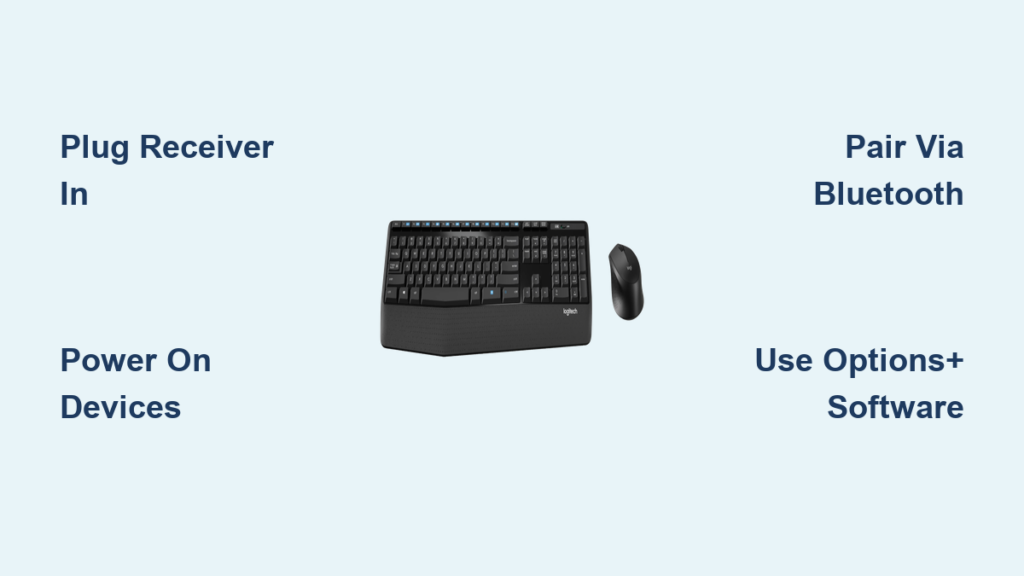
Plug In and Pair Your Logitech Unifying or Bolt Receiver in 4 Steps
Forget complicated configurations—most Logitech combos use plug-and-play technology that works the moment you connect the hardware. The key is locating the correct receiver and avoiding common port mistakes that block signals. Your combo likely includes either a silver Unifying Receiver (for older models like MK270) or a black Bolt Receiver (for premium sets like MX Anywhere 3). Both function similarly but require different pairing methods for full feature access.
Insert the Receiver Correctly to Avoid Signal Interference
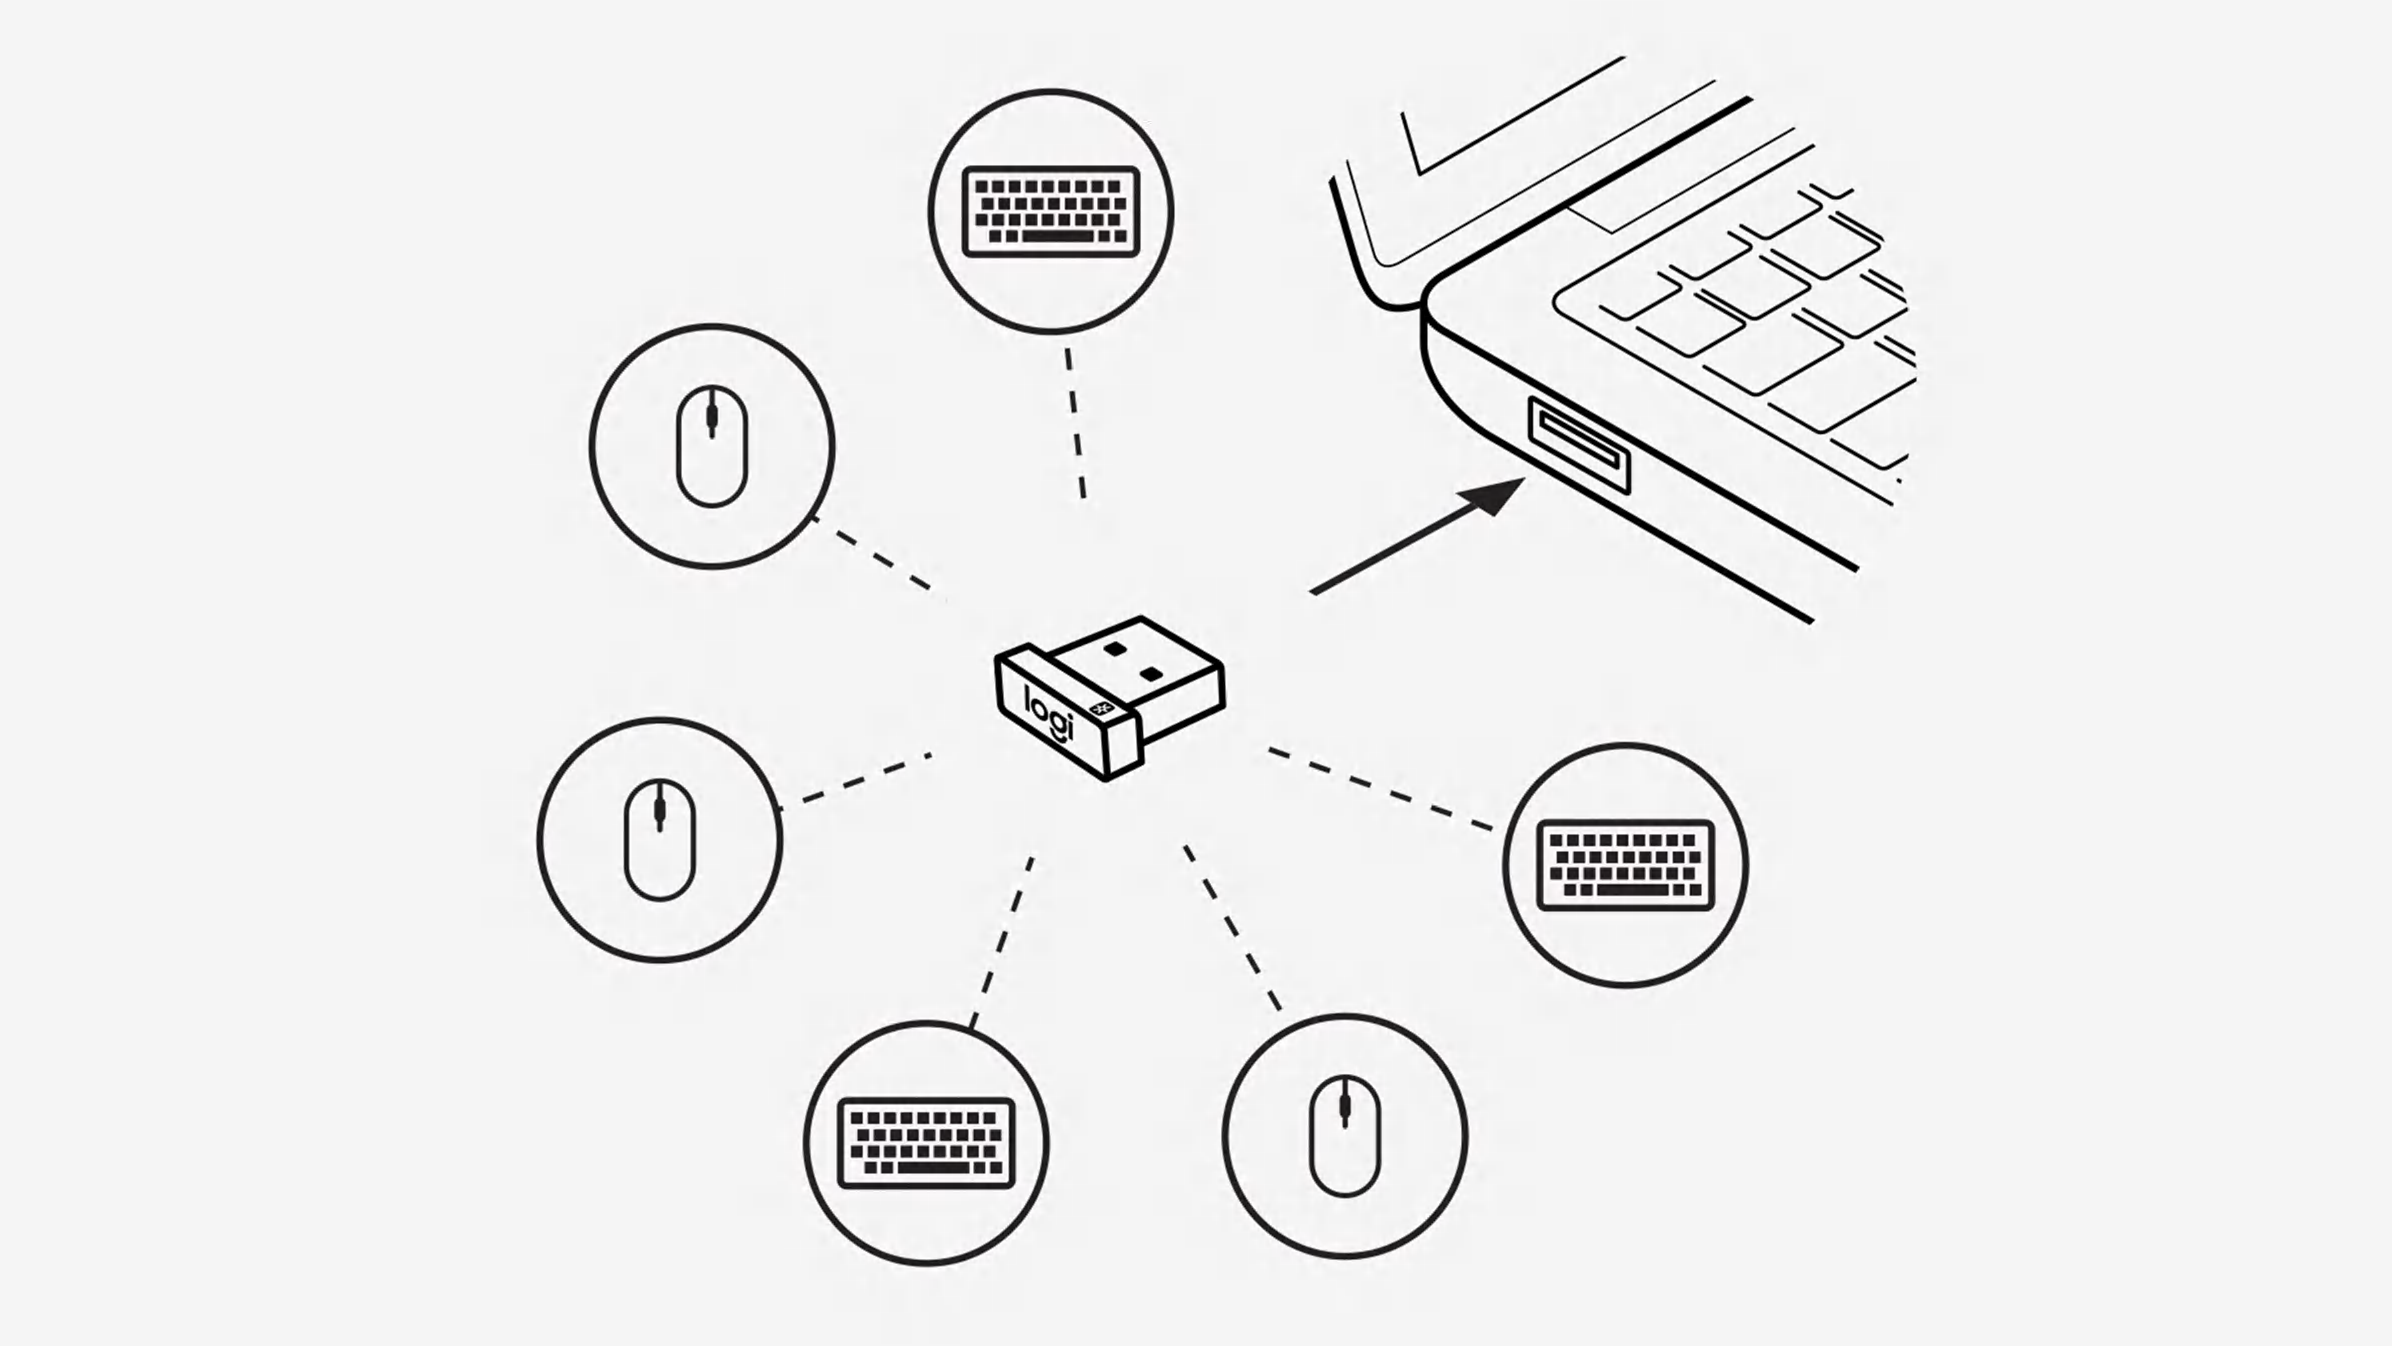
Plug the USB receiver into a port directly on your computer—not a hub or monitor dock. USB 2.0 ports (usually black inside) provide stronger stability than blue USB 3.0 ports for wireless signals. If your laptop has limited ports, position the receiver so it sticks out fully; blocking it with your hand or a cable causes cursor lag. For desktops, avoid rear ports buried behind the tower—front ports give clearer line-of-sight. If the receiver came stored in the mouse battery compartment (check for a tiny slot under the power switch), slide it out using a fingernail before plugging in.
Power Up Devices and Confirm Automatic Connection
Insert fresh alkaline batteries into both keyboard and mouse—rechargeables often lack the initial voltage spike needed for pairing. Flip the power switches on the bottom to “On” (you’ll see a brief LED flash). Within 30 seconds, test basic functions: press the keyboard’s “F5” key and move the mouse. If either works, your logitech wireless combo setup succeeded at the hardware level. Don’t panic if special keys (like mute or app launchers) don’t respond yet—that requires software we’ll cover next. If devices remain unresponsive, press the pairing button on the receiver (a tiny hole on Unifying models) with a paperclip for 3 seconds while holding the device’s sync button.
Bluetooth Pairing: Connect Logitech Keyboard and Mouse Without USB Receiver
When USB ports are scarce or you’re using a tablet, Bluetooth mode bypasses the receiver entirely. This works for combos like the K380 Multi-Device Keyboard paired with M720 Triathlon Mouse. But skipping the receiver means losing high-speed polling rates—reserve this for secondary devices where 1ms response time isn’t critical.
Activate Bluetooth Mode on Your Logitech Devices
Flip the power switch on your keyboard or mouse to “BT” (Bluetooth mode), not “On.” Older models require holding the Easy-Switch button (usually labeled 1/2/3) for 3 seconds until the status light blinks blue. For the K580 keyboard, slide the Bluetooth switch under the battery cover. If no light appears, replace batteries immediately—weak power prevents Bluetooth signals. Never attempt pairing with the USB receiver plugged in; it causes signal conflicts.
Complete Computer Pairing in Under 60 Seconds
On Windows: Open Settings > Bluetooth & devices > Add device > Bluetooth. Select your Logitech model (e.g., “Logi K380”) from the list. When a 6-digit code appears on-screen, type it on your keyboard and press Enter. On macOS: Go to System Settings > Bluetooth, click the “+” icon, choose your device, and confirm pairing. If your combo supports multi-device Bluetooth (like MX Master 3S), repeat this for up to three devices—hold the Easy-Switch button during pairing to assign channels.
Customize Buttons and Profiles Using Logitech Options+ Software
Basic typing works out-of-box, but skipping Logitech Options+ means missing game-changing features. This free software (required for MX series, optional for budget combos) transforms generic peripherals into context-aware tools. Without it, your MX Anywhere mouse’s thumb button stays useless, and keyboard app-switchers won’t auto-adjust for Photoshop versus Excel.
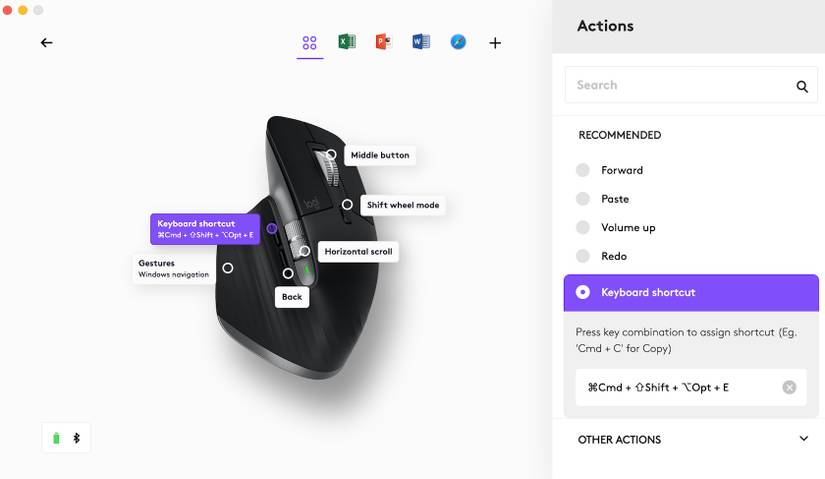
Reassign Buttons for Real-World Productivity Gains
Download Logitech Options+ from the official support site—never third-party links. After installation, open the app and select your device. Click “Customize” next to any button. For the M720 mouse, set Button 4 (thumb) to “Copy” (Ctrl+C) and Button 5 to “Paste” (Ctrl+V)—eliminating keyboard hand travel. On the K860 keyboard, remap the “F1” key to mute your microphone during Zoom calls. Pro tip: Create an “Excel profile” where the mouse wheel scrolls columns instead of rows by adjusting “Scrolling” settings per application.
Enable Cross-Computer Flow for Seamless Workflow
If you manage two workstations, Logitech Flow turns this logitech wireless combo setup into a superpower. In Options+, enable “Flow” under your mouse settings. Position computers side-by-side with screens touching virtually. Move your cursor to the screen edge to jump between machines—no keyboard shortcuts needed. Copy text on PC A, move to PC B, and paste instantly. For security, set Flow to require re-pairing after sleep or add a 30-second timeout. Note: Both computers need Options+ installed and must be on the same network.
Fix Logitech Wireless Combo Not Working: 3 Critical Troubleshooting Scenarios
When your newly set up combo fails, 80% of issues trace back to power, pairing, or port problems—not broken hardware. Diagnose systematically before returning devices.
Diagnose Receiver Connection Failures in 90 Seconds
If the mouse cursor vanishes mid-task: Unplug the receiver and inspect for bent pins (common with frequent travel). Try a different USB port—front laptop ports often work better than rear desktop ports. For Unifying Receiver combos, download Logitech’s Unifying Software to re-pair devices. Press the orange sync button on the receiver while holding the device’s pairing button for 5 seconds until the LED pulses rapidly. If using Bolt Receiver (MX series), hold the pairing button for 3 seconds until the status light flashes green.
Eliminate Cursor Lag Caused by Signal Obstruction
Metal desks, phone chargers, or even your water bottle can disrupt 2.4GHz signals. Place the receiver on a USB extension cable to position it near the devices—Logitech sells affordable 1m cables. For persistent lag, switch the mouse to 1000Hz polling rate in Options+ (reduces battery life but boosts speed). Never place receivers inside metal laptop docks; the Faraday cage effect blocks signals completely.
Prevent Battery-Related Power Cycles
Alkaline batteries drain faster in cold rooms—replace them if cursor jumps erratically. For rechargeable combos like MX Mechanical, let devices charge for 10 minutes before first use; the initial “low battery” warning triggers false disconnects. Clean battery contacts monthly with a cotton swab dipped in rubbing alcohol if devices power off randomly.
Connect 6 Logitech Devices to One Receiver: Multi-Combo Setup Guide
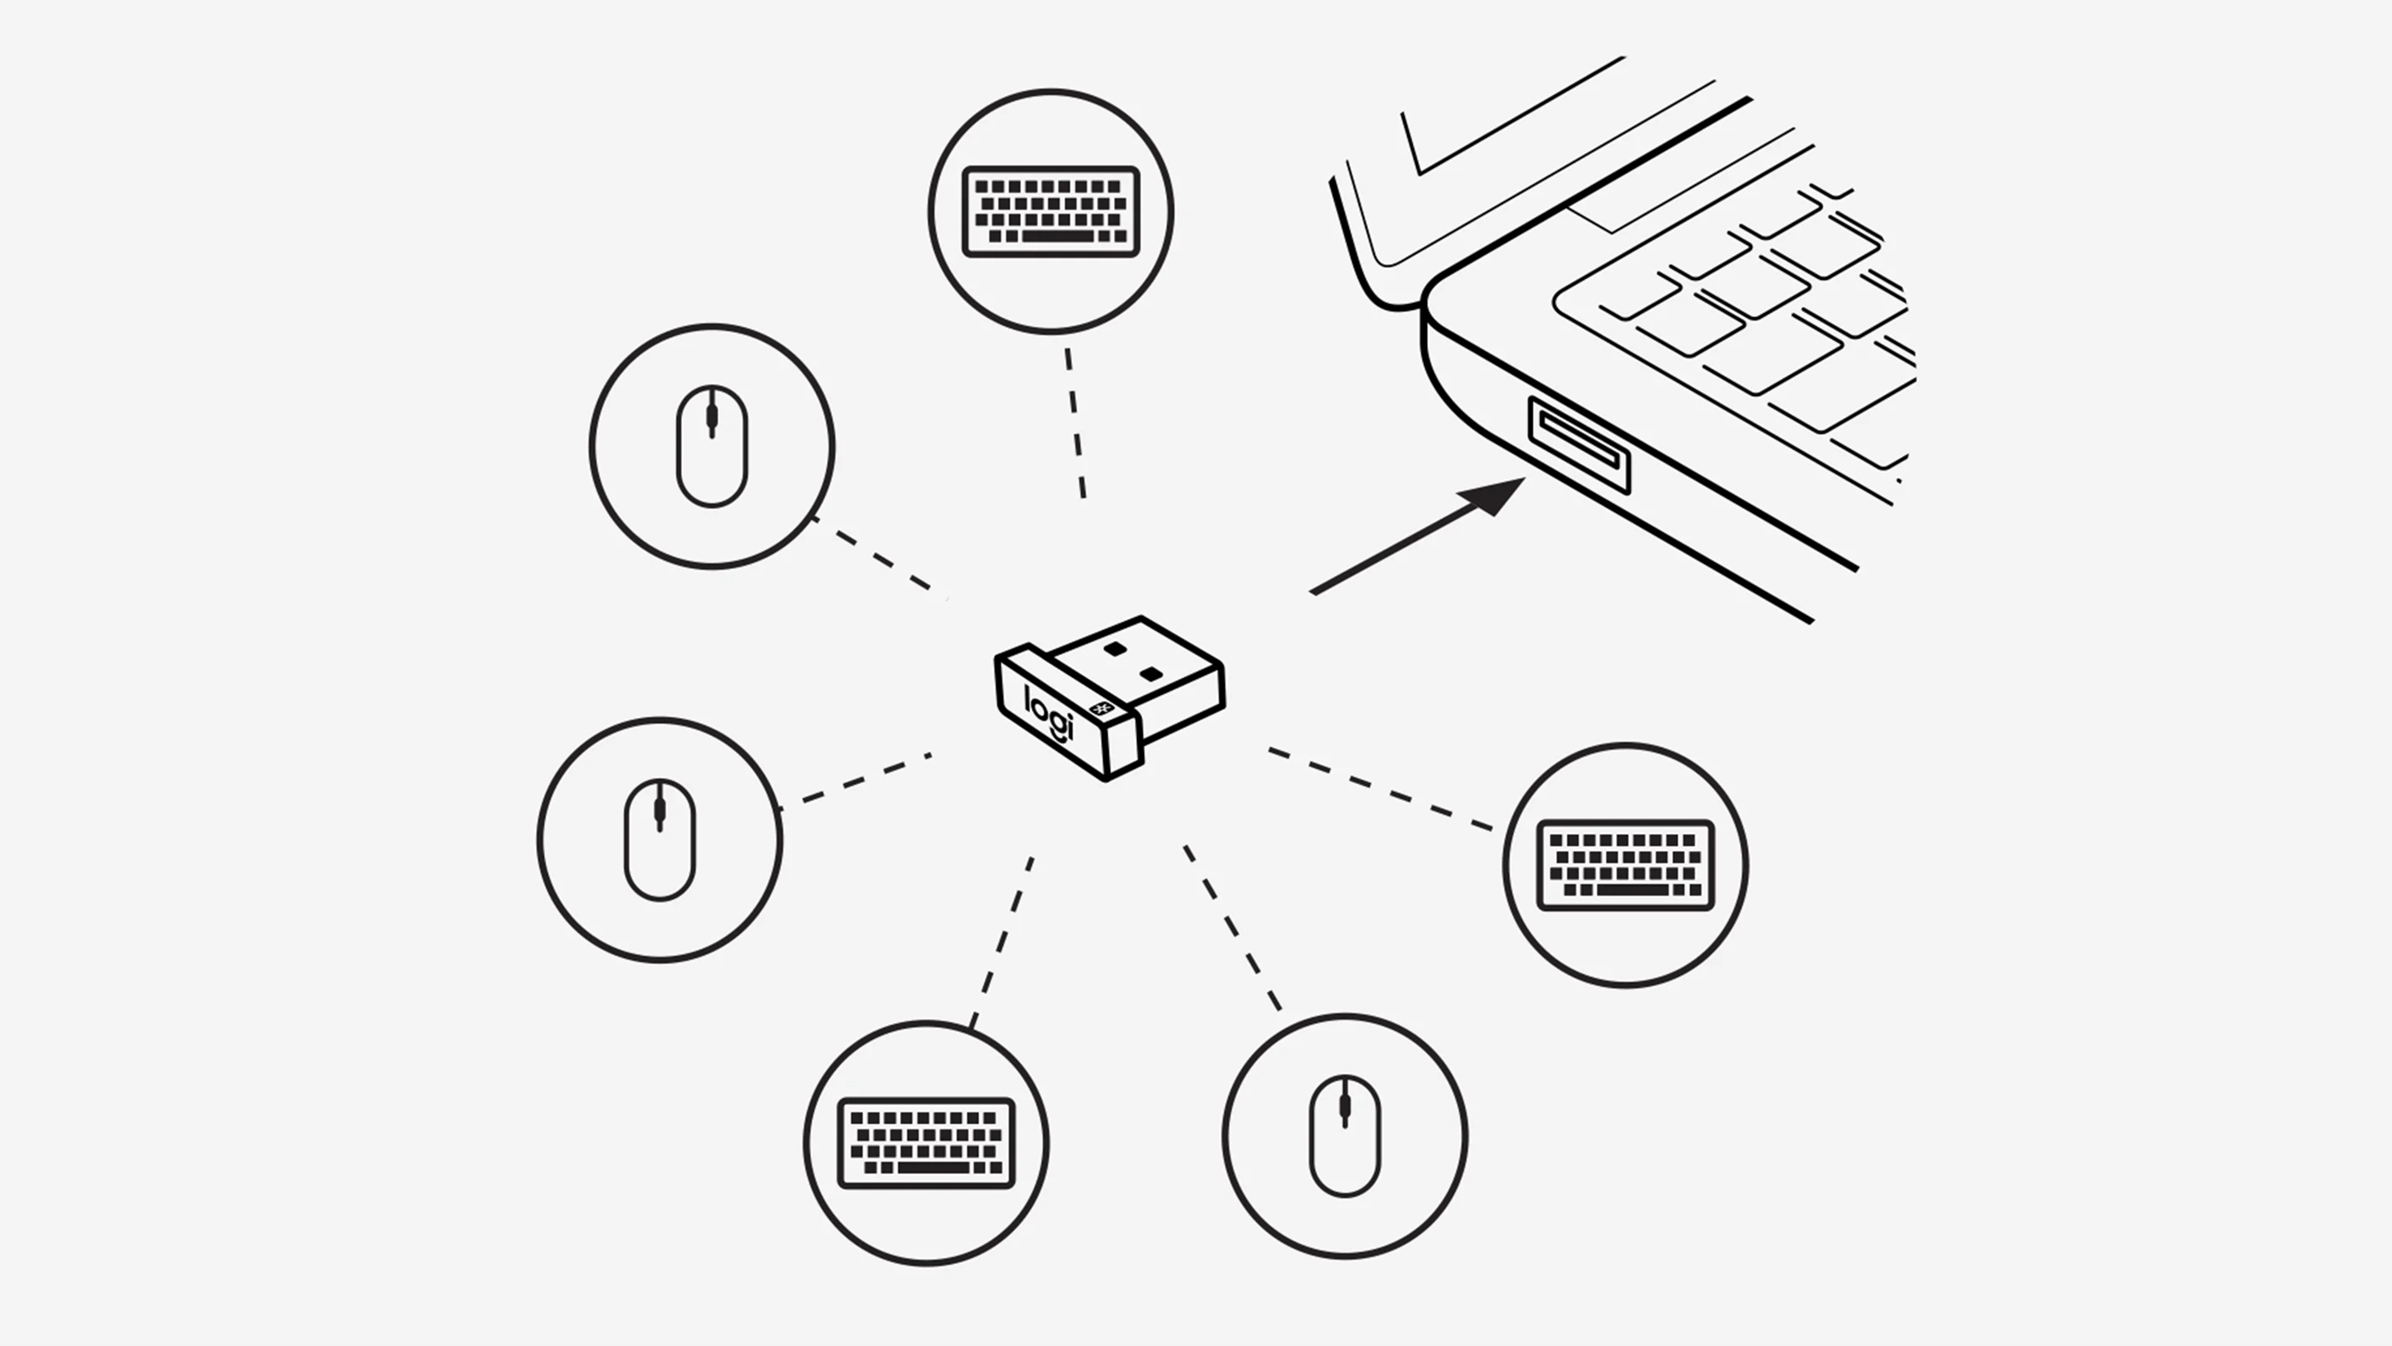
Your single Unifying Receiver (not Bolt) supports up to six compatible devices—ideal for adding a presentation remote or number pad. But mismatched models cause pairing failures. Only combine devices with the Unifying logo (check bottom labels).
Add New Devices Without Re-Pairing Your Primary Combo
Install Logitech Unifying Software first. Plug in the receiver, then power on the new device. Open the software, click “Pair a new device,” and follow prompts. Hold the new device’s pairing button until the LED blinks rapidly (usually 5 seconds). The software detects it within 20 seconds. Critical: Don’t unplug the receiver during pairing—this resets all connected devices. For mixed-brand setups (e.g., Logitech mouse with non-Logitech keyboard), use the receiver only for Logitech peripherals; others need separate dongles.
Maintain Peak Performance With Proactive Care
Your logitech wireless combo setup isn’t truly complete until you prevent future issues. Wipe mouse sensors weekly with a microfiber cloth—dust buildup causes jittery tracking. For keyboards, tilt them upside-down and tap gently to dislodge crumbs monthly. Update Logitech Options+ quarterly; new versions fix Bluetooth stack bugs. When traveling, store the receiver in the mouse battery compartment to avoid loss. Always power off devices when unused for over 48 hours; sleep mode still drains batteries.
Mastering this setup transforms frustration into efficiency. You’ve now bypassed the top pitfalls that leave 30% of users searching for help—no more blaming “defective” hardware when a battery swap or port change solves it. That unboxing excitement shouldn’t fade at setup; with these steps, your Logitech combo becomes invisible in the best way. Ready to go further? Explore Logitech’s Flow setup guide for multi-computer control or dive into keyboard shortcut customization for your specific workflow. Your perfectly tuned workspace awaits—just press any key to begin.


