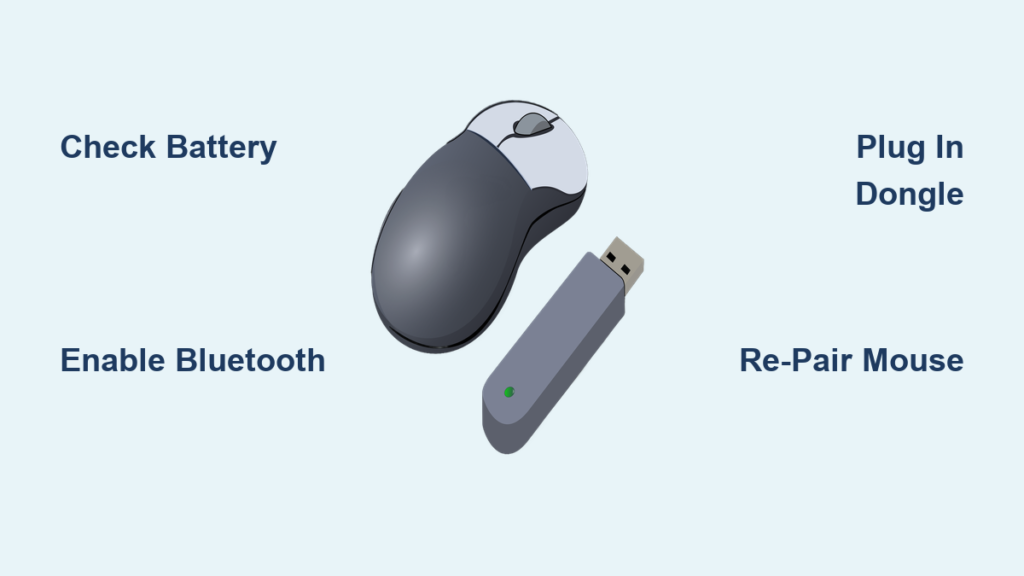
You just unboxed a new wireless mouse and want it working within minutes. Whether you picked up a Bluetooth model or one with a USB dongle, learning how to use a wireless mouse the right way saves you from frustration and wasted time. Wireless mice deliver freedom from tangled cords, but they need proper power, pairing, and setup to perform reliably. The best part? Most modern models connect in seconds thanks to plug-and-play technology or quick Bluetooth pairing.
If your cursor refuses to move or clicks won’t register, the problem usually falls into one of four categories: power, pairing, connectivity, or drivers. This guide covers every step from unboxing to advanced troubleshooting, so you can confidently use your wireless mouse on Windows, Mac, or Chromebook.
Power On Your Wireless Mouse
Before any pairing attempt, your mouse needs a working power source. Without juice, nothing else matters.
Check the Battery or Charge Level
Most wireless mice run on disposable AA or AAA batteries, while premium models include built-in rechargeable cells.
– Battery-powered models: Flip the mouse over, open the compartment, and insert fresh batteries. Weak or old batteries are the number one cause of connection failure.
– Rechargeable models: Plug in the charging cable (typically USB-C or Lightning) and let it charge for at least 15 to 30 minutes before first use.
Pro Tip: A blinking LED usually signals pairing mode, not low battery. If no light appears at all, the power source is your first suspect.
Flip the Physical Power Switch
Locate the power switch, usually on the bottom or side of the mouse, and slide it to the On position. A steady or blinking light confirms the device is active.
If the mouse stays unresponsive, move to the next step.
Connect Using a USB Receiver
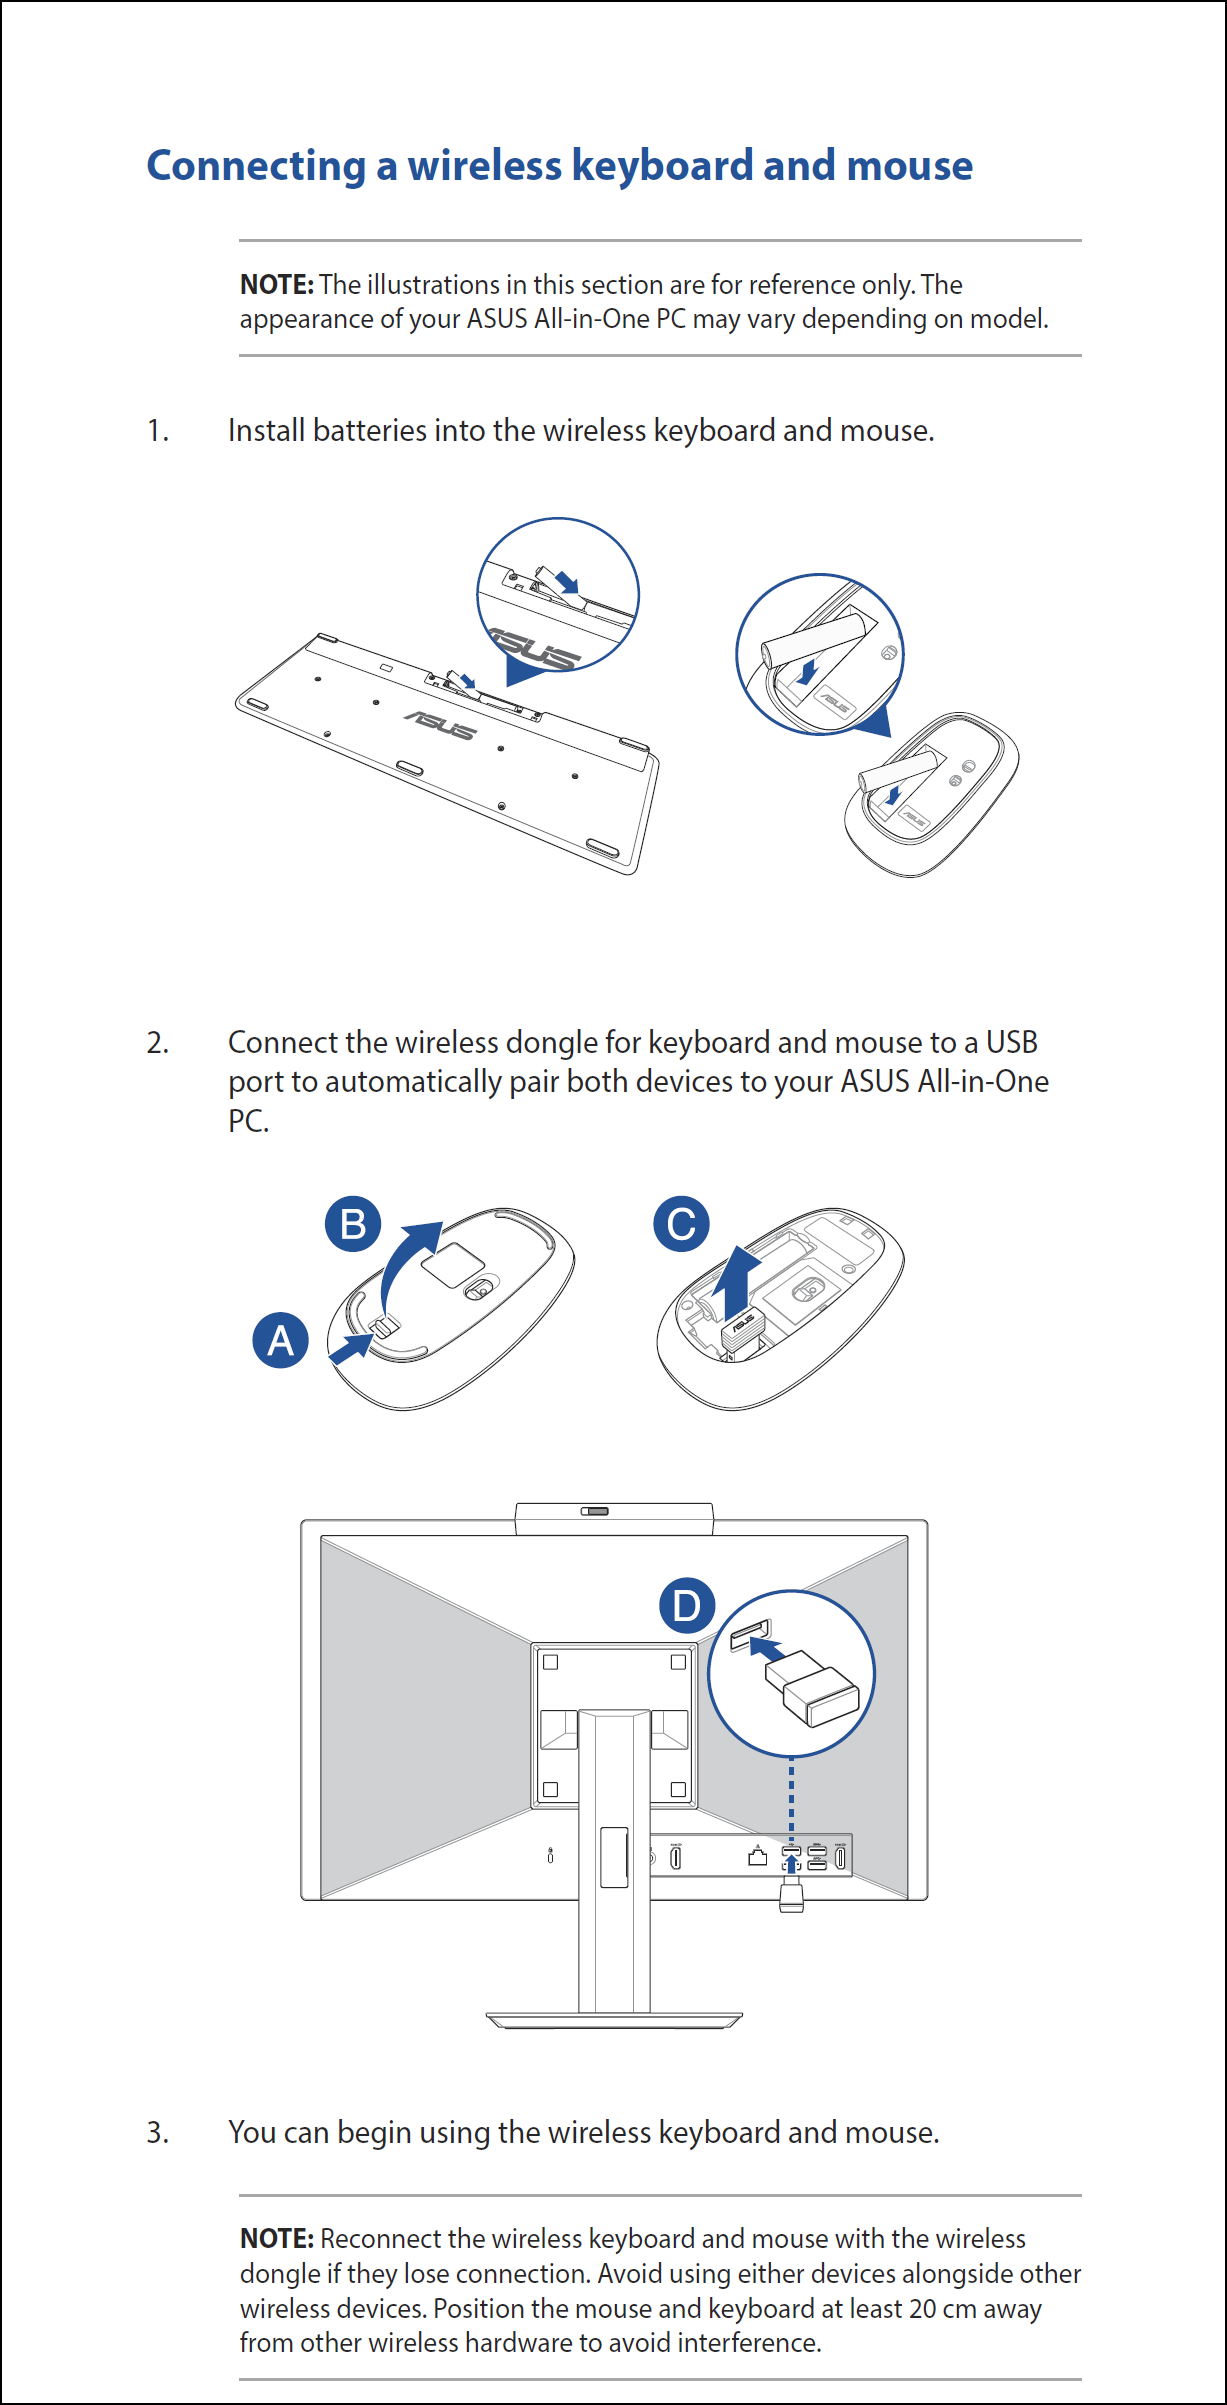
Many wireless mice ship with a tiny USB dongle that delivers instant connectivity without any software installation.
Plug in the Dongle
Insert the USB receiver into any available port on your computer. For best results, use a rear port on a desktop or a direct port on a laptop. Avoid USB hubs, which can weaken the signal.
Note: Some dongles are designed to stay plugged in permanently. Others store neatly inside the mouse when traveling.
Test Immediate Functionality
Once the dongle is seated:
– Turn the mouse on.
– Wait 5 to 10 seconds for the system to detect it.
– Move the cursor. If it responds, you’re ready to work.
Most models require zero setup beyond this. True plug-and-play.
Re-Pair the Receiver if Needed
If the cursor won’t budge:
1. Press the Connect button on the mouse (typically near the power switch).
2. Some models also require pressing a button on the receiver.
3. Wait for the LED to flash, then stabilize.
This re-synchronizes the link between mouse and dongle.
Pair Your Mouse via Bluetooth
Bluetooth mice skip the dongle entirely and connect directly to your device, perfect for saving USB ports.
Enable Bluetooth on Your Device
Make sure Bluetooth is active before pairing:
– Windows: Go to Settings, then Bluetooth & devices, and toggle Bluetooth on.
– Mac: Open System Settings, click Bluetooth, and turn it on.
– Chromebook: Click the clock in the lower-right corner, select the Bluetooth icon, and enable it.
If your device lacks Bluetooth support, purchase a USB Bluetooth adapter.
Put the Mouse in Pairing Mode
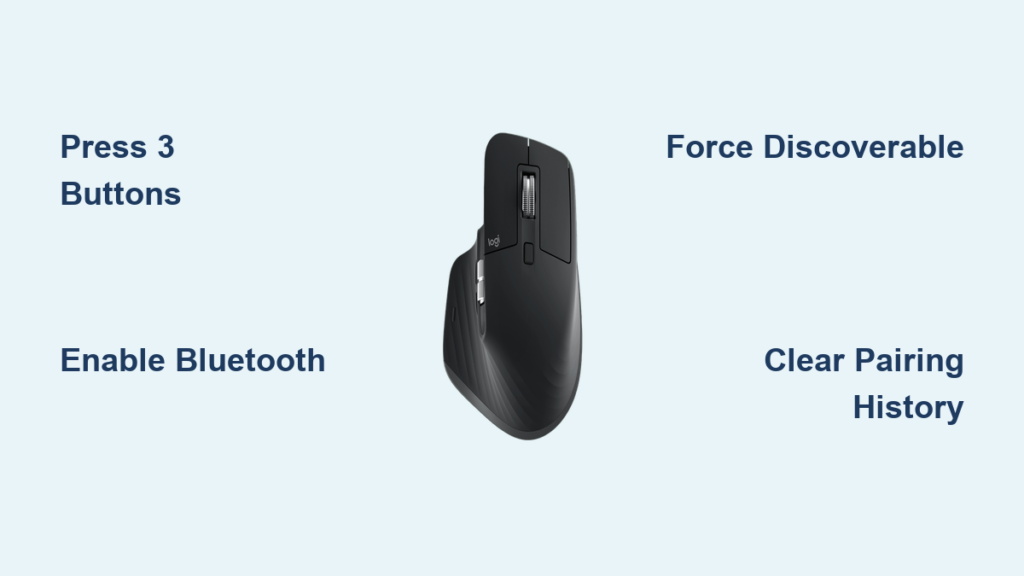
Press and hold the Pair or Connect button (often marked with the Bluetooth symbol) for about one second. A flashing LED confirms the mouse is discoverable.
Special Case for Apple Magic Mouse 2: Plug it into your Mac using the Lightning cable to power it during the initial pairing.
Add the Mouse to Your Device
On Windows 11 or 10
- Open Settings, then Bluetooth & devices.
- Click Add device and select Bluetooth.
- Choose your mouse when it appears in the list.
- Wait for the “Connected” status.
On Mac
- Open System Settings and click Bluetooth.
- Click Connect next to your mouse’s name.
- Wait for confirmation.
On Chromebook
- Click the time display, then click the Bluetooth icon.
- Select your mouse from the list.
- The connection completes automatically.
Once paired, your mouse reconnects automatically whenever powered on and within range.
Fix Common Connection Problems
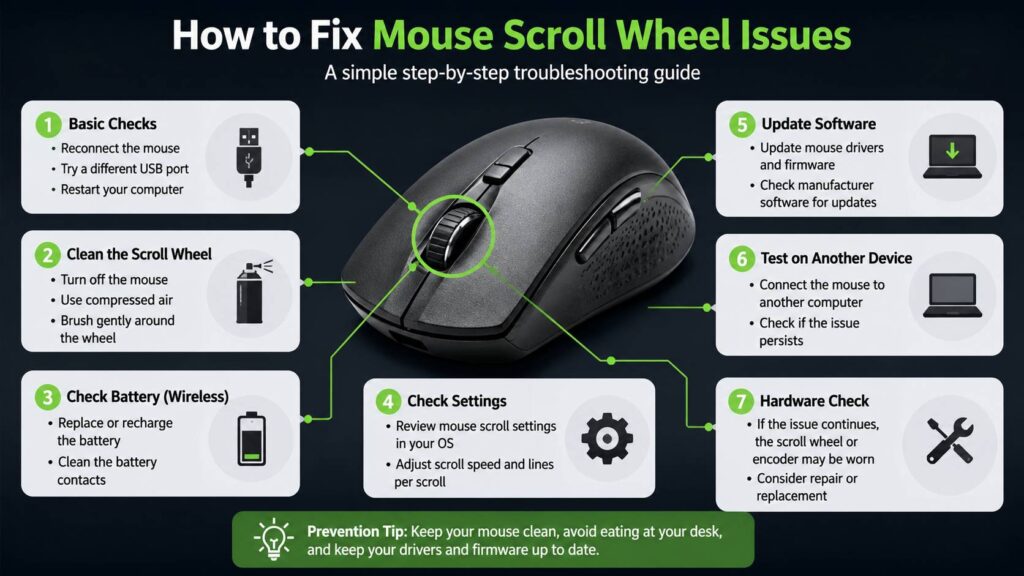
Even correct setups sometimes fail. Here’s how to diagnose issues fast.
No Response After Setup
Check these basics first:
– Is the power switch turned On?
– Are batteries fresh or fully charged?
– Is the USB receiver fully inserted?
– Is Bluetooth enabled?
Quick Fix: Try a different USB port or restart your computer entirely.
Mouse Disconnects Frequently
Frequent dropouts usually trace back to:
– Low battery: Replace or recharge immediately.
– Signal interference: Keep the mouse away from Wi-Fi routers, microwaves, and other wireless devices.
– Obstructed receiver: Move the dongle to a front USB port or use an extension cable.
– Outdated drivers: Download updates from the manufacturer’s website.
Cursor Moves but Clicks Don’t Work
This rare issue often points to:
– Dirty buttons: Clean around the left and right clicks with a soft brush.
– Hardware defect: Test the mouse on another device.
– Driver conflict: Uninstall and reinstall the mouse drivers through Device Manager.
Optimize Your Mouse Settings
:max_bytes(150000):strip_icc()/001-adjust-mouse-and-touchpad-speed-on-mac-and-pc-4160944-4f880b3b30b8407f9b0a4888e1344eab.jpg)
After connecting, fine-tune the mouse for better control and comfort.
Adjust Pointer Speed
Windows
- Open Settings, then Bluetooth & devices, then Mouse.
- Drag the cursor speed slider to your preferred sensitivity.
Mac
- Go to System Settings and click Mouse.
- Adjust the Tracking speed slider.
Chromebook
- Click the time, then Settings, then Device, then Mouse.
- Move the speed slider to your liking.
Customize Buttons When Supported
Advanced mice let you reprogram buttons for shortcuts:
– Install manufacturer software like Logitech Options or Microsoft Mouse and Keyboard Center.
– Assign functions such as Copy, Paste, Back, or Forward.
Pro Tip: Custom button mapping helps most with gaming, video editing, and heavy productivity work.
Maintain Your Wireless Mouse
Simple maintenance keeps your mouse running smoothly for years.
Clean the Mouse Regularly
Dust and grime interfere with tracking and clicking accuracy.
1. Turn off the mouse.
2. Wipe the surface with a microfiber cloth.
3. Use compressed air to clear debris from the sensor and scroll wheel.
4. Never spray cleaner directly onto the device.
Warning: Never submerge the mouse in water or any liquid.
Conserve Battery Life
Stretch the time between charges or battery swaps:
– Always turn off the mouse when not in use.
– Lower pointer speed to reduce sensor activity.
– Disable unnecessary visual effects on Mac or Windows.
Store the Mouse Properly
When traveling or storing long-term:
– Power off the mouse.
– Place it in a padded case.
– Remove batteries if storing for several weeks.
Troubleshoot by Operating System
Some fixes are specific to your operating system.
Windows: Mouse Not Detected
- Open Device Manager.
- Expand Mice and other pointing devices.
- Right-click your mouse and select Uninstall device.
- Unplug the receiver or disable Bluetooth.
- Restart your PC.
- Reconnect the mouse.
This forces Windows to reinstall the drivers cleanly.
Mac: Bluetooth Mouse Won’t Connect
- Hold Shift + Option and click the Bluetooth icon in the menu bar.
- Select Debug, then Remove all devices.
- Restart your Mac.
- Re-pair the mouse from scratch.
This clears any corrupted Bluetooth cache.
Chromebook: Lag or Delay
- Close unused browser tabs and apps.
- Move the mouse closer to the Chromebook.
- Disconnect other Bluetooth devices to reduce signal crowding.
- Update ChromeOS through Settings, then About ChromeOS, then Check for updates.
Frequently Asked Questions About Wireless Mouse Setup
Can I use a wireless mouse without a USB receiver?
Yes, if the mouse supports Bluetooth. Many modern models, including the Apple Magic Mouse and Logitech Pebble, connect via Bluetooth and free up your USB ports. Just confirm your computer has built-in Bluetooth or an external adapter.
Where is the pairing button located?
The pairing button is usually on the bottom near the power switch, on the side, or tucked between the left and right click buttons. Look for labels like “Connect,” “Pair,” or the Bluetooth symbol. Check your manual if you can’t find it.
Why won’t my computer detect my wireless mouse?
The most common reasons include the mouse not being in pairing mode, low battery, disabled Bluetooth, or outdated drivers. Try turning the mouse off and on, replacing the batteries, and toggling Bluetooth off and back on.
How do I switch between multiple devices?
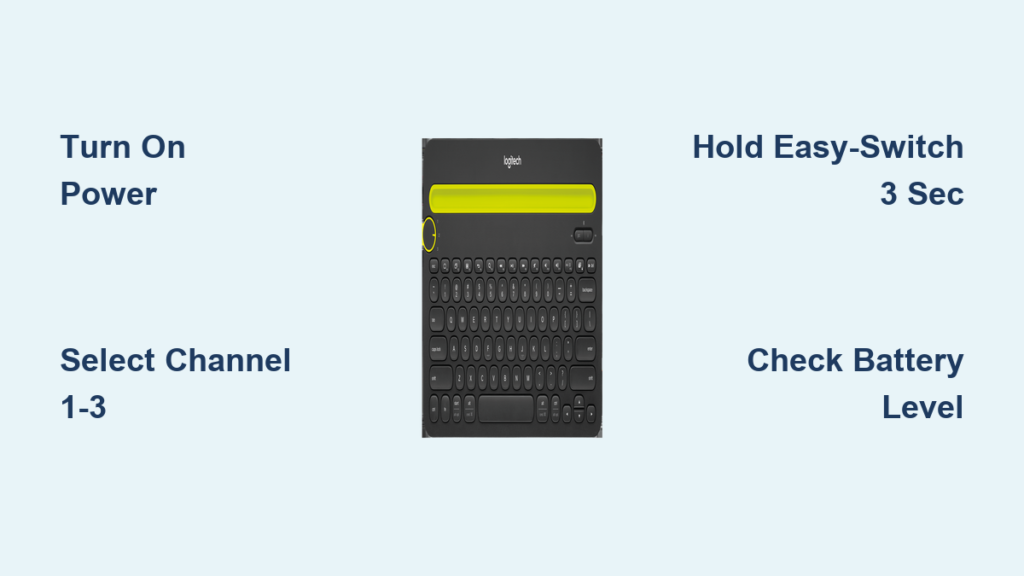
Some advanced mice support multi-device pairing through a dedicated button marked 1, 2, or 3. Pair each device using USB or Bluetooth, then toggle between them with a single press. This is perfect for users who switch between a laptop and desktop.
Do I need to install drivers for basic use?
No. Most wireless mice work out of the box without any software. However, installing manufacturer drivers unlocks custom button mapping, DPI adjustments, and app-specific integrations.
Key Takeaways for Using a Wireless Mouse Successfully
Use fresh batteries or keep rechargeable models topped up to avoid sudden disconnections. Keep the sensor clean, since even a small smudge can cause jumpy or erratic cursor movement. Stay within the typical 3 to 10 foot wireless range, and avoid reflective glass surfaces unless you’re using a mousepad. Periodically check for firmware updates through your manufacturer’s software to maintain peak performance.
Now that you understand how to use a wireless mouse from start to finish, you’re ready to enjoy clutter-free computing. Whether you’re browsing, working, or gaming, a properly set up wireless mouse delivers reliable performance and freedom from cables. Start with fresh power, choose your connection method, and customize the settings to match your workflow.