Setting up your Magic Mouse for the first time can feel confusing, especially if you’re used to traditional mice with multiple buttons. Learning how to use Apple mouse gestures and settings unlocks a smoother, more intuitive way to navigate your Mac. This guide covers powering on, pairing, gestures, customization, and care so you can master your Magic Mouse quickly.
The Magic Mouse features a touch-sensitive top surface that responds to swipes, taps, and scrolls. Once you understand its core gestures and settings, you can browse, edit, and multitask with greater speed. Below you’ll find clear instructions to get the most from your device.
Power On and Pair Your Magic Mouse

Before exploring gestures, you need to turn on and connect your Magic Mouse to your iMac.
Turn On the Magic Mouse
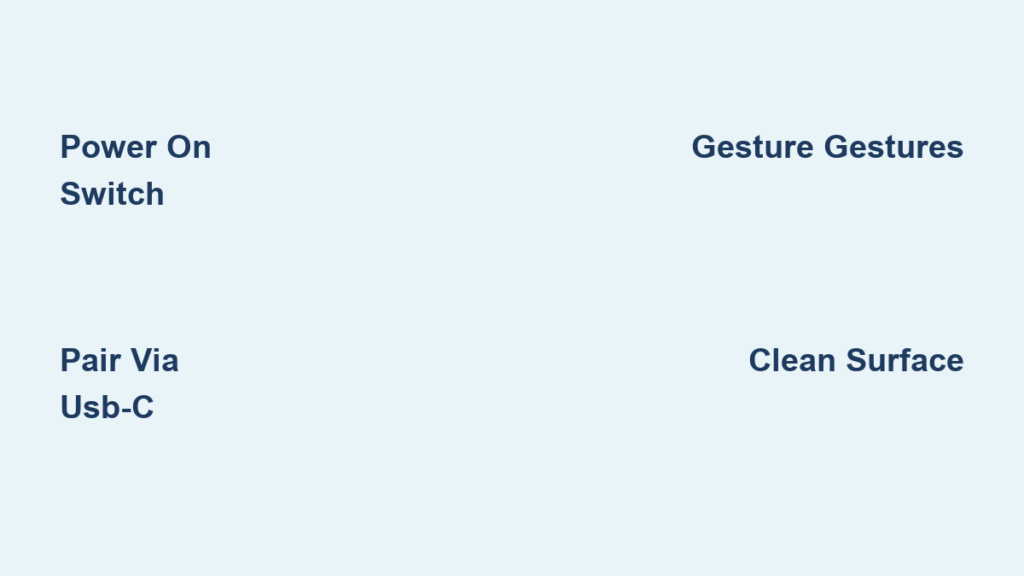
Flip your Magic Mouse over and locate the power switch on the bottom. Slide the switch so that the green indicator becomes visible. This confirms the mouse is powered on and ready to pair.
Connect to Your iMac
To pair your Magic Mouse with your iMac, connect it using a USB-C Charge Cable. Once connected, your Mac recognizes the mouse and completes pairing automatically. After the initial setup, your Magic Mouse connects wirelessly whenever it is powered on and within range.
Charge When Needed
When the battery runs low, plug the USB-C Charge Cable into the bottom port of the mouse. Connect the other end to your iMac or a compatible power source. Charging keeps the mouse ready for daily use without interruption.
Master Common Magic Mouse Gestures
The Magic Mouse replaces physical buttons with a smooth, touch-sensitive surface. Learning these gestures helps you navigate macOS efficiently.
Click and Double-Click
Press anywhere on the upper surface of the mouse to register a click. Press twice quickly to perform a double-click, which opens files, folders, and applications. The entire top area responds to light pressure, so you can click from any position.
Perform a Right-Click (Secondary Click)
The Magic Mouse supports secondary clicking on either the left or right side of the surface. To enable this feature, open System Settings, click Mouse, then select “Secondary click.” Choose your preferred side based on your comfort.
If you prefer a keyboard shortcut, hold down the Control key on your keyboard while clicking the mouse. This triggers the same right-click context menu from anywhere on the surface.
Scroll in Any Direction
Place one finger on the top surface and brush it in any direction to scroll or pan. This 360º scrolling works vertically, horizontally, and diagonally without changing modes. It is perfect for browsing long web pages, navigating spreadsheets, or moving through documents.
Zoom In and Out on the Screen
Hold down the Control key and scroll with one finger to enlarge items on your screen. Before this gesture works, you need to enable it in your settings. Open System Settings, click Accessibility, click Zoom, then select “Use scroll gesture with modifier keys to zoom.” Once enabled, you can zoom in to inspect photos or read small text with ease.
Swipe Between Pages and Photos
Place two fingers on the mouse surface and swipe left or right to move through pages, photos, and other content. This gesture works in Safari, Preview, Photos, and most native macOS apps. It is a fast way to browse albums or switch between browser tabs.
Customize Your Magic Mouse Settings
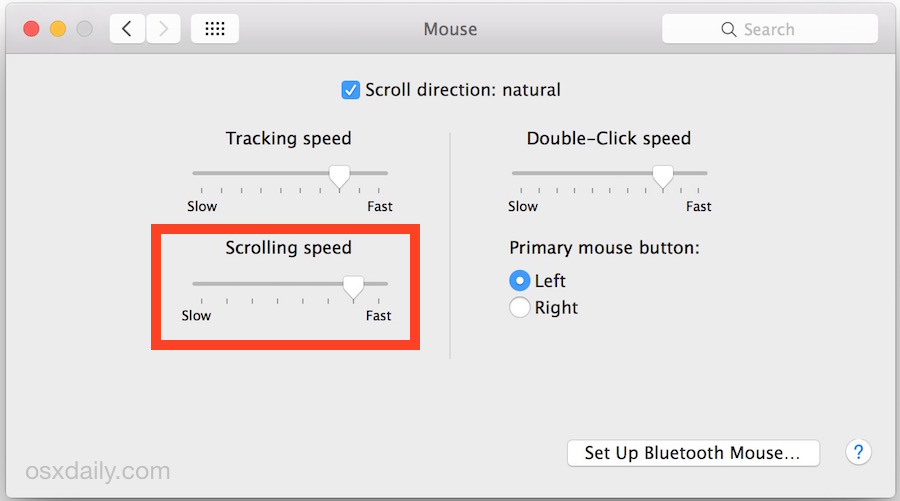
Personalize your mouse to match your workflow by adjusting tracking, scrolling, and gesture preferences.
Adjust Tracking and Scrolling Speed
Open System Settings and click Mouse to access customization options. From here, you can modify tracking speed to control how quickly the cursor moves across your screen. You can also adjust scrolling speed to make navigation feel faster or more controlled.
Enable or Disable Gestures
Within the Mouse settings, you can turn specific gestures on or off based on your preferences. If accidental swipes disrupt your work, disable the two-finger swipe feature. If you prefer traditional scrolling, you can also adjust how the surface responds to your finger movements.
Reverse Scroll Direction
macOS uses natural scrolling by default, meaning content moves in the same direction as your finger. If this feels backward, toggle the natural scrolling option in your Mouse settings. Testing both options helps you find the most comfortable setup.
Troubleshoot Common Magic Mouse Issues

Even well-designed accessories can run into occasional problems. Here are quick fixes for the most common issues.
Mouse Won’t Connect or Respond
Start by checking the basics:
• Confirm the power switch shows green.
• Make sure the mouse is charged.
• Verify your iMac has Bluetooth enabled.
If the mouse still does not respond, try reconnecting it using the USB-C Charge Cable. Plug it into your iMac, wait a few seconds, then check if the cursor moves. This often resolves pairing or power issues.
Gestures Don’t Work Properly
If scrolling, zooming, or swiping fails, revisit your settings. Open System Settings, click Mouse, and confirm your preferred gestures are enabled. For zoom issues, double-check that Accessibility settings include the scroll gesture option. Restarting your iMac can also refresh the connection.
Care for Your Magic Mouse
Regular maintenance keeps your Magic Mouse responsive and looking new.
Clean the Surface
Wipe the top and bottom with a soft, slightly damp cloth to remove dust and oils. Avoid abrasive cleaners or excessive moisture. A clean surface ensures accurate tracking and smooth gesture recognition.
Store Properly
When traveling or not using the mouse for extended periods, turn it off to preserve battery life. Store it in a protective case or padded