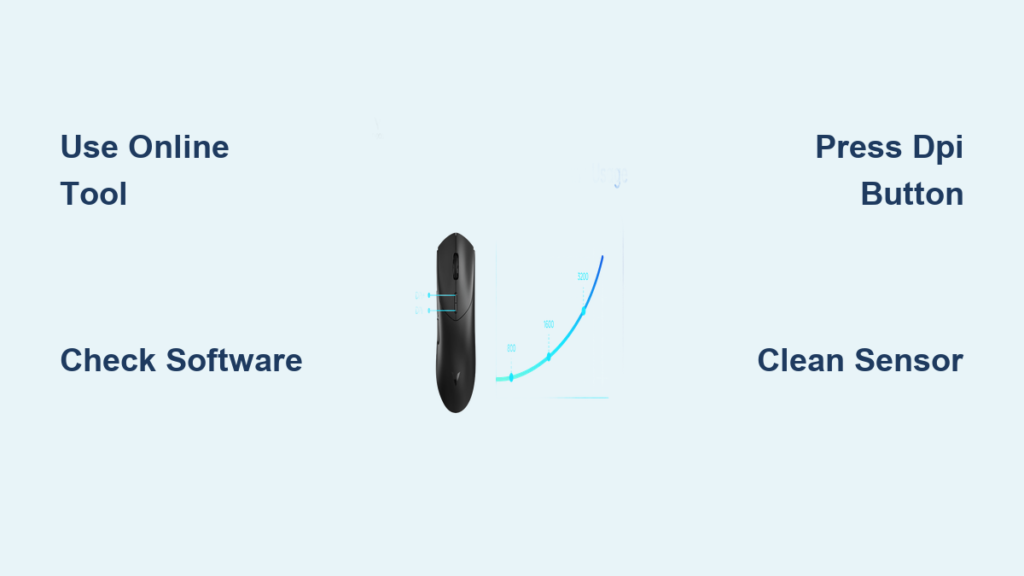
Is your cursor flying across the screen or barely budging when you swipe? Your mouse’s DPI setting is likely the culprit. DPI (Dots Per Inch) controls how far your cursor travels for every inch you physically move the mouse. Gamers chasing pixel-perfect aim, designers needing surgical precision, and everyday users seeking comfort all benefit from knowing their exact sensitivity. This guide walks you through three reliable methods to check mouse DPI, interpret your results, and fine-tune your setup for gaming, work, or creative tasks.
You’ll learn how to use free online analyzers, read manufacturer software, and identify physical DPI indicators on your device. Plus, you’ll discover how operating systems and in-game settings affect your actual sensitivity, and how to troubleshoot common measurement errors.
Measure DPI with Online Analyzer Tools
Online DPI calculators compare physical mouse movement to on-screen cursor travel. They work with any mouse and require no software installation.
Choose a Reliable DPI Testing Website
Open a trusted tool like Mouse Sensitivity Tester, DPI Analyzer by MouseTester, or Mouse DPI Checker in Chrome or Edge. Set your browser zoom to 100% and disable extensions that might interfere with pointer tracking. These tools capture raw sensor data to give you an accurate reading.
Calibrate the Tool for Your Display
Display scaling throws off measurements if you skip this step. Here’s how to calibrate properly:
- Measure an on-screen reference bar with a physical ruler (for example, 2 inches).
- Adjust the calibration slider until the digital length matches your real-world measurement.
- This step matters most if you use 125%, 150%, or 200% display scaling on Windows or macOS.
Run a Controlled Movement Test
Follow this sequence for the most accurate results:
- Set the target distance to 5 inches (12.7 cm) to minimize error.
- Click and hold the test area to lock the cursor.
- Move the mouse body in a straight line along a ruler for exactly the set distance.
- Release the mouse button to stop recording.
- The tool calculates DPI using this formula:
DPI = Pixels Moved / Physical Distance (in inches)
Pro Tip: Move the physical mouse the exact distance, not the on-screen cursor. The tool tracks raw sensor input, not visual alignment.
Interpret and Verify Your Results
Most tests return values near standard DPI stages. Round to the nearest common setting:
- 390 to 410 indicates 400 DPI
- 790 to 815 indicates 800 DPI
- 1580 to 1620 indicates 1600 DPI
Repeat the test 3 to 5 times and average the closest three results. Consistent deviations suggest mouse acceleration or calibration problems.
Test All Four Axes for Sensor Consistency
Advanced analyzers let you measure movement in four directions:
- X+ moves left to right
- X- moves right to left
- Y+ moves bottom to top
- Y- moves top to bottom
If results vary widely between axes, your sensor may have tracking inconsistencies or need cleaning.
Check Your DPI Through Manufacturer Software
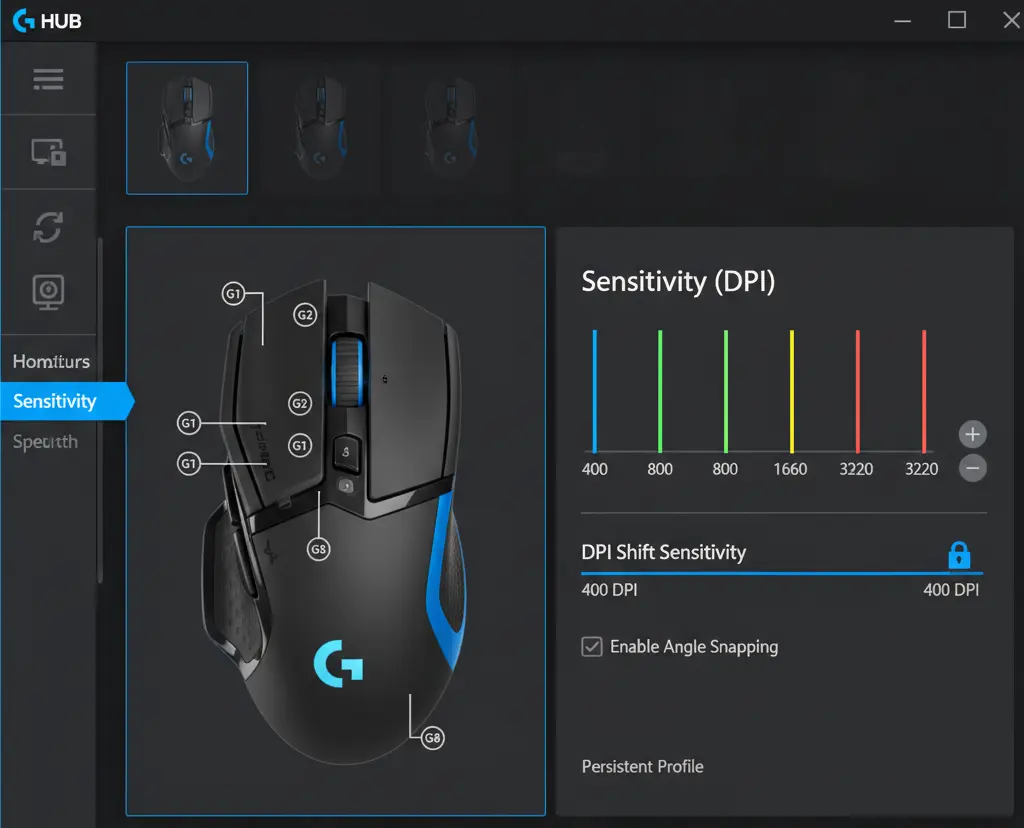
For branded gaming or productivity mice, official software gives you the fastest and most precise DPI reading.
Install the Correct Software for Your Brand
Download the matching app for your mouse:
- Logitech uses Logitech G Hub
- Razer uses Razer Synapse
- SteelSeries uses SteelSeries GG
- Glorious uses Glorious Core
- Corsair uses iCUE
These programs connect directly to your mouse firmware and display the exact programmed DPI.
Navigate to the Sensitivity Tab
Once installed, follow these steps:
- Open the software and select your mouse from the device list.
- Go to the Sensitivity or DPI section.
- View active DPI stages and your current profile.
You’ll see precise values like 800, 1600, or 3200 and can adjust them in real time. Some apps even display LED color indicators for each level.
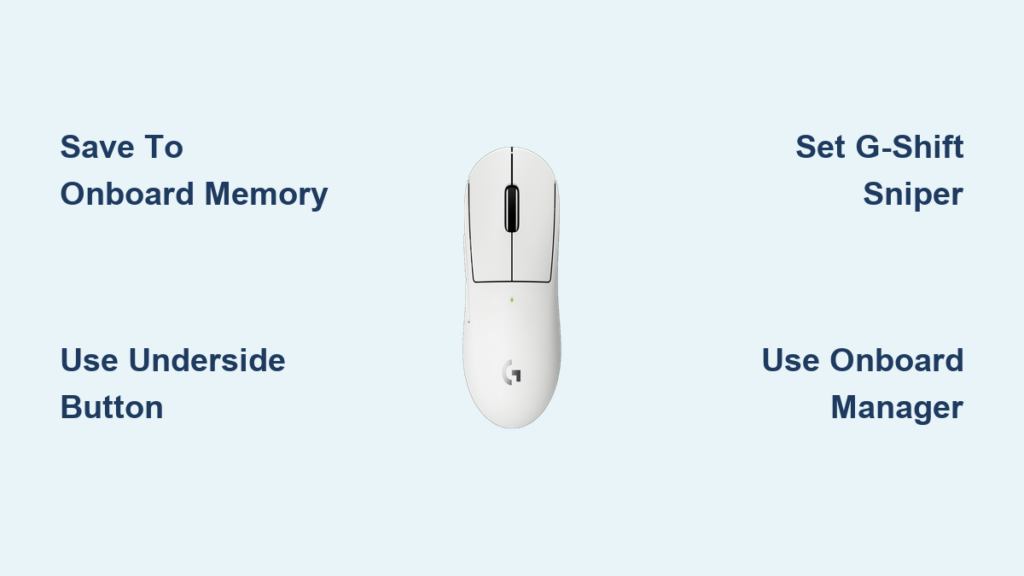
Save Profiles to Onboard Memory
If you switch between computers, save DPI settings directly to your mouse’s onboard memory. This keeps your sensitivity consistent without needing software on every machine.
Identify Physical DPI Indicators on Your Mouse
Many mice offer visual or tactile feedback about current DPI without requiring software.
Locate the DPI Toggle Button
Most gaming mice include a DPI button in one of these spots:
- Directly below the scroll wheel
- Near the thumb grip on the side
Pressing this button cycles through preset sensitivity levels.
Watch for LED Color Changes
As you press the DPI button, the mouse LED typically shifts colors:
- Red often signals 400 DPI
- Blue often signals 800 DPI
- Green often signals 1600 DPI
- White often signals 3200 DPI
Check your manual for the exact color-to-DPI mapping on your specific model.
Check Packaging or User Manual
If you’re unsure about your current setting, look at these sources:
- The product box often lists DPI stages
- The user manual details factory presets
- The manufacturer’s website shows full specs under product details
Common default settings include 800 or 1000 DPI when no software is installed.
Understand Hardware DPI vs. Effective DPI
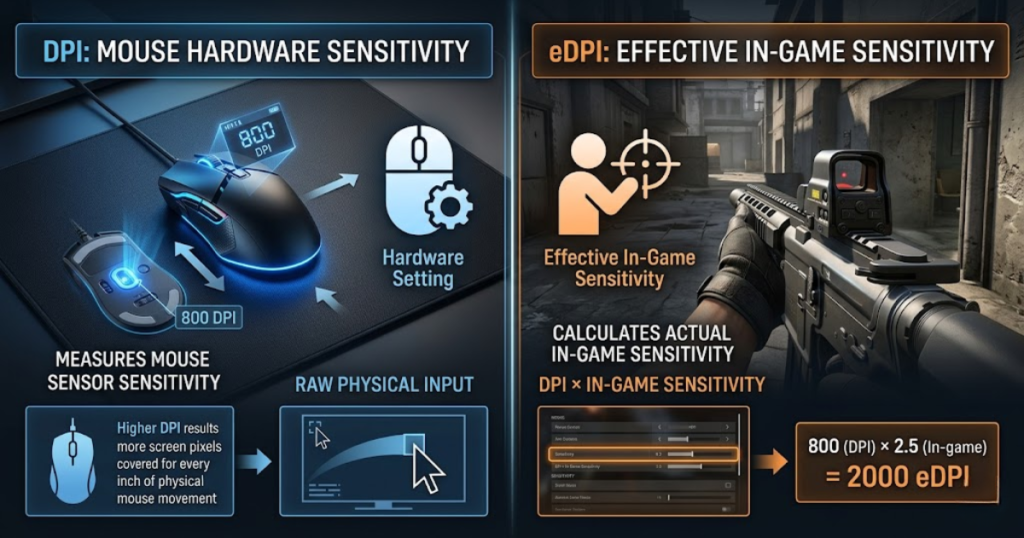
Knowing your hardware DPI is only part of the picture. Your actual sensitivity depends on system-level factors too.
Measure True Hardware DPI
Hardware DPI is the raw sensor setting controlled by your mouse or its software. It stays constant regardless of operating system changes.
To preserve accurate readings:
- Disable Enhance Pointer Precision on Windows
- Avoid scaling multipliers in macOS settings
Calculate Effective DPI (eDPI)
Effective DPI reflects real-world sensitivity after OS and in-game adjustments.
For productivity tasks:
eDPI ≈ Hardware DPI × OS Pointer Speed Multiplier
Lowering Windows pointer speed reduces eDPI, making movement feel slower even when hardware DPI hasn’t changed.
For gaming:
eDPI = Mouse DPI × In-Game Sensitivity
For example, 800 DPI at 0.5 sensitivity equals 400 eDPI, and 1600 DPI at 0.25 sensitivity also equals 400 eDPI. Same control, different setup.
Warning: Mouse acceleration destroys consistency. Always disable it for skill-based tasks like gaming or design work.
Optimize DPI for Your Specific Use Case

The best DPI depends on your activity, screen size, and personal comfort.
Recommended DPI for Gaming
| Game Type | Ideal DPI | Why It Works |
|---|---|---|
| CS:GO or Valorant | 400 to 800 | Maximizes aiming precision and muscle memory |
| Apex Legends or Warzone | 800 to 1600 | Balances fast turns with tracking control |
| LoL or Dota 2 | 800 to 1600 | Enables quick map navigation and spell casting |
| General play | 800 | Industry standard that adapts to most games |
Pro Tip: Most professional FPS players use 400 to 800 DPI with low in-game sensitivity for maximum control.
Recommended DPI for Productivity
| Task | Recommended DPI | Rationale |
|---|---|---|
| Graphic design | 400 to 800 | Ensures fine brush and selection control |
| Office work | 1000 to 1600 | Smooth scrolling and document navigation |
| 4K or dual monitors | 1600 to 3200+ | Reduces hand strain across large desktop space |
| Programming | 800 to 1200 | Efficient window switching and code selection |
Higher resolution screens make the same DPI feel slower, so adjust accordingly.
Configure DPI Settings on Windows and macOS
:max_bytes(150000):strip_icc():format(webp)/004-adjust-mouse-and-touchpad-speed-on-mac-and-pc-4160944-54f4c6bb7b7543f4b98ccf49a1ba520b.jpg)
Operating systems don’t change hardware DPI, but they influence cursor behavior.
Adjust Settings in Windows 10 or 11
- Go to Settings, then Bluetooth & devices, then Mouse.
- Adjust Cursor speed (this affects eDPI, not hardware DPI).
- Click Additional mouse options.
- Under Pointer Options, uncheck “Enhance pointer precision” to disable mouse acceleration.
- Use manufacturer software for true DPI changes.
Windows pointer speed uses a curve-based multiplier, so movement isn’t linear at higher speeds.
Customize Tracking on macOS
- Open System Settings, then Mouse.
- Slide Tracking Speed left for slower or right for faster movement.
- For true DPI control, install Logitech G Hub or your mouse’s equivalent software.
On Retina or 4K displays, increase tracking speed or use a higher DPI mouse to maintain workflow efficiency.
Troubleshoot Common DPI Measurement Issues
Even with the right tools, problems can pop up when checking DPI.
Fix Inconsistent Test Results
If your analyzer gives varying numbers:
- Disable mouse acceleration in OS settings
- Use a longer test distance of 5 inches or more
- Ensure straight-line movement using a ruler
- Test on a consistent surface like a mousepad only
Repeat 5 times and average the middle three values.
Correct Unexpected DPI Readings
If your result is far off, such as 650 when you expect 800:
- Recalibrate the tool with a physical ruler
- Confirm you selected inches, not centimeters
- Check browser zoom level (must be at 100%)
- Clean the mouse sensor lens with compressed air
Handle Cursor Disappearance During Tests
This is normal behavior. DPI tools lock the cursor to capture raw sensor input. Continue moving the mouse physically and you’ll see results after releasing the button.
Resolve Browser-Specific Variance
Different browsers handle input scaling differently:
- Chrome and Edge offer the most consistent raw input
- Firefox and Safari may apply scaling filters
- Always recalibrate when switching browsers
Maintain Accuracy and Long-Term Performance
A well-maintained mouse delivers consistent DPI over time.
Clean the Sensor Regularly
Dust on the optical lens causes jitter and tracking errors:
- Turn off the mouse before cleaning
- Use compressed air to blow debris from the sensor
- Wipe gently with a dry microfiber cloth
Do this monthly if you use the mouse daily.
Monitor Button and Firmware Health
Physical DPI buttons wear out after heavy use:
- If the button stops cycling levels, clean around it or contact support
- Reset firmware through manufacturer software if profiles behave unexpectedly
Recheck After System Updates
OS updates can reset:
- Pointer speed settings
- Display scaling percentages
- Mouse acceleration preferences
Always verify your setup after updates and recalibrate testing tools if needed.
Frequently Asked Questions About Mouse DPI
What is a good DPI for a regular mouse?
A DPI between 800 and 1600 works well for most everyday tasks. This range balances speed and precision for web browsing, document editing, and casual use.
How do I find my mouse DPI without software?
Use an online DPI analyzer tool. Move your mouse a measured distance (like 5 inches) along a ruler while the tool tracks cursor movement, then calculate the result.
Does changing Windows pointer speed change DPI?
No. Windows pointer speed adjusts the OS-level cursor multiplier, not the hardware DPI stored in your mouse sensor. Use manufacturer software for true DPI changes.
Why does my cursor feel different after an update?
OS updates can reset pointer speed, display scaling, or mouse acceleration settings. Check your OS mouse settings after any major update and reconfigure as needed.
Is higher DPI always better for gaming?
No. Most competitive FPS players use 400 to 800 DPI paired with low in-game sensitivity. Higher DPI can introduce jitter and reduces muscle memory consistency.
How often should I clean my mouse sensor?
Clean the sensor monthly if you use the mouse daily. Dust buildup causes tracking errors that mimic high-DPI instability.
Key Takeaways for Checking Mouse DPI
Knowing how to check mouse DPI puts you in complete control of your computing experience. Use online analyzer tools for quick measurements, manufacturer software for precise readings, and physical buttons for fast adjustments. Remember that hardware DPI is just the starting point; your effective sensitivity depends on OS settings, in-game multipliers, and personal preference.
Start by measuring your current DPI using an online tool, then compare it to recommended ranges for your primary activity. Adjust through manufacturer software for accuracy, disable mouse acceleration in your operating system, and recalibrate after any major system update. Test different settings until your mouse feels like a natural extension of your hand.