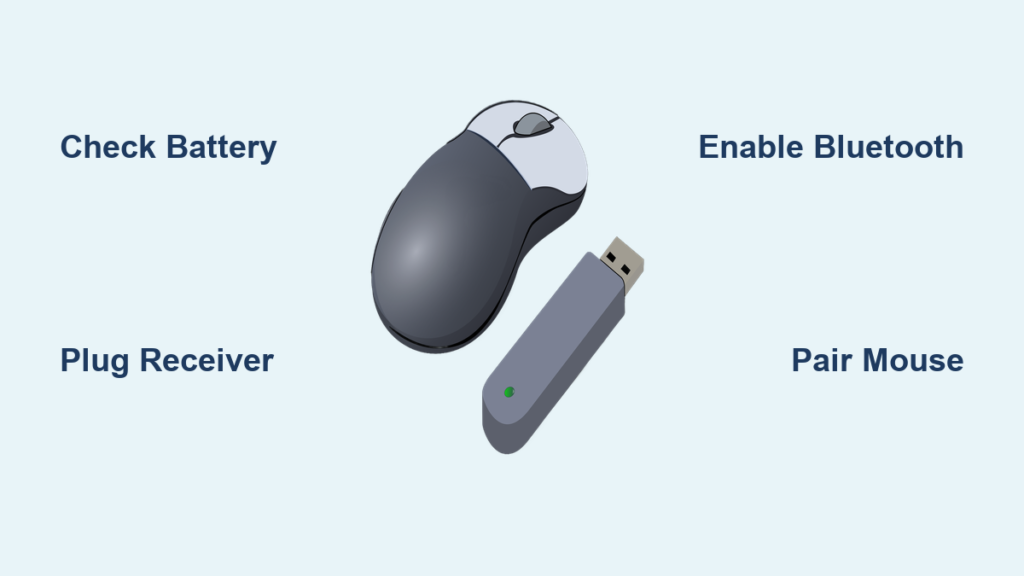
Few things stall productivity faster than a wireless mouse that refuses to connect. Whether you just unboxed a new peripheral or your trusted device suddenly stopped responding, learning how to connect a wireless mouse the right way saves you time and frustration. Most connection failures trace back to dead batteries, wrong pairing modes, or hidden USB receivers rather than broken hardware.
This guide breaks down every connection method step by step. You will learn how to pair both RF and Bluetooth models, troubleshoot stubborn issues, install the right drivers, and fine-tune your settings for peak performance on Windows and macOS.
Identify Your Mouse Connection Type
Before you touch any buttons, figure out which wireless technology your mouse uses. The connection type determines your entire setup path and which troubleshooting steps apply later.
USB Receiver (RF) Models
RF mice ship with a tiny USB dongle that talks directly to the mouse through a 2.4GHz radio signal. This method delivers low latency and rock-solid stability, which is why gamers and office power users prefer it.
- No Bluetooth required on your computer
- Nano receiver often hides inside the mouse body
- Plug-and-play on Windows, macOS, and Linux
- Best choice for busy wireless environments
Bluetooth Wireless Mice
Bluetooth mice pair directly with your computer’s built-in radio, freeing up your USB ports entirely. This makes them ideal for laptops with limited connectivity or anyone chasing a clean, dongle-free desk.
- Requires Bluetooth-enabled hardware or adapter
- Slightly higher latency than RF models
- Supports multi-device switching on premium models
- Common in slim, modern designs
Dual-Mode Mice for Maximum Flexibility
Several modern mice, including the Dell MS5320W and MS900, support both RF and Bluetooth on the same device. You toggle between modes using a button on the mouse or through manufacturer software, letting you pair with multiple computers at once.
- Use RF for gaming rigs and stability
- Switch to Bluetooth for travel and portability
- Manage connections through Dell Display and Peripheral Manager
Power Up and Prepare Your Mouse
A mouse that fails to power on will never connect. Start with the basics before diving into software menus.
Install Batteries or Charge the Battery
Most wireless mice rely on AA or AAA cells. Flip the mouse over and locate the battery compartment.
- Match the plus and minus symbols when inserting batteries
- Swap out old batteries even if the LED still glows, since weak power causes random dropouts
- For rechargeable models, plug in the USB cable and wait for a full charge before first use
Pro Tip: Alkaline batteries outlast zinc-carbon cells by a wide margin. Never mix fresh and depleted batteries in the same device.
Switch the Mouse On
Find the power slider, usually tucked on the bottom of the mouse.
- Slide it to the On position
- Watch for an LED indicator: a steady light means powered, while a rapid flash signals pairing mode
- No light at all means the batteries are dead or installed backward
Retrieve the USB Receiver
For RF models, the nano receiver frequently hides inside the battery compartment or a slot on the mouse underside.
- Pull it out gently without forcing anything
- Leave it plugged into a USB port when not in use to prevent loss
- Use a USB extension cable if your desktop tower blocks the receiver signal
Connect Your Mouse via USB Receiver
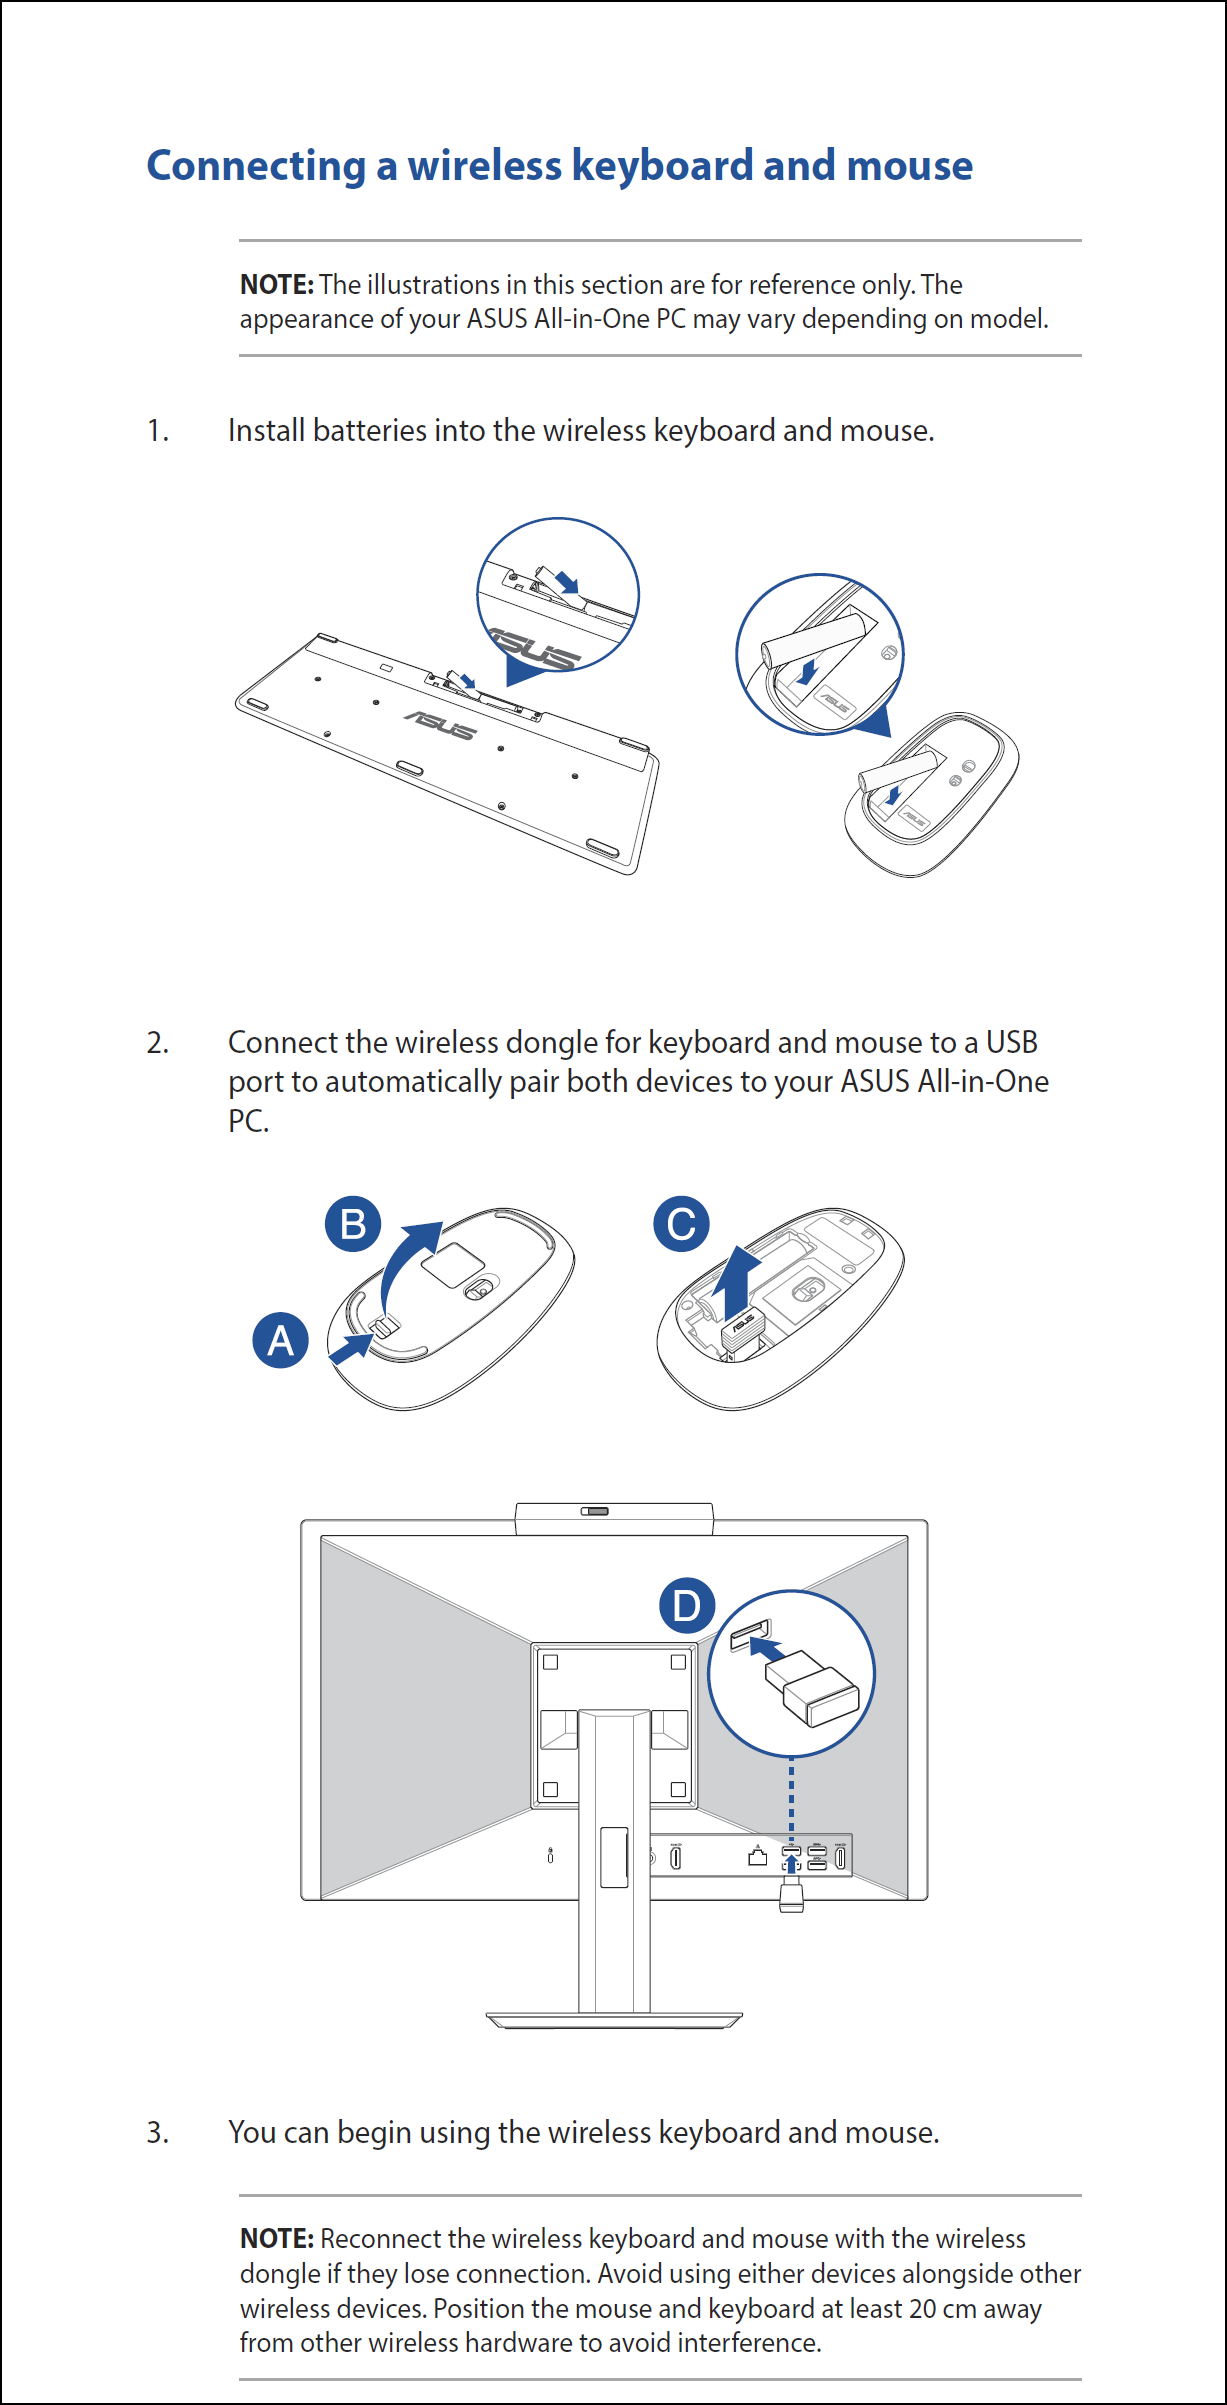
The RF path is the fastest route to a working mouse and rarely requires extra software.
Plug In and Play
- Insert the USB receiver into an available USB 2.0 or 3.0 port on your computer, preferably one mounted directly on the motherboard rather than a hub.
- Power on the mouse using the bottom switch.
- Wait five to ten seconds while your operating system installs generic HID drivers.
The cursor should respond immediately once the drivers finish loading. A flashing LED that turns steady (or shuts off to save power) confirms a successful link.
Visual Cue: Watch the LED transition from blinking to solid or dark. That change signals your mouse is ready.
Fix USB Receiver Connection Problems
If the cursor refuses to budge, run through these quick checks.
- Try a different USB port, especially if the first one sits on the front panel with weak power delivery
- Avoid unpowered USB hubs that throttle signal strength
- Plug the receiver into an extension cable to keep it in line of sight with the mouse
- Re-pair the device using the manufacturer’s software if the LED keeps flashing
Warning: Never jam the receiver into a port. If it does not slide in easily, flip it over and try the other orientation.
Pair Your Mouse Through Bluetooth
Bluetooth pairing works on any computer with built-in radio support and skips the USB port entirely.
Confirm Bluetooth Is Available
Before pairing, verify your computer actually has Bluetooth.
- On Windows, press Win + I, then open Bluetooth and devices and look for the toggle switch
- On macOS, click the Apple menu, choose System Settings, then select Bluetooth
- No Bluetooth built in? Pick up a USB adapter for around ten dollars and plug it in
Put the Mouse in Pairing Mode
- Power on the mouse.
- Press and hold the pairing button on the bottom for three to five seconds.
- Watch for a rapidly flashing LED that signals discoverable mode.
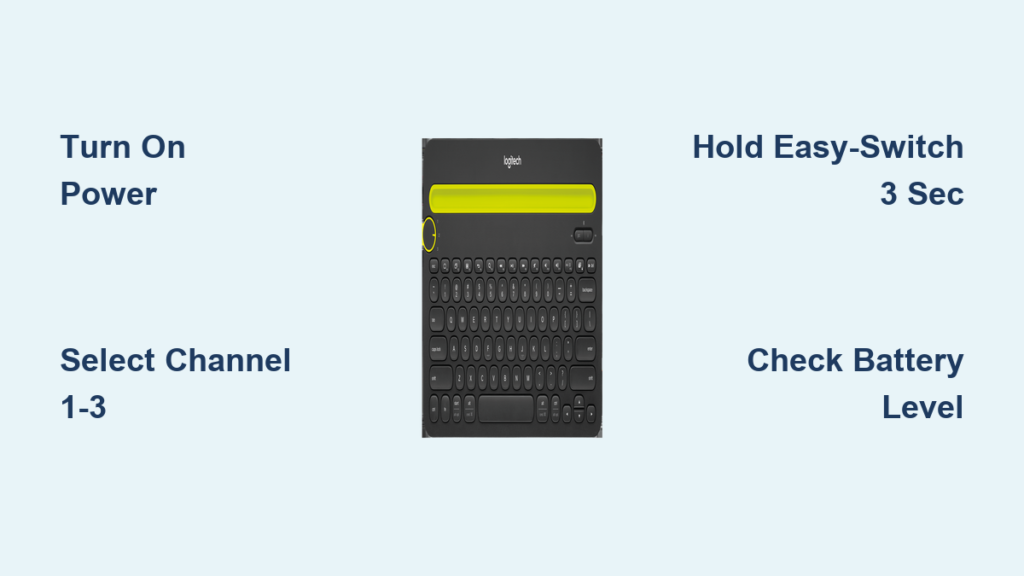
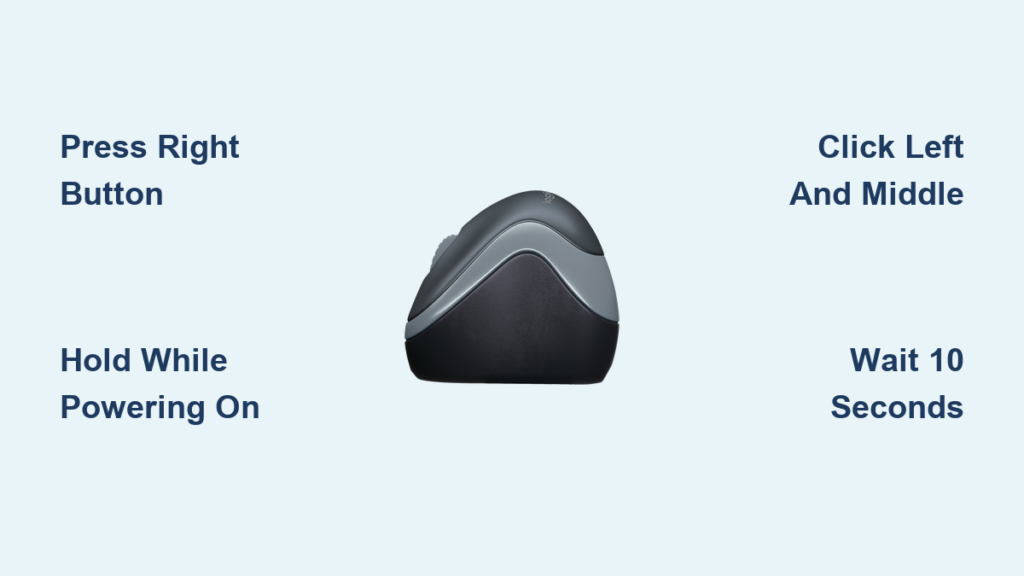
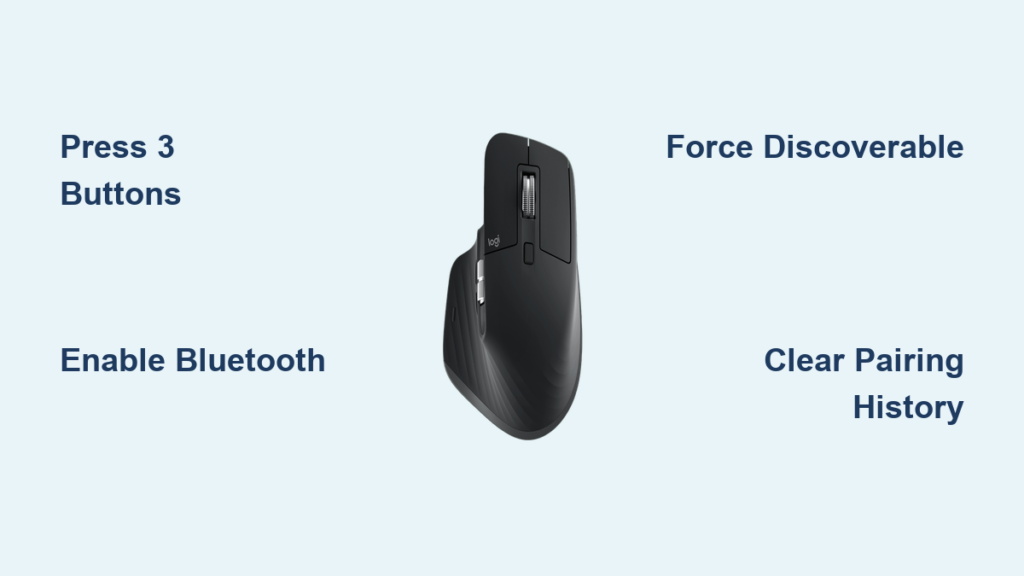
Some models require holding specific button combinations, such as left, right, and middle click together. Check your manual if no light appears.
Complete Pairing on Windows
- Open Settings, then click Bluetooth and devices.
- Toggle Bluetooth to On.
- Click Add device and choose Bluetooth from the list.
- Wait for your mouse name, such as Dell MS5320W, to appear.
- Click the name to finalize pairing.
The LED stops flashing once the connection locks in, and your cursor becomes active right away.
Complete Pairing on macOS
- Open the Apple menu and choose System Settings.
- Select Bluetooth and turn it on.
- Put your mouse in pairing mode using the steps above.
- Click the mouse name under Devices.
- Confirm the pairing prompt.
Your cursor should respond instantly after macOS finishes setup.
Use Dell Pair for Faster Setup
Dell laptops running Windows 10 or 11 may ship with Dell Pair pre-installed. This utility detects compatible mice nearby and pops up a connect prompt automatically.
- Click Connect when the notification appears
- Skip the manual Bluetooth menu entirely
- Manage settings through Dell Display and Peripheral Manager
Install Drivers and Unlock Advanced Features
Basic movement works out of the box, but installing the right software unlocks the full feature set.
Know When Drivers Matter
Download manufacturer drivers if you notice any of these issues.
- The cursor lags, freezes, or randomly disconnects
- Side buttons or thumb controls do nothing
- DPI switching or scroll behavior acts erratic
Key Tip: For Bluetooth mice, update your computer’s Bluetooth adapter drivers first. The mouse itself usually runs fine on generic software.
Use Manufacturer Software for Customization
Official apps unlock features that operating system settings cannot reach.
| Software | Best For |
|---|---|
| Alienware Command Center | RGB lighting, DPI tuning, macros, firmware updates |
| Dell Display and Peripheral Manager | Mode switching, button remapping, multi-device pairing |
| Meetion or third-party tools | Sensitivity tuning, power management, gesture controls |
These programs let you personalize your setup for gaming, productivity, or creative work.
Update Firmware Regularly
Firmware bugs can break connectivity even on a perfectly paired mouse.
- Open your manufacturer software
- Find the Device Update or Firmware tab
- Follow the prompts to install the latest version
Updates often improve battery life, sensor accuracy, and signal stability.
Optimize Mouse Settings for Your Workflow
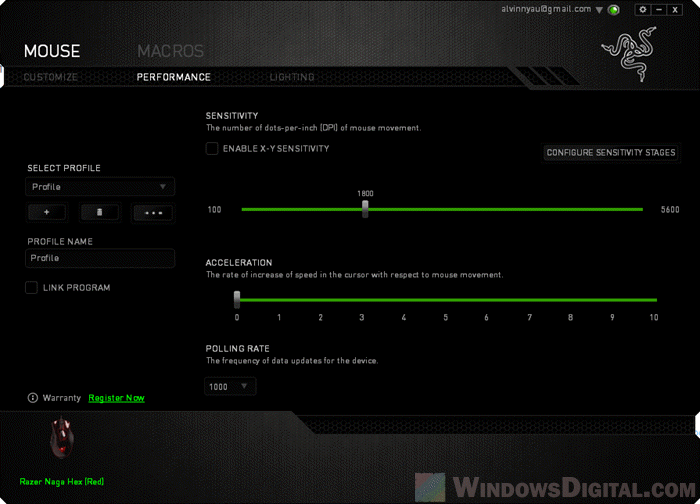
Once your mouse connects, spend a few minutes tailoring the behavior to match how you actually work.
Adjust Pointer Speed and Buttons
On Windows, navigate to Settings, then Bluetooth and devices, then Mouse.
- Switch the primary mouse button for left or right handed use
- Slide the pointer speed bar to tune sensitivity
- Toggle scroll direction between Natural and Reverse
On macOS, open System Settings, choose Mouse, and adjust tracking speed plus scroll direction to taste.
Control DPI for Precision
DPI (dots per inch) controls how far the cursor travels per inch of physical movement.
- Low DPI between 400 and 800 delivers precision for design work and headshots in games
- High DPI between 1600 and 3200 covers large monitors and fast scrolling
Change DPI by pressing a dedicated button on the mouse or by setting levels inside the manufacturer software.
Improve Tracking on Any Surface
Your mouse surface affects tracking more than most people realize.
- Use a mousepad with a cloth or hard finish for consistent results
- Avoid glass desks, glossy tables, and uneven wood grain
- Clean the sensor lens weekly with compressed air or a soft brush
Warning: Never spray alcohol or household cleaners directly onto the sensor.
Troubleshoot Common Connection Problems
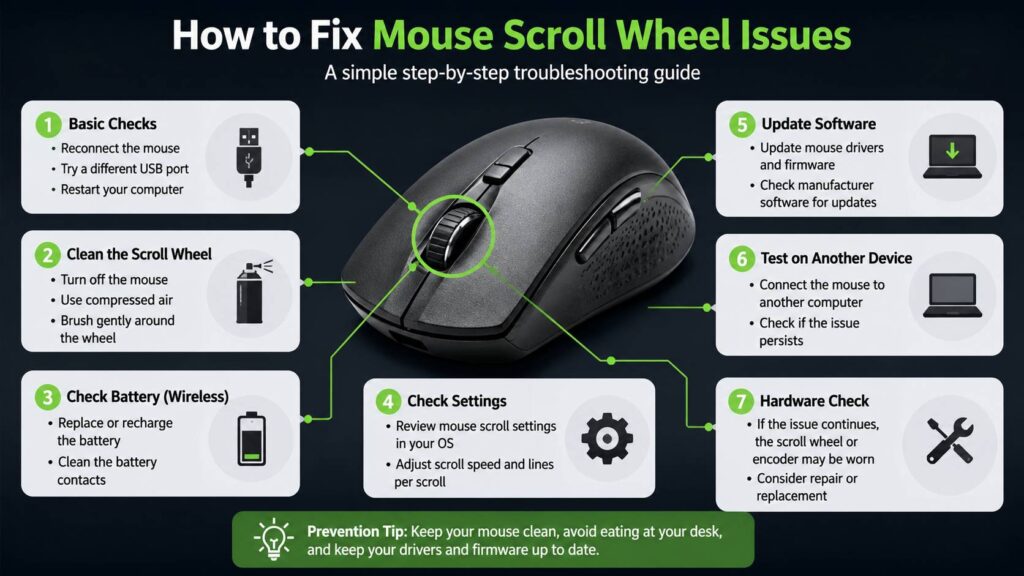
Even a perfect setup hits snags. Use this hierarchy to track down the issue fast.
Mouse Not Responding at All
Run through this checklist before assuming hardware failure.
- Confirm the power switch is flipped to On
- Replace batteries with fresh cells, even if the LED glows
- Replug the USB receiver firmly into the port
- Toggle Bluetooth off and back on for wireless models
If everything checks out, restart your computer while the mouse stays powered on.
Cursor Lagging or Freezing
Lagging usually points to one of four culprits.
- Low battery power, so swap cells immediately
- Wireless interference from routers, microwaves, or cordless phones
- Outdated Bluetooth or USB drivers on your computer
- USB power saving enabled in Device Manager
Connection Drops Repeatedly
Dropped signals often come down to distance or obstructions.
- Move the mouse closer to the receiver or computer
- Remove metal objects like monitors and laptop stands between the devices
- Use a USB extension cable to position the receiver in front of your desk
- Disable sleep mode on the mouse through manufacturer software
Touchpad Stops Working
Laptops often disable the touchpad when an external mouse connects.
Fix this by opening Settings, then Bluetooth and devices, then Touchpad, and enabling Leave touchpad on when a mouse is connected.
Scrolling Direction Feels Wrong
This is purely a software setting, not a hardware issue.
- Open Mouse Settings on your operating system
- Toggle Scrolling direction between Natural and Reverse
- Test both options to find your preferred feel
Many Windows users expect macOS-style scrolling, and this setting bridges that gap.
Maintain Your Wireless Mouse for Long-Term Reliability
A little routine care prevents most future connection headaches.
Clean the Mouse Regularly
- Wipe the body with a slightly damp microfiber cloth
- Blow out the sensor with compressed air every two weeks
- Keep liquids away from buttons and the scroll wheel
Store the Mouse Properly
- Power off the mouse when you finish using it
- Remove disposable batteries before long-term storage to prevent leaks
- Keep the mouse in a dry, cool location
Avoid Extreme Conditions
- Never leave the mouse in a hot car or direct sunlight
- Cold temperatures drain battery efficiency quickly
- Moisture damages internal circuits and voids most warranties
Frequently Asked Questions About Connecting a Wireless Mouse
Why won’t my wireless mouse connect even with fresh batteries?
Fresh batteries alone do not guarantee a connection. Verify the power switch is flipped on, confirm the USB receiver sits firmly in the port (for RF models), and make sure Bluetooth is enabled if you use a wireless model. Restarting your computer with the mouse powered on often clears stubborn software glitches.
How do I know if my mouse uses Bluetooth or a USB receiver?
Check the packaging, the mouse underside, or the battery compartment. RF mice include a small USB dongle that often stores inside the mouse body. Bluetooth mice have no dongle and rely entirely on your computer’s built-in radio.
Can I connect a wireless mouse without a USB port?
Yes, if your mouse supports Bluetooth. Enable Bluetooth on your computer, put the mouse in pairing mode by holding the pairing button until the LED flashes, then select the mouse from your device list. No USB port required.
How long does it take to pair a wireless mouse?
Most mice pair within five to ten seconds once the receiver plugs in or Bluetooth detects them. If pairing drags past thirty seconds, the mouse likely sits outside pairing mode or your computer has a driver issue.
Do I need special software for my wireless mouse?
Basic movement and clicking work without extra software. However, manufacturer apps like Alienware Command Center or Dell Display and Peripheral Manager unlock DPI tuning, button remapping, firmware updates, and RGB lighting that generic drivers cannot reach.
What should I do if my wireless mouse keeps disconnecting?
Start by replacing the batteries, even if the LED still glows. Move the mouse and receiver closer together, eliminate interference from routers or microwaves, and update your Bluetooth or USB drivers. If drops continue, reinstall the mouse software through Device Manager.
Key Takeaways for Connecting Your Wireless Mouse

Connecting a wireless mouse should take less than a minute when you follow the right sequence. Start by identifying whether your mouse uses an RF USB receiver or Bluetooth, then power it on with fresh batteries or a full charge. Plug in the dongle or enter pairing mode, watch for the LED confirmation, and let your operating system handle the rest.
Most connection problems trace back to dead batteries, incorrect pairing modes, or wireless interference rather than broken hardware. Install the manufacturer’s software to unlock DPI controls, button remapping, and firmware updates that keep your mouse running smoothly for years.
Your next step is simple: pick up your mouse, swap in fresh batteries, and run through the setup steps for your connection type. You will be back to work in under five minutes.