Is your cursor jumping across the screen, dragging windows without input, or failing to register clicks? These annoying problems usually trace back to misconfigured settings, outdated drivers, or software conflicts. The good news is that resetting mouse settings to factory defaults can solve most of these issues. Windows does not include a single reset button for mouse configurations, but a systematic approach can restore smooth, predictable performance.
This guide walks you through every method to fully reset your mouse on Windows 10, Windows 11, and macOS. You will learn how to access legacy Control Panel options, manage drivers, perform hardware resets, and troubleshoot conflicts. By the end, you will know exactly how to return your mouse to reliable, out-of-the-box behavior.
Access Mouse Settings Quickly
Before making any changes, you need to reach the correct configuration panel. Several fast paths exist to open the full mouse options dialog.
Use the Run Command for Instant Access
The quickest route to advanced mouse settings goes through the Run dialog box. Press Win + R, type main.cpl, then press Enter. The Mouse Properties window opens immediately, bypassing the modern Settings app entirely. This method takes you straight to the legacy Control Panel interface where most default settings live.
Open via the Settings App
For users who prefer the modern interface, navigate to Start > Settings > Devices > Mouse. Scroll down and click Additional mouse options on the right pane. This launches the same Mouse Properties window as the main.cpl command.
Pro Tip: Use main.cpl when troubleshooting. Some critical configuration tabs are not visible in the simplified Settings view.
Restore Default Cursor and Click Behavior
Since Windows lacks a global reset button, you must manually revert settings across multiple tabs. Start here to fix common issues like stuck dragging or invisible pointers.
Reset Pointer Scheme to Default
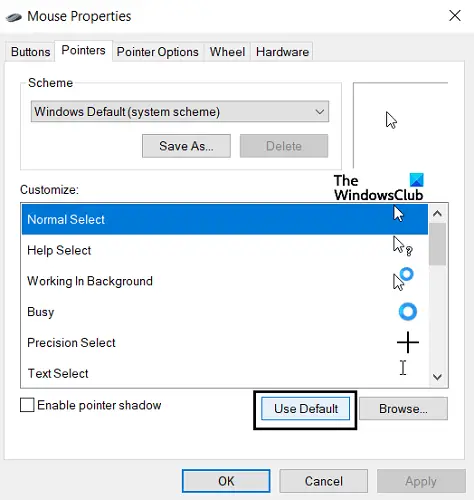
Custom cursor schemes can cause display glitches or lag. Open Mouse Properties and navigate to the Pointers tab. Click Use Default, then click Apply followed by OK. This action reverts all cursor icons to the standard Windows appearance.
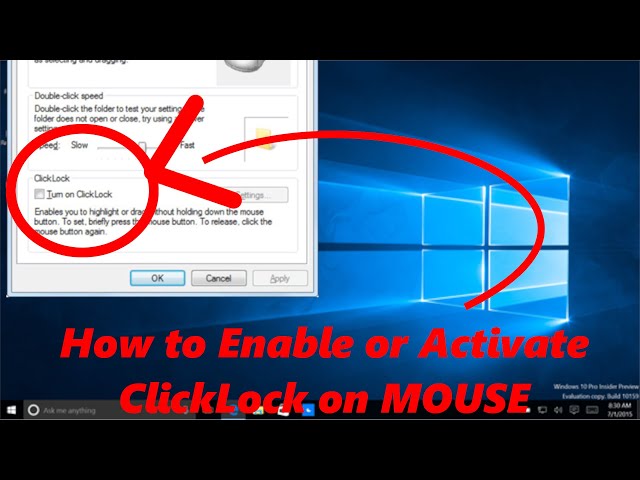
Fix Erratic Dragging with ClickLock
If windows expand unexpectedly when you click their borders, ClickLock is likely the culprit. This feature allows highlighting or dragging without holding the mouse button down. Go to the Buttons tab and uncheck Turn on ClickLock. Click Apply to save the change. Disabling this feature immediately restores normal click-and-release behavior.
Set Correct Button Configuration
Verify your primary click matches your dominant hand. For right-handed users, the Switch primary and secondary buttons checkbox should remain unchecked. Left-handed users should check this box. Also, set the Double-click speed slider to the middle position, which represents the Windows default for reliable file opening.
Revert Pointer Speed and Motion Settings
Cursor movement problems, including excessive speed, sluggish response, or jittery motion, often come from incorrect pointer options.
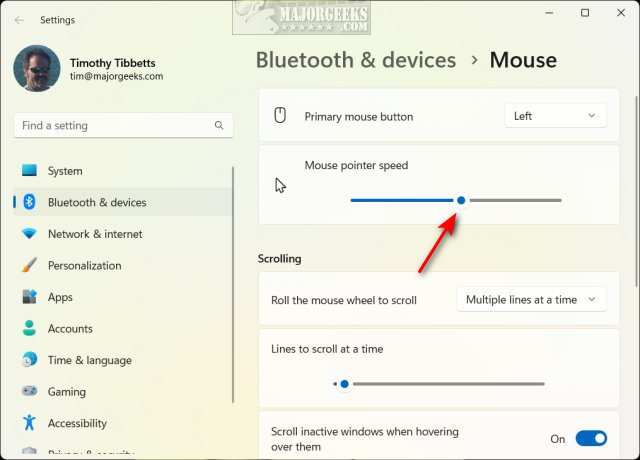
Adjust Pointer Speed to Center
In Mouse Properties, go to the Pointer Options tab. Move the Pointer speed slider to the center position. Ensure Enhance pointer precision is checked unless you prefer linear tracking without acceleration. Uncheck Display pointer trails and Hide pointer while typing unless you specifically need these features.
Warning: “Enhance pointer precision” enables mouse acceleration. If your cursor feels unpredictable, try disabling it. Many users prefer consistent DPI control without acceleration enabled.
Reset Cursor Size and Color
Modern Windows separates visual cursor settings from the legacy control panel. Go to Settings > Devices > Mouse and click Additional settings or Adjust mouse & cursor size. Set the Cursor size slider to position 1 (smallest). Choose White or System Default for the color option. These settings maximize visibility across applications.
Update or Reinstall Mouse Drivers
Outdated or corrupted drivers rank among the top causes of erratic mouse behavior. Resetting them often resolves unresponsive buttons or drifting cursors.
Open Device Manager
Right-click the Start button and select Device Manager. Expand the Mice and other pointing devices category to view your connected mouse.
Update or Roll Back the Driver
To update, right-click your mouse entry and select Update driver, then choose Search automatically for updated driver software. To roll back a problematic update, right-click the device, select Properties, go to the Driver tab, and click Roll Back Driver if the option is available. This restores the previous working version.
Uninstall and Reconnect for a Fresh Install
Force Windows to reinstall the driver from scratch. Right-click the mouse device and select Uninstall device. Unplug the mouse (or power it off if wireless). Wait 10 seconds, then reconnect. Windows automatically installs a fresh generic HID driver upon reconnection.
Reset Proprietary Mouse Software

Manufacturer applications like Logitech Options, Razer Synapse, or Corsair iCUE override Windows settings. If you use one of these programs, it may be the source of your issues.
Identify Installed Software
Check your system tray icons, navigate to Settings > Apps > Installed apps, or review startup programs in Task Manager to spot manufacturer utilities.
Reset Settings Within the App
Open the application and search for options labeled Restore Defaults, Factory Reset, or Reset Profile. For Logitech Options+, navigate to Settings > Reset All Devices. For Razer Synapse, select your mouse, click the gear icon, and choose Reset to Default. These actions clear custom DPI levels, macros, and button remaps that Windows cannot control.
Temporarily Uninstall the Software
If the manufacturer application behaves erratically, uninstall it via Settings > Apps. Restart your PC and test the mouse using only Windows defaults. If performance improves, either stick with generic drivers or reinstall the latest version of the software.
Perform Hardware-Level Resets
When software fixes fail, physical reset methods become necessary, especially for wireless or gaming mice.
Use the Pinhole Reset Button
Many wireless mice include a tiny recessed reset hole on the bottom. Turn the mouse over and insert a paperclip into the hole. Hold for 5 to 10 seconds, then reconnect the USB receiver. This clears pairing data and forces a fresh connection.
Repair the Wireless Receiver
Unplug the USB receiver from your computer and wait at least 10 seconds. Plug it back in and turn the mouse off and on. This re-establishes the wireless handshake and resolves sync issues.
Try Brand-Specific Button Combos
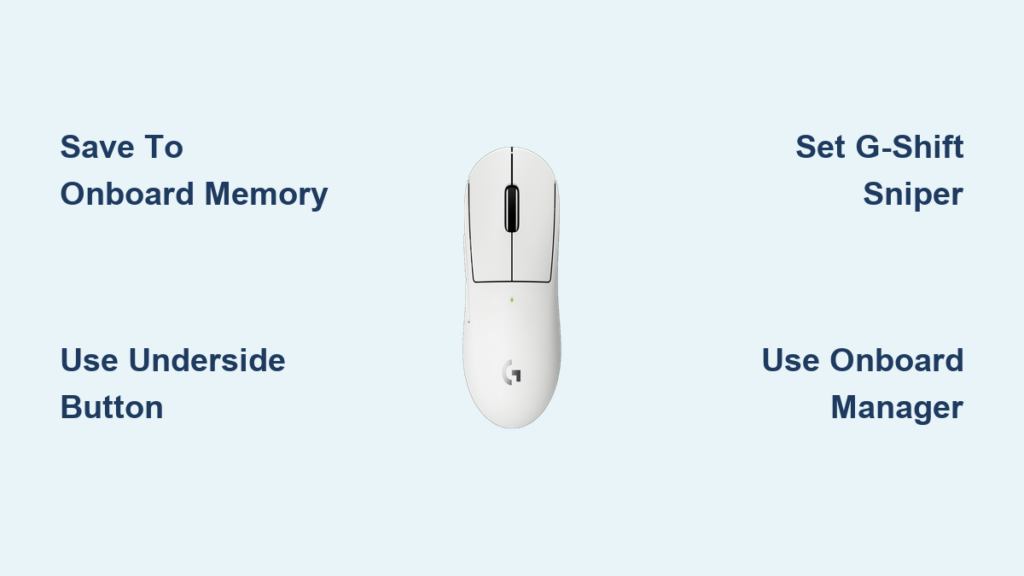
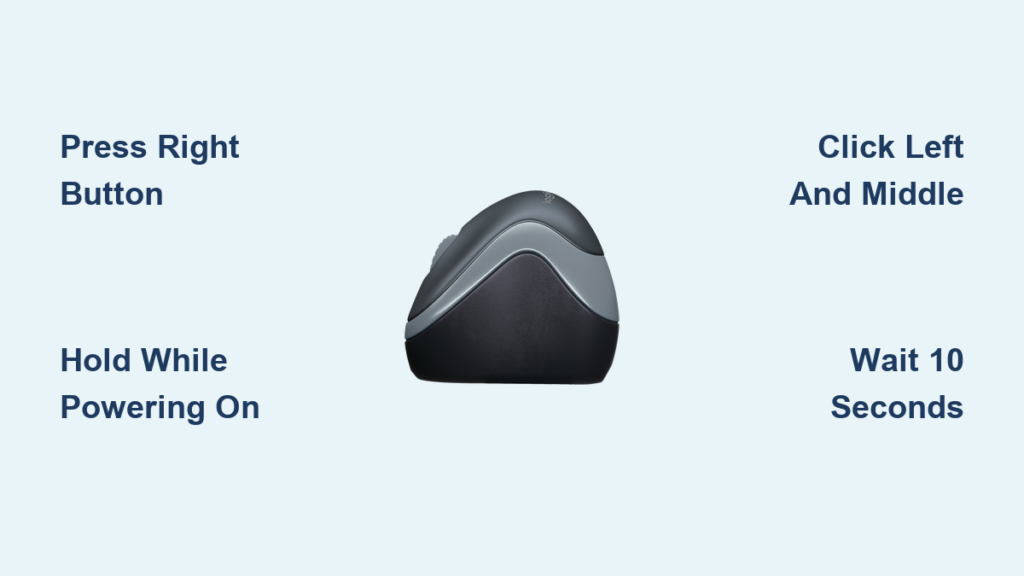
Some manufacturers use button sequences to reset onboard memory. Corsair mice respond to holding the Left and Right mouse buttons simultaneously for 10 seconds while plugged in. Many gaming mice reset when you hold DPI + Right Click during startup. Always consult your device manual for exact procedures.
Diagnose Software Conflicts
Even after resetting all settings, background applications can interfere with mouse behavior.
Disable Touchpad When Using an External Mouse
On laptops, touchpad drivers sometimes conflict with external mouse input. Go to Settings > Devices > Touchpad and toggle Touchpad to Off. Test your external mouse to see if performance improves.
Reset Touchpad Settings
Manufacturers like Synaptics and ELAN use shared driver suites that can affect external mice. In Touchpad settings, scroll to the Reset your touchpad section and click Reset. This clears custom gestures that might bleed into external mouse behavior.
Perform a Clean Boot
To rule out third-party software interference, press Win + R, type msconfig, and press Enter. Go to the Services tab, check Hide all Microsoft services, and click Disable all. Switch to the Startup tab, click Open Task Manager, and disable all startup items. Restart your computer. If the mouse works correctly now, re-enable services one by one to identify the culprit.
Test for Hardware Issues
If settings and drivers do not solve the problem, the issue may be physical.
Clean the Sensor
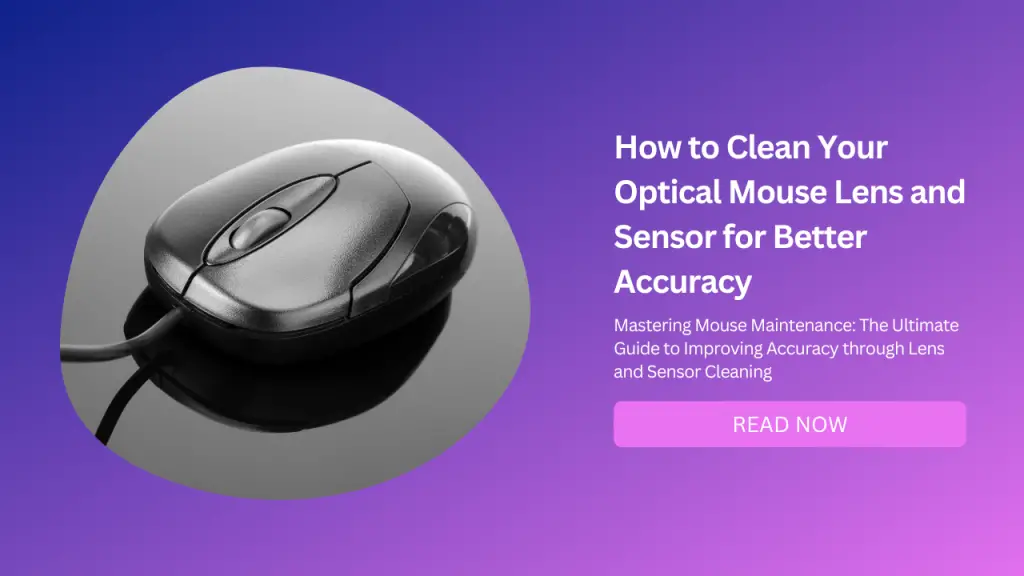
Dust or debris under the mouse causes erratic movement. Turn the mouse over and gently wipe the optical sensor with a dry microfiber cloth. Use compressed air to blow out any trapped particles. Avoid liquids or sharp objects near the sensor.
Replace Batteries in Wireless Mice
Low power causes intermittent disconnections. Replace old batteries with fresh alkaline or rechargeable cells to rule out power-related issues.
Cross-Test the Mouse
Isolate the problem by testing in different environments. Connect the mouse to another computer. If it misbehaves there, the mouse itself is faulty. Alternatively, test a different mouse on your PC. If problems persist, your operating system is the cause.
Use System Restore as a Last Resort
If your mouse started malfunctioning after a recent system change, revert to a previous state. Type Create a restore point in the Start search and click System Restore. Choose a restore point from before the issue began and follow the prompts to roll back system files and drivers.
Note: System Restore affects your entire system. Use this option only when other methods have failed.
macOS Mouse Reset Steps
Mac users must manually adjust settings since no reset button exists in macOS.
Reset Tracking and Scrolling Speed
Go to Apple Menu > System Settings > Mouse. Set both Tracking speed and Scrolling speed sliders to the middle position. These positions represent Apple’s default sensitivity values.
Adjust Accessibility Settings
Navigate to System Settings > Accessibility > Pointer Control. Reset the Double-click speed and Pointer size sliders to center positions. Disable any assistive features like Mouse Keys if they are enabled. These steps restore standard macOS mouse behavior.
Windows 7 Legacy Reset Method
Users still running Windows 7 can follow these steps. Click Start > Control Panel and open the Mouse applet. In the Pointer Options tab, set the speed slider to the center position. Switch to the Pointers tab and click Use Default. Click Apply to save changes.
Frequently Asked Questions About Resetting Mouse Settings
Does Windows have a reset button for mouse settings?
No. Windows does not provide a single “Reset All” button for mouse configurations. Users must manually revert settings across multiple tabs in the Mouse Properties dialog, including Pointers, Buttons, and Pointer Options.
Will resetting mouse settings delete my driver?
No. Resetting mouse settings only restores configuration defaults. However, uninstalling the mouse driver through Device Manager forces Windows to reinstall a fresh generic HID driver, which can resolve driver corruption issues.
How do I reset a wireless mouse that is not responding?
Check for a pinhole reset button on the bottom of the mouse. Insert a paperclip and hold for 5 to 10 seconds. Alternatively, unplug the USB receiver, wait 10 seconds, and reconnect it. Replace the batteries to rule out power issues.
What is ClickLock and should it be enabled?
ClickLock allows you to highlight or drag items without holding down the mouse button. It is disabled by default in Windows. If you experience accidental window expansion or stuck dragging, ClickLock may have been enabled accidentally and should be turned off.
Should I disable “Enhance pointer precision”?
This setting enables mouse acceleration, which makes cursor movement non-linear. Many users find it unpredictable, especially gamers who prefer consistent DPI control. Disabling it produces more linear, predictable cursor movement.
Can System Restore fix mouse problems?
Yes. System Restore reverts system files, registry keys, and driver versions to a previous point in time. If your mouse issues began after a recent update or software installation, rolling back to an earlier restore point may resolve the problem.
Key Takeaways for Successfully Resetting Mouse Settings
Resetting mouse settings requires a systematic approach since Windows offers no single reset button. Start with the main.cpl command to access the Mouse Properties dialog, then revert pointer schemes, disable ClickLock, and center the pointer speed slider. Update or reinstall drivers through Device Manager to address corruption issues.
For wireless and gaming mice, hardware resets using pinhole buttons or brand-specific button combinations often resolve stubborn connectivity problems. Always cross-test your mouse on another computer before assuming the device is faulty.
Your next step: Begin with the main.cpl method and driver updates. Most mouse issues resolve within minutes using these two techniques alone. Save hardware replacement for last, after cross-testing confirms device failure.